


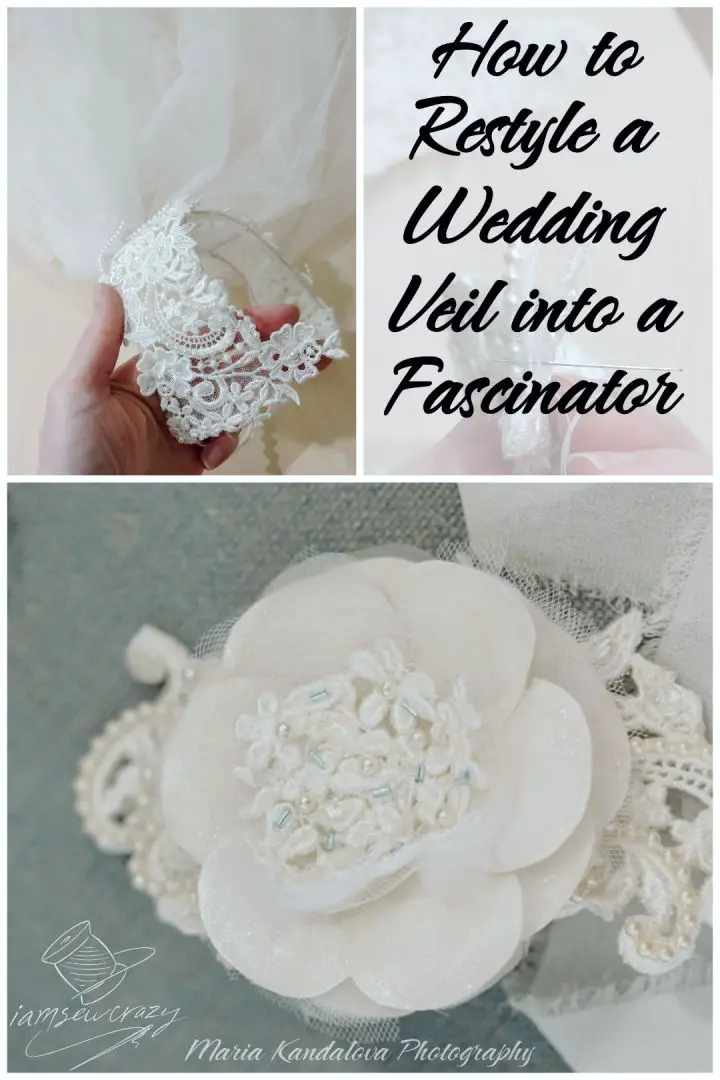
Are you wondering how to restyle a wedding veil? Heirloom bridal gowns and veils are so steeped in history and family traditions, and the garment becomes even more meaningful when it’s worn by a new generation. But sometimes a vintage wedding veil needs a little bit of an update! Originally, this wedding dress and veil belonged to the bride’s mother. When it came time for the daughter to get married, I restyled them to fit the new bride’s vision.


I also restyled her mother’s wedding dress into a mermaid-style dress with removable bell sleeves, which allowed the bride to wear something old and something new on her wedding day. (We even worked in something borrowed and something blue!)

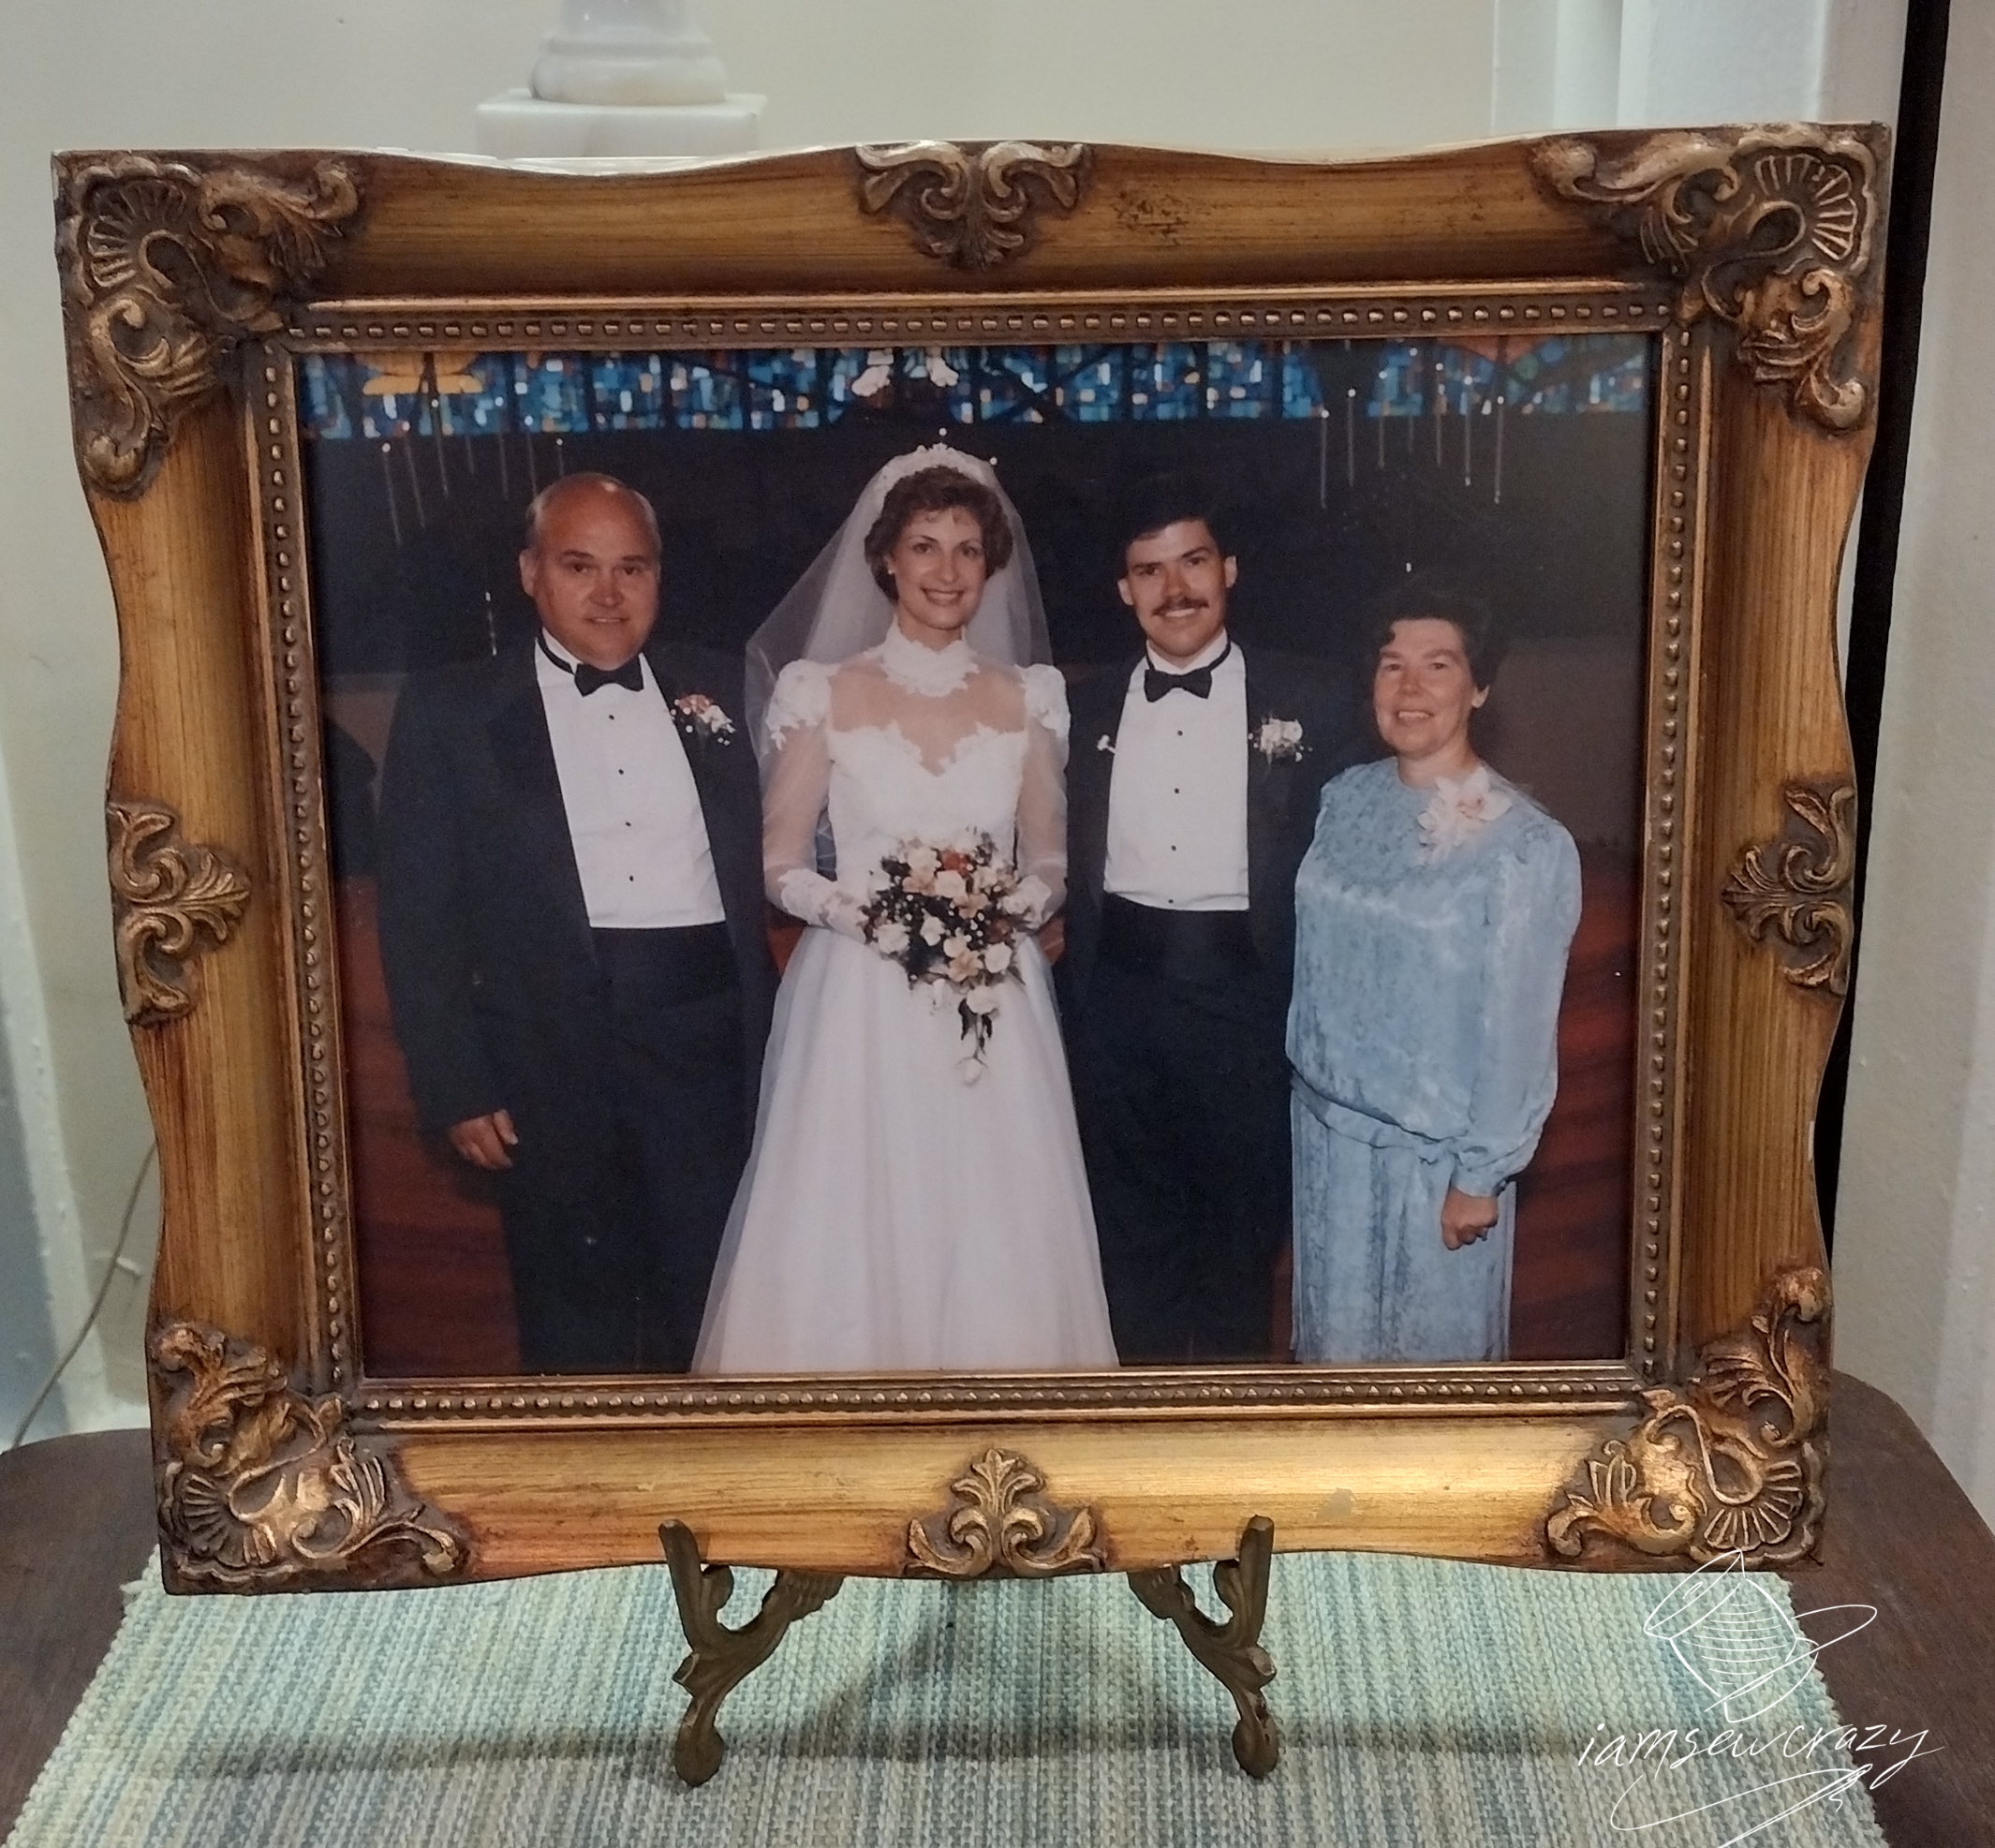
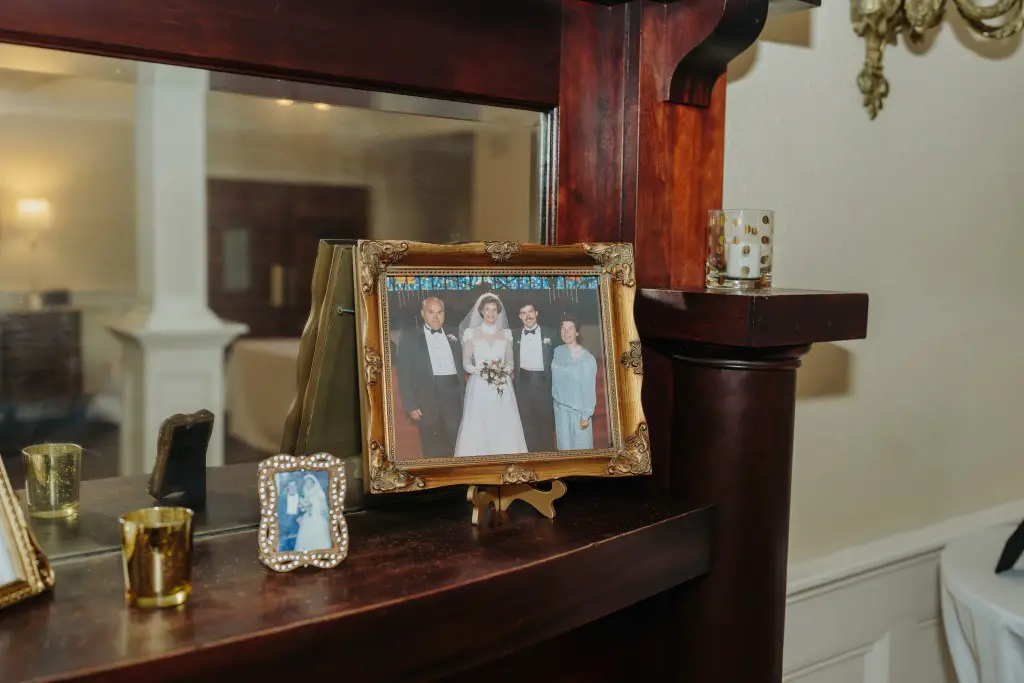
Here is a “before” picture of the bride’s mother wearing the dress and veil on her wedding day. She’s beautiful! I was so happy I got to update such a lovely dress and veil to fit her daughter’s size and style.

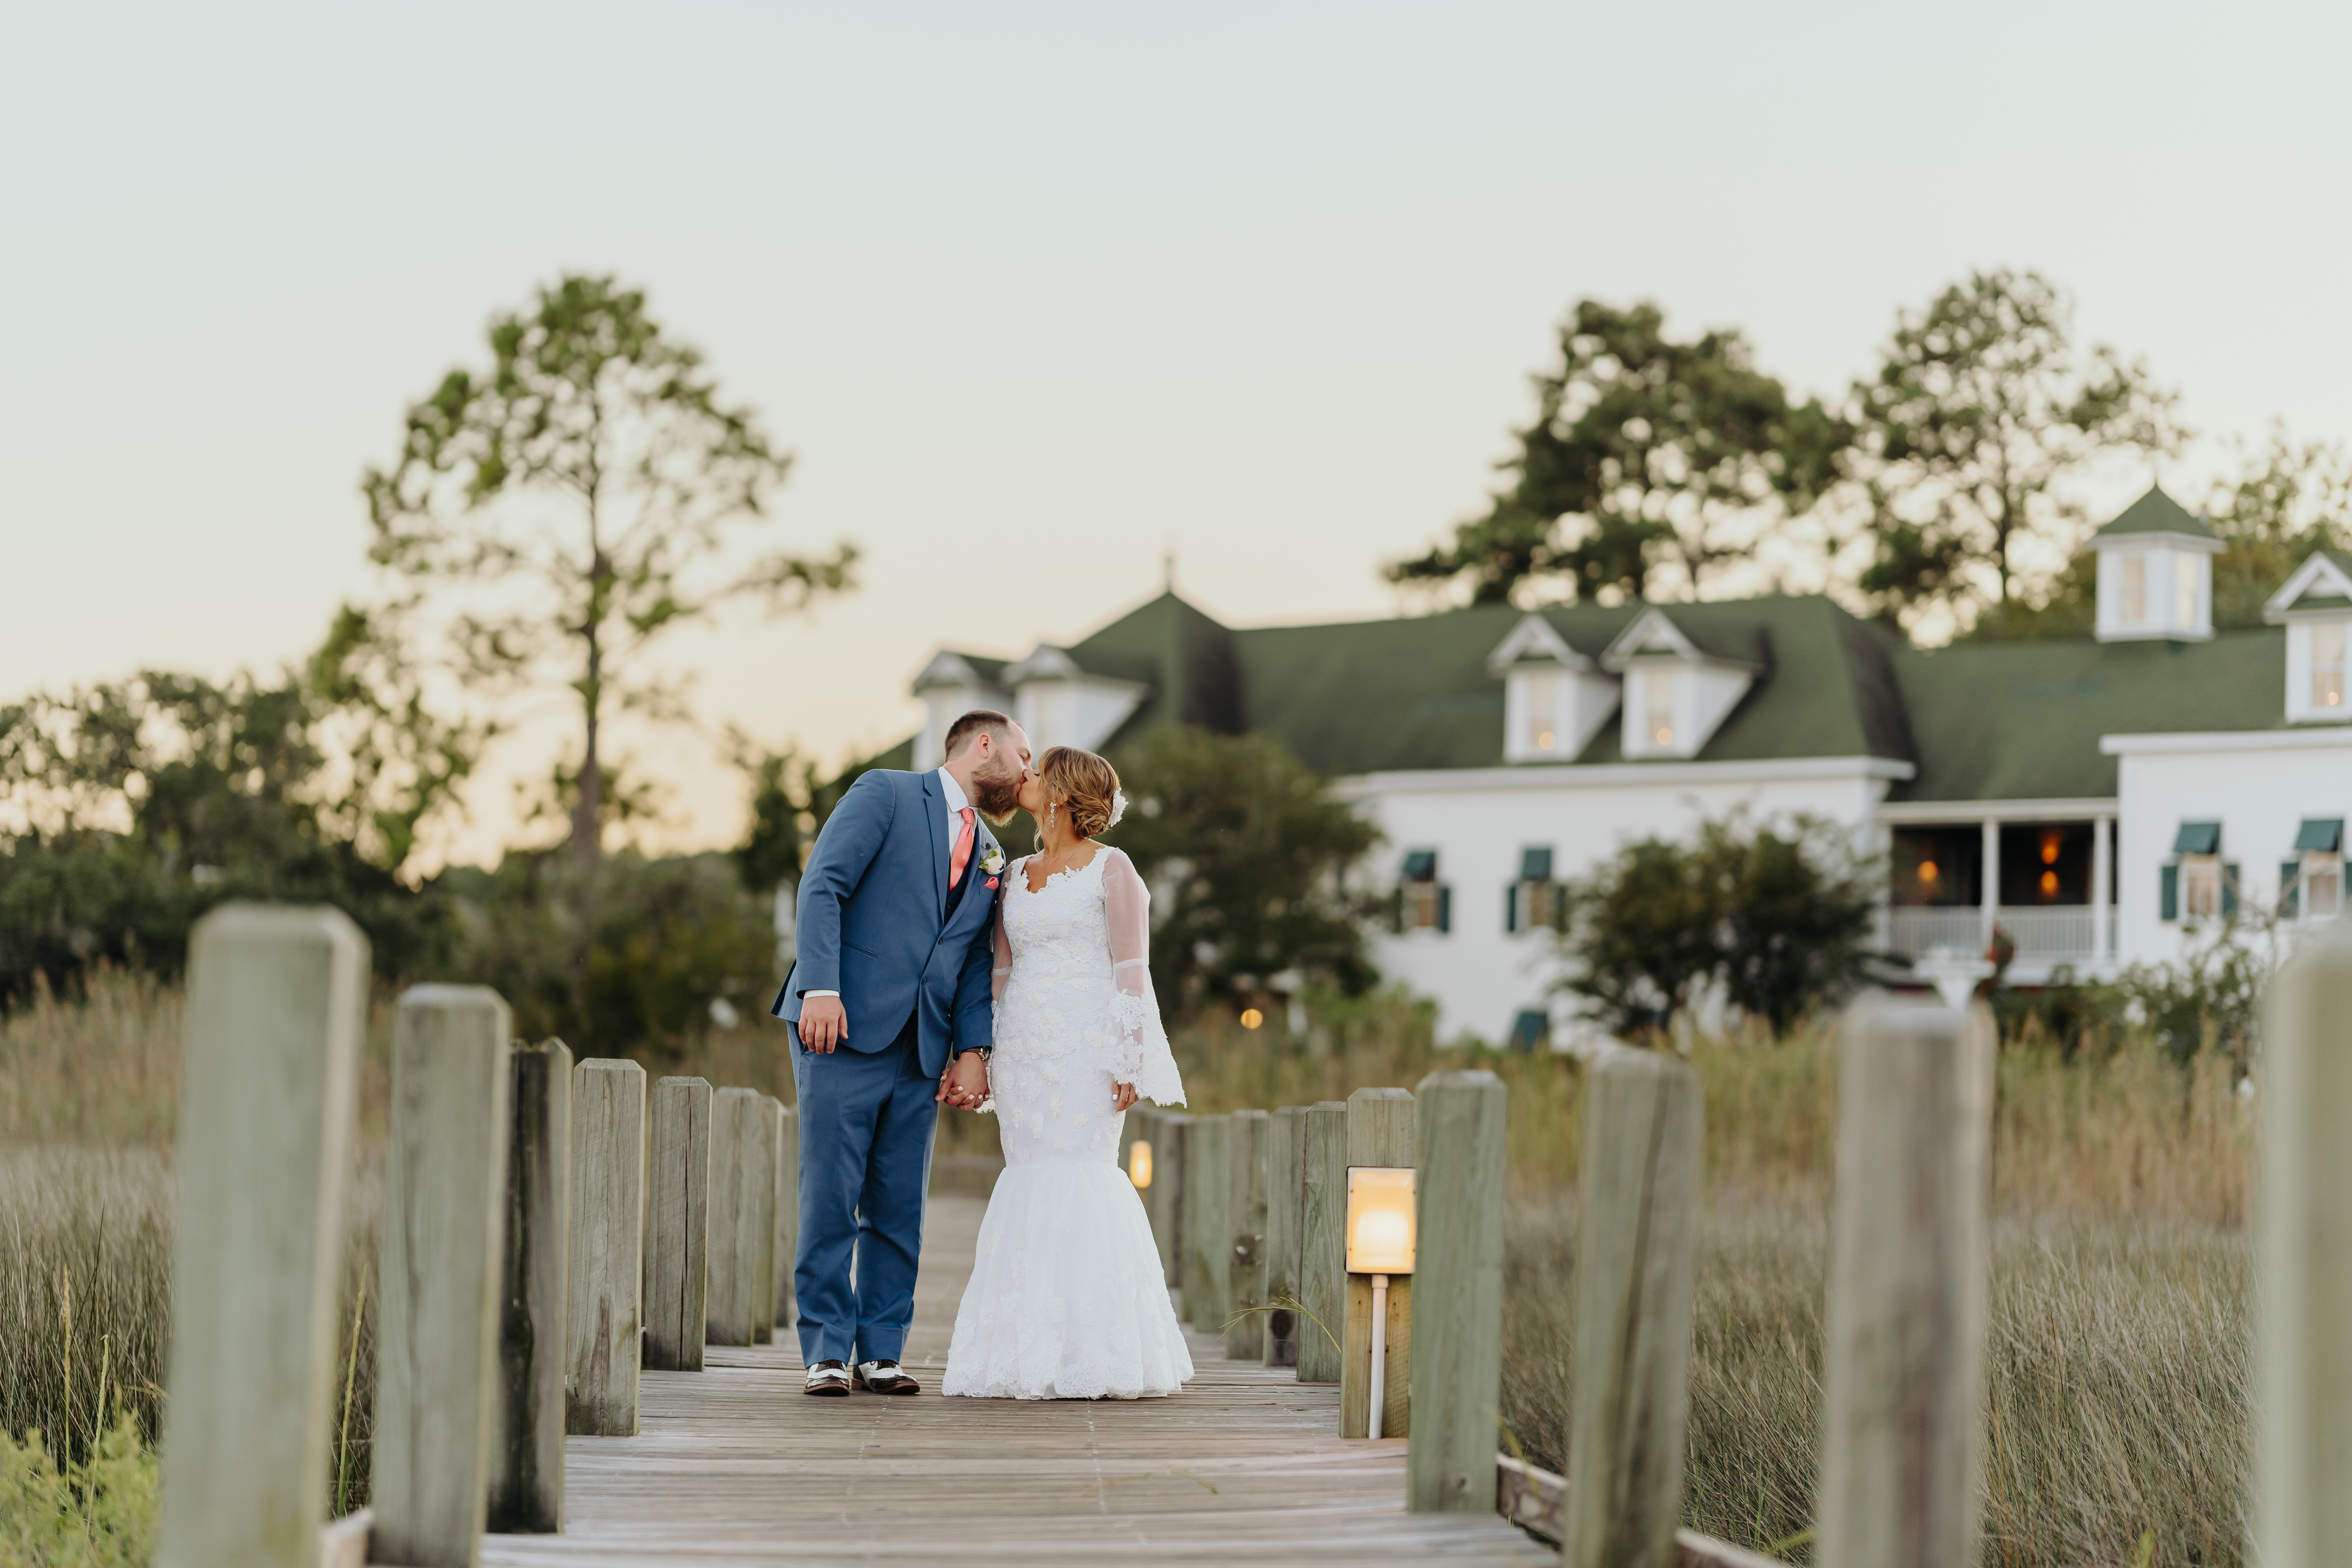
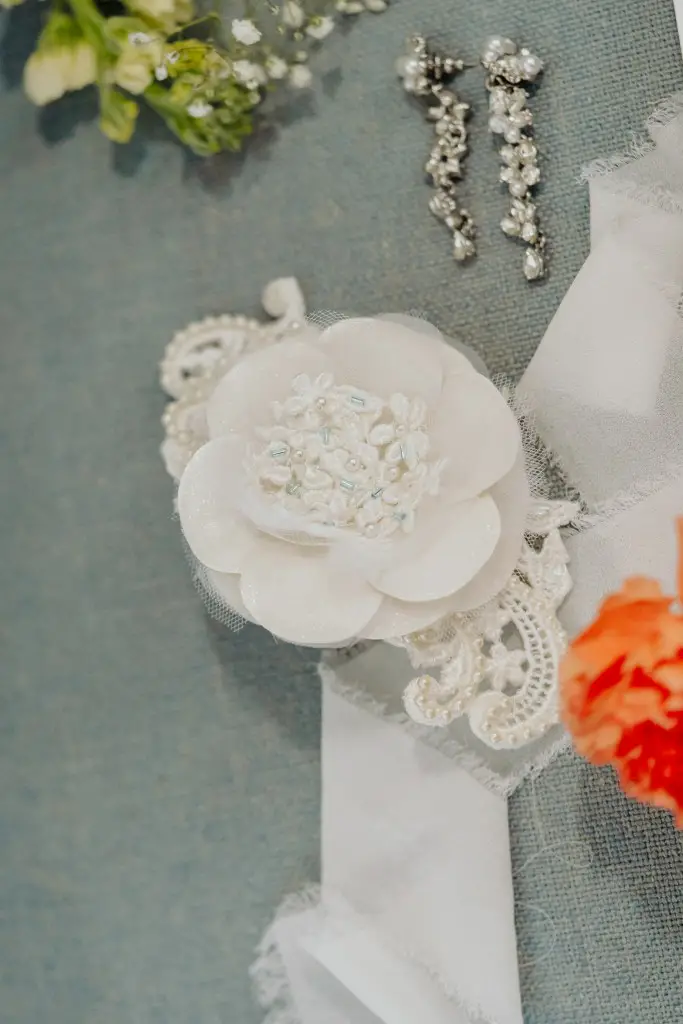
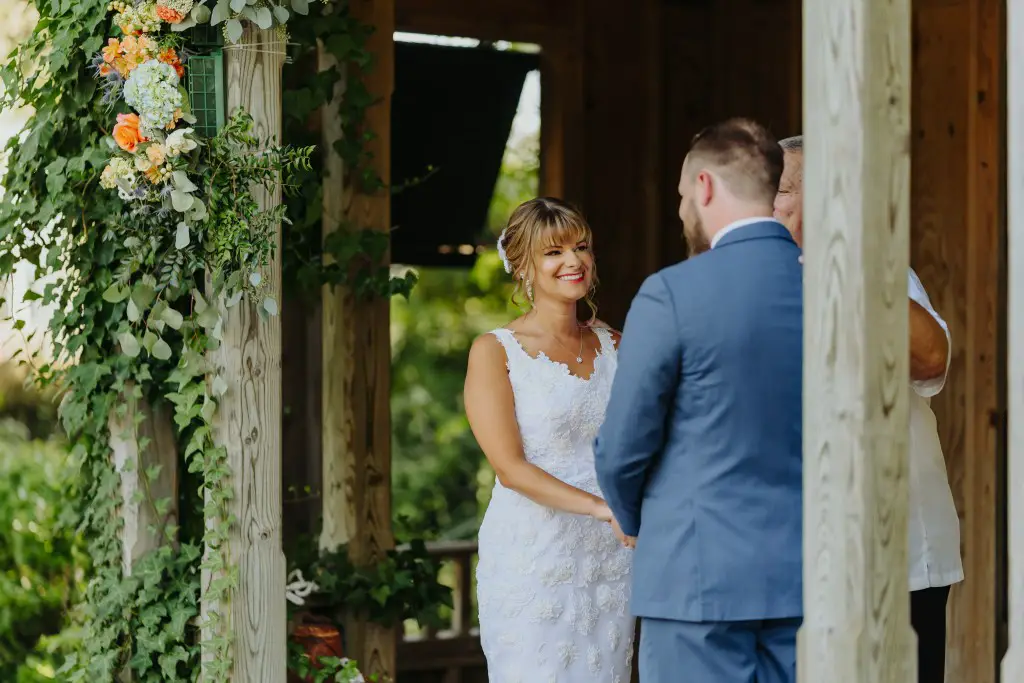
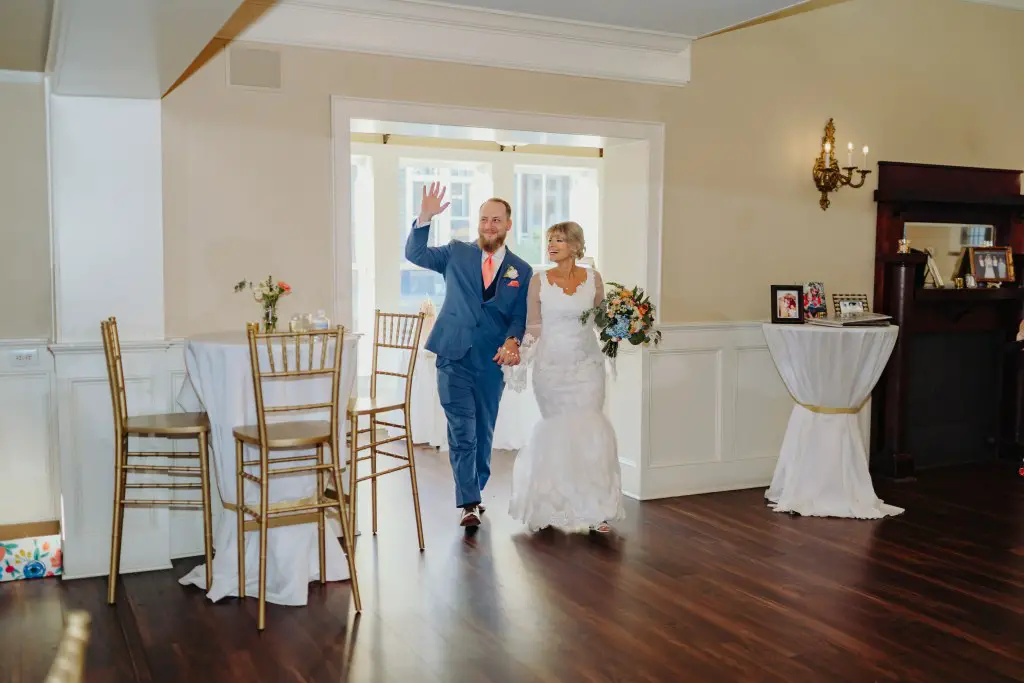
And here is an “after” picture! Restyling this wedding veil and dress turned out to be one of my favorite projects I’ve ever taken on. I think the bride wearing her mother’s wedding ensemble is a beautiful tribute to her parents’ love. And in spite of the high stakes involved with restyling vintage wedding garments, I think it turned out perfectly. So read on, and I’ll show you how to restyle a wedding veil of your own!
How to restyle a wedding veil: Tips to complete your own wedding veil transformation
Since I was working with a one-of-a-kind heirloom, this was a fairly high-stress project. One wrong cut would be a disaster! But even though it was a very special veil, it’s still just fabric. Restyling a wedding veil is a project to take seriously, but not one to be afraid of.
Restyling a vintage veil does come with certain challenges. You can’t just buy more of the same fabric if you need to, and finding materials that match the original veil can be tricky. You need to work around the existing seams. There may be damaged areas of lace or fabric that need to be repaired or covered up. And the whole process will be somewhat slow and finicky, since every detail is so important for bridal accessories.

I wish I could give you an exact tutorial about how to restyle a wedding veil into something new. But since every veil is a different starting point, and every bride’s dream is a different ending point, I can’t offer you steps to take or patterns to sew. But I will show you exactly how I restyled this veil, and have a lot of tips and other things to consider before you restyle a wedding veil of your own:
Work with the veil, not against it

If the original materials are giving you problems, consider reusing just the lace from the old veil, for example, instead of reworking the whole thing. There are quite a few different ways to honor an heirloom wedding veil and turn it into something completely new.
Rely heavily on pictures to make sure you and the bride are on the same page
If the bride is somebody besides you, make sure that you have the same design in mind by looking up a lot of reference pictures.

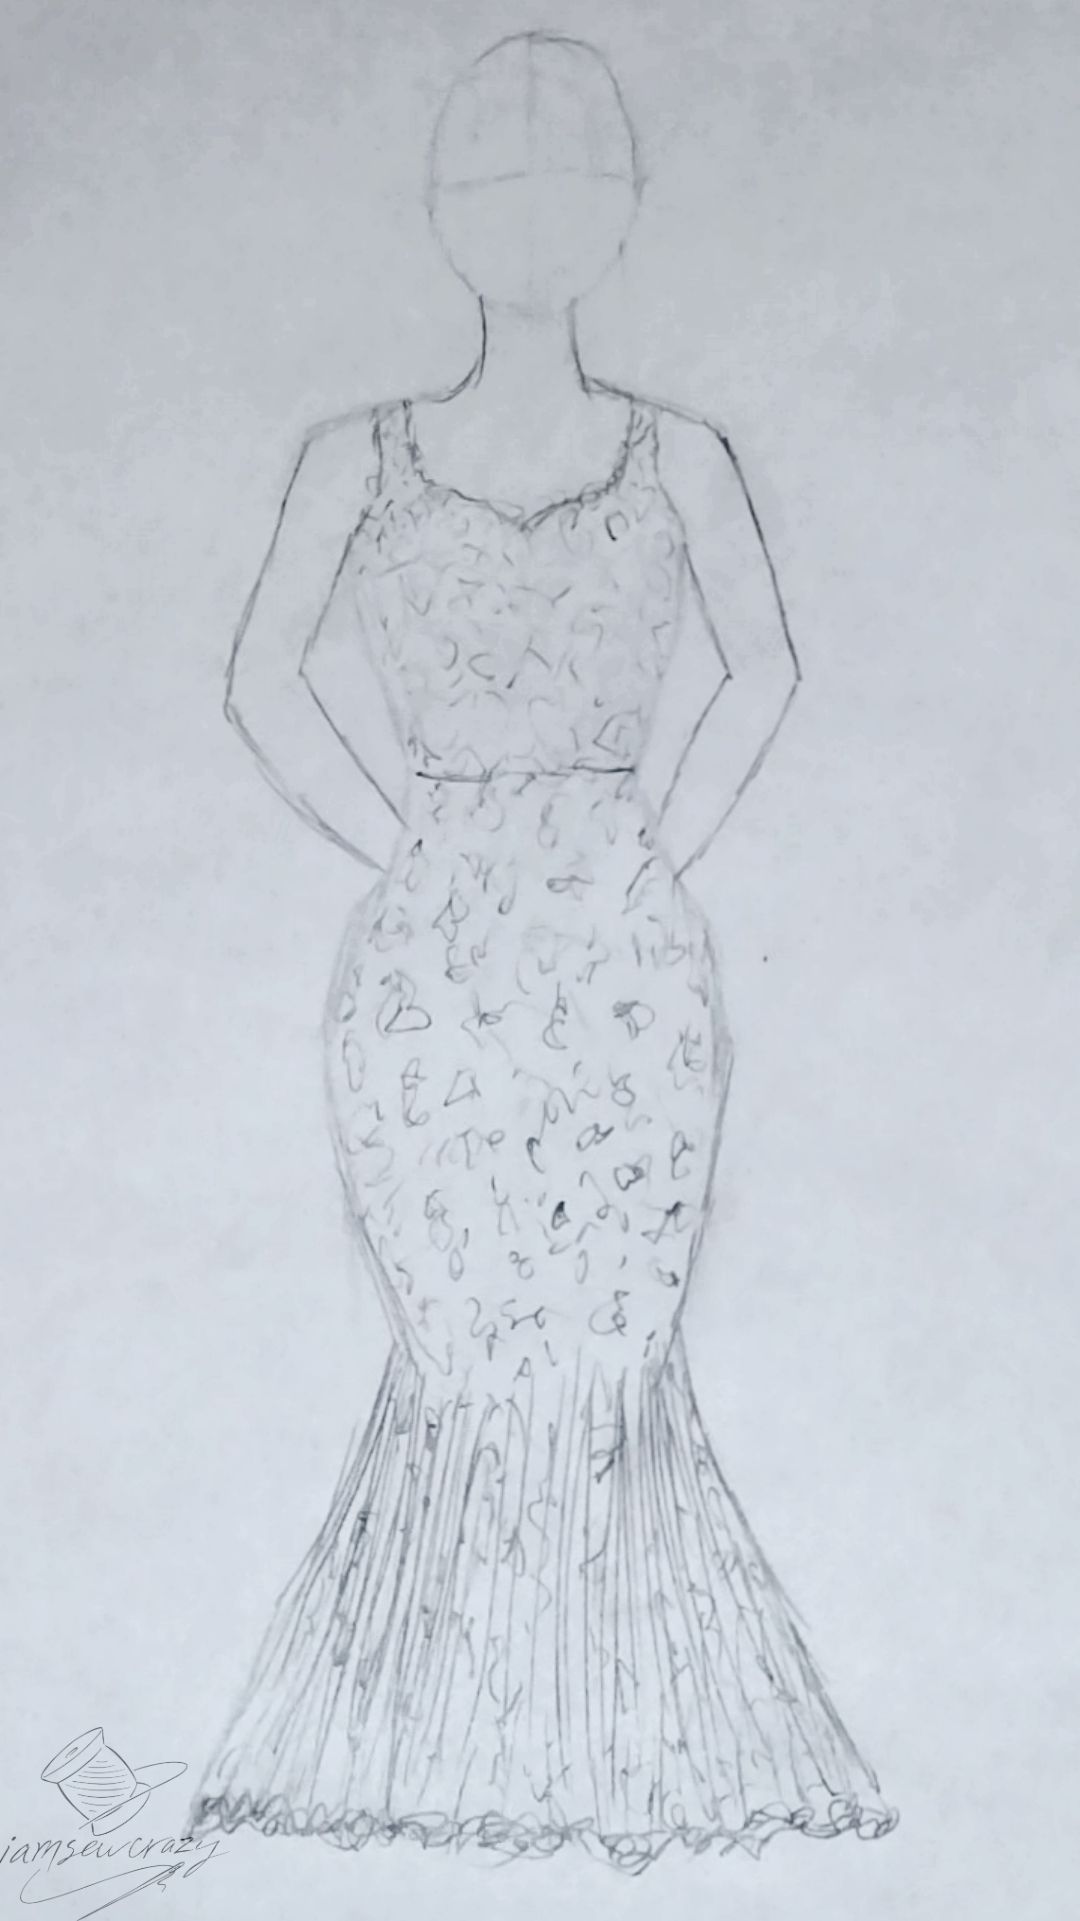
Make sketches if you can, and try to gather your ideas together (shoes, dress, bouquet, etc) so that you can see the whole vision at once.
There have been times when my customers were asking for “a buttercream color” or something else that’s open to interpretation. Make sure that you both use pictures and color swatches in order to visually communicate the design that’s in your head.
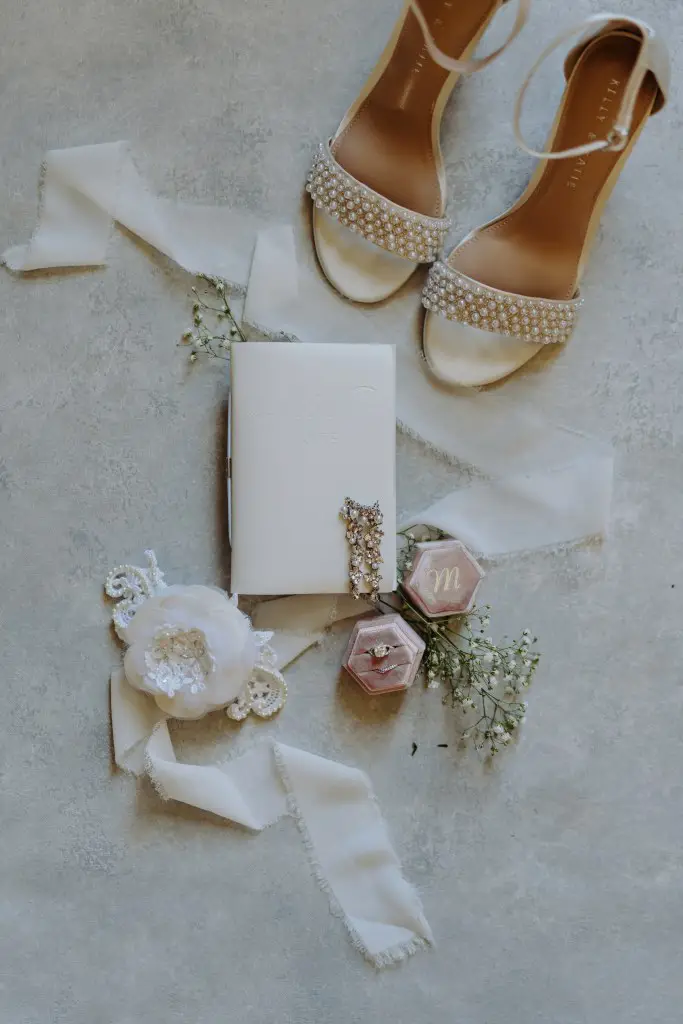
Design the fascinator to work with the rest of the bridal ensemble
The fascinator needs to look great with the dress, the bride’s hairstyle, and the wedding bouquet all at the same time. Try to have reference pictures of the wedding flowers, etc. during the design phase, to avoid any surprises.
Make sure that you know details like whether the bride will be wearing gold or silver jewelry.

Be mindful of color temperature, sheen, lace patterns, and all of the subtle ways that a fascinator can clash with a dress. The sheen is a big one that’s easy to overlook. Certain materials can look completely different when the light strikes them.
Keep size and proportion in mind, so that the fascinator won’t get lost in or dominate the bride’s hairstyle. You want to add a lovely accent to her natural beauty, not hide her whole head!
Be prepared for some surprises
When you start restyling a vintage wedding veil, you may find a few surprises. There may be damaged or stained areas of the lace or tulle. Sometimes the materials have been affected by time more than you realize. On this veil, the wire frame was a bit rusty, the glue was letting go, and the pearls were missing their luster in some spots. It was nothing that couldn’t be fixed and worked around. But consider the fact that you may have less-than-pristine materials to work with when you’re restyling a vintage wedding veil.
Restyle a secondhand wedding veil without emotional significance if you aren’t confident enough to cut up your heirloom veil

I’m not sure about your area of the world, but where I live you can find secondhand bridal items at thrift stores pretty regularly. When you aren’t attached to a wedding veil and you didn’t pay much for it, you can relax and cut it up without worrying. And that can help you to gain the confidence you need in order to work with a family heirloom. The practice run might tell you that the project is a bigger one than you want to take on without some help. Either way, it’s good to have a dry run first without the high stakes.
Restyling a wedding veil will take you three times longer than you think it will
The whole process will be somewhat slow and finicky, since every detail is so important on a bridal accessory. It’s supposed to be impeccably finished, which often means that four-letter word (sewing by hand)! And those little surprises, like damaged areas of the veil, will all add up to more of your time spent on restyling the wedding veil. When you have a deadline that’s set in stone, like a wedding day, you should estimate how long you think the project will take, and then triple it.
Know when to add new materials instead of reusing the old ones
Not every wedding veil is the same. For example, there are some without a metal frame that just have a plastic comb holding them into the bride’s hair. But this style of fascinator has some weight to it! It’s not just wispy tulle, and it won’t stay put very well with just a comb on the back. So I would recommend adding at least an alligator clip to hold the fascinator securely in place.
I hope this goes without saying, but please don’t reuse thread. That level of thriftiness is not okay. Seriously, don’t be so loyal to the original materials that you lose your mind or your patience.
With vintage garments, age can take its toll. Some of the materials may not be as sturdy as they were when the veil was cleaned and packed away years ago. Be alert for times when it makes sense to replace materials instead of reusing them.
It’s okay to add in beads, like I did with this veil, or other accents that did not come with the original wedding veil. It’s about the history and sentiment behind the veil, and not so much about reusing every scrap of it (or adding nothing new). Work out a design that looks amazing, and if that means you have to add in some new beads, then so be it!
Measure twice. Then measure twice again.
You don’t get a do-over with a unique project like this! I definitely couldn’t run down to the fabric store and pick up a new wedding dress and veil to restyle if I messed up. Double-check before you make any cuts, and don’t work when you’re too tired or distracted. Use pins or clips to hold other layers of fabric out of the way when you are cutting or sewing. And double-check that the measurements make sense and everything looks right as you go.
Save all of the scraps from every material you are working with
You will need to obsessively save every single scrap, like some sort of pack rat with OCD, until the project is done. There are many reasons for this:

Always take scraps with you when you go to the fabric store. Look at your materials in natural light to see if you are matching colors. And layer the materials on top of each other if they will overlap in the finished project.
Use scraps to test your iron settings before pressing, fusing, or shaping the fascinator. You will need to be able to test your iron temperature on a scrap of fabric that doesn’t matter, to make sure you won’t melt or glaze the actual fascinator pieces.
If your design includes any machine stitching, you will need scraps of material to test your stitch settings and thread tension.
And you might just find another use for the leftover pieces, like I did! I made the bride and her mother each a small DIY Message in a Bottle keepsake. I thought they should each have a small piece of the original dress and veil, so I made flowers out of some little scraps that were left behind after restyling the wedding dress and veil. The flowers got added to the bottles, along with sand, shells, and a broken needle.
Utilize heirloom sewing techniques

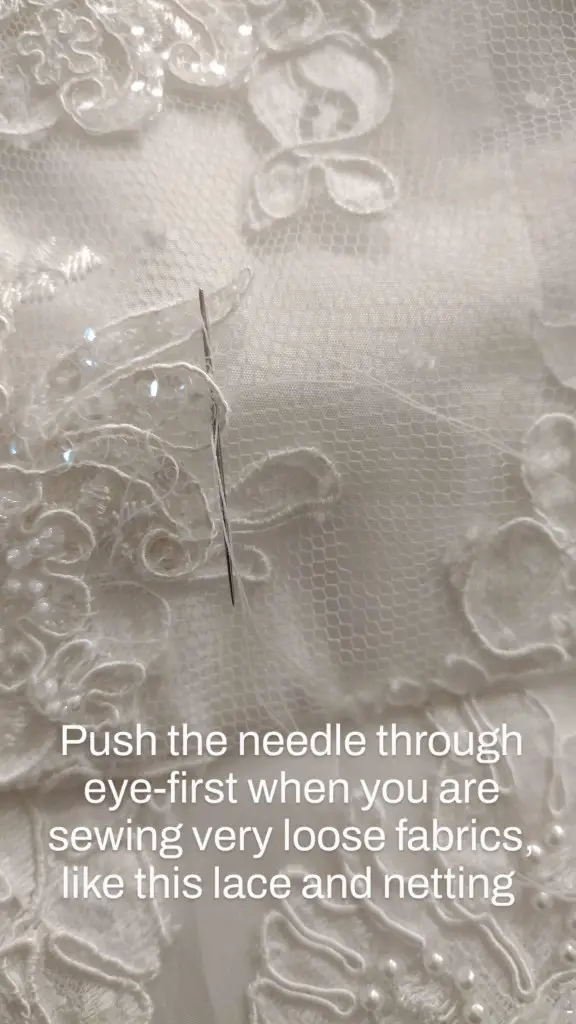
There are lots of techniques used in heirloom sewing that will add a very professional finish to a bridal accessory. If you’re not accustomed to hand-sewing or working with lacy fabrics, it’s a good idea to familiarize yourself with these methods before you begin restyling a wedding veil. In particular, the heirloom techniques for sewing lace-to-lace, working with sheer fabrics, or hand-sewing appliques will be very useful to know.
Make sure your tools are good quality
I have a travel-sized iron that I wouldn’t let within 100 yards of this fabric. You need to make sure that all of the tools you are using are good quality and trustworthy. For instance, your iron needs to be able to hold a specific and consistent temperature. The needles that you choose should be the perfect needles for the fabric (and you should change them often). Your curling irons and other shaping tools need to be tested on scraps of material to be absolutely certain that the fabric will not melt or glaze.
These are the tools that I relied on. (By the way, these are affiliate links and I earn from qualifying purchases at no extra cost to you):
- My trusty Rowenta Pro iron (that’s a newer model than mine is)
- Mettler Metrosene thread
- Heat-n-Bond Ultra Hold
Use materials that are designed to last through long-term storage
In general, you should avoid glue and adhesives. For a wedding accessory that will likely end up in long-term storage, sewing everything is a much safer bet. Glue is pretty great for quick Halloween costumes, but please don’t use it on an item that is supposed to be treasured for many years to come.
If you use any metal components, such as the alligator clip or the wire for the frame, make sure that they are rustproof or properly coated. A rust spot on a white bridal fascinator is pretty much the end of life as you know it.
Wash your hands and dust your table often

Skin oils will get on the fabric, you can count on it. During cutting, sewing, etc it will build up and cause the item to look yellowish. Try to minimize it as much as possible by washing your hands frequently. I didn’t wear gloves (it would have made all that hand sewing terribly cumbersome) but there are probably a few instances where gloves would make sense.
Don’t use lotions or perfumes that might touch the fabric or build up on your hands.
Dust off your cutting and sewing table before working on the wedding veil each time. Lint will really show up on a white bridal accessory!
Don’t prick your thumb and get blood on a precious heirloom like I did
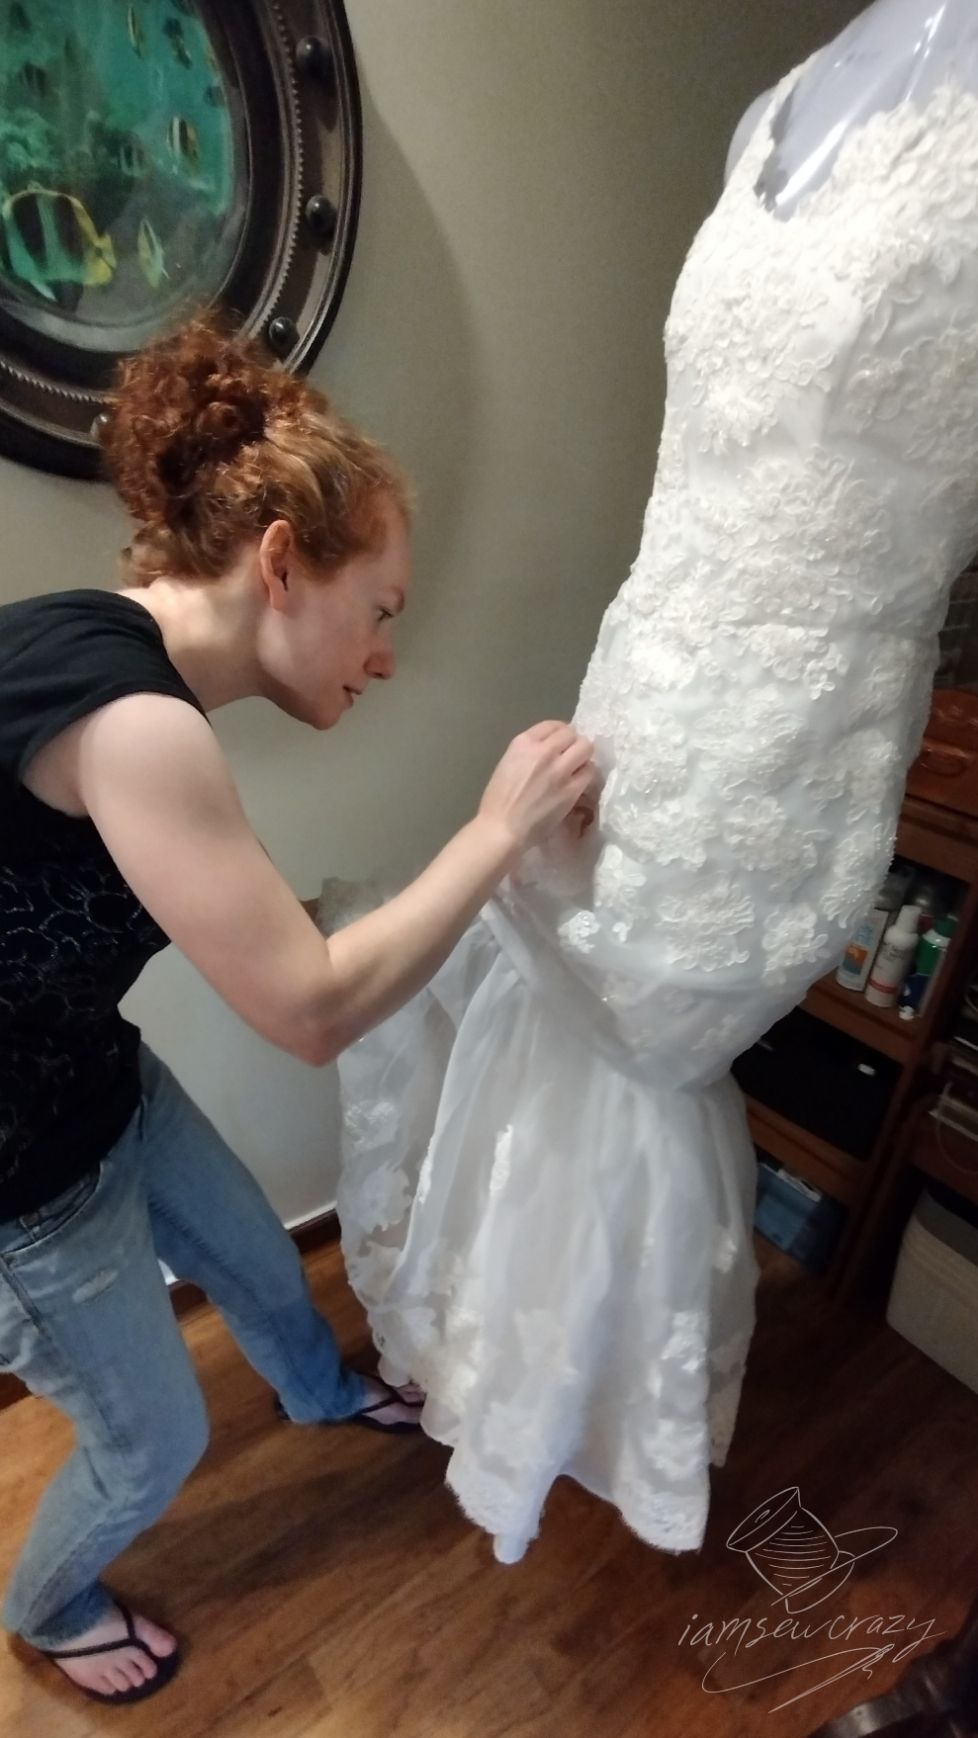
Yep, I can be a little clumsy at times, and I caught myself with a pin during one of the fittings while I was restyling the bride’s mother’s wedding dress. Fortunately the blood spot was at the end of the sleeve, near the cuff, which was one of the few pieces I didn’t need to reuse. But wow, holy crud, be careful when you’ve been trusted with a garment that has a high emotional and monetary cost. Take your time and don’t be chaos on wheels when you’re working with it.

I also refused to bring any drinks into my studio while I was working on the wedding dress and veil. I do often have coffee or something with me, but I couldn’t risk a spill or drip. Be mindful of any pets, kids, messes, and spills.
Don’t be afraid to ask for help
No judgment here! Bridal fashion design is difficult. Every garment and accessory is supposed to be impeccably fitted and constructed. The wedding pictures should bring joy in the future, and your memories of the day should be overwhelmingly happy. If you’re stressed out and the items are not turning out the way you’d envisioned, there’s no shame in asking for help from someone who is experienced in working with wedding gowns and accessories. It’s great that you’re preparing yourself and reading all about how to restyle a wedding veil. But if it seems like it’s too far outside of your comfort zone, it’s okay to pass off the project to somebody with more experience.
Now, let’s get back to restyling the wedding veil!
How to restyle a wedding veil: Designing the new look
The bride, Caroline, had seen some of my work at a fashion show when she saw the Flights of Fancy collection. So she trusted that I would be able to restyle her mother’s wedding dress and veil. And fortunately, her mother Cherie agreed to trust me with it too.


Here is how Cherie looked wearing the veil on her wedding day. She’s beautiful! But Caroline and I both agreed that a veil just wasn’t the right look for Caroline. I wanted to make Cherie’s veil into a flower-shaped fascinator for her hair, to go with her more modern aesthetic.


The bride sent me some inspiration pictures of fascinators that she liked. This made the design portion of the project fairly easy, but I had a few things to keep in mind:
- The fascinator needed to look great with the dress, Caroline’s hairstyle, and the wedding bouquet all at the same time.
- I had to be mindful of color temperature, since the dress is a shade more ivory than the veil, which is on the cool white side of the scale.
- Size and proportion are very important, so the fascinator won’t get lost in or dominate the bride’s hairstyle.
- I wanted to reuse as many of the original veil’s components as I could.
- And I was hoping the fascinator would still have the same spark that Cherie’s veil had. If you can’t tell that Caroline’s fascinator was made from her mom’s veil, then it loses a little bit of the special touch that comes from restyling a vintage wedding veil.
So let’s make it happen!
Deconstructing the original wedding veil
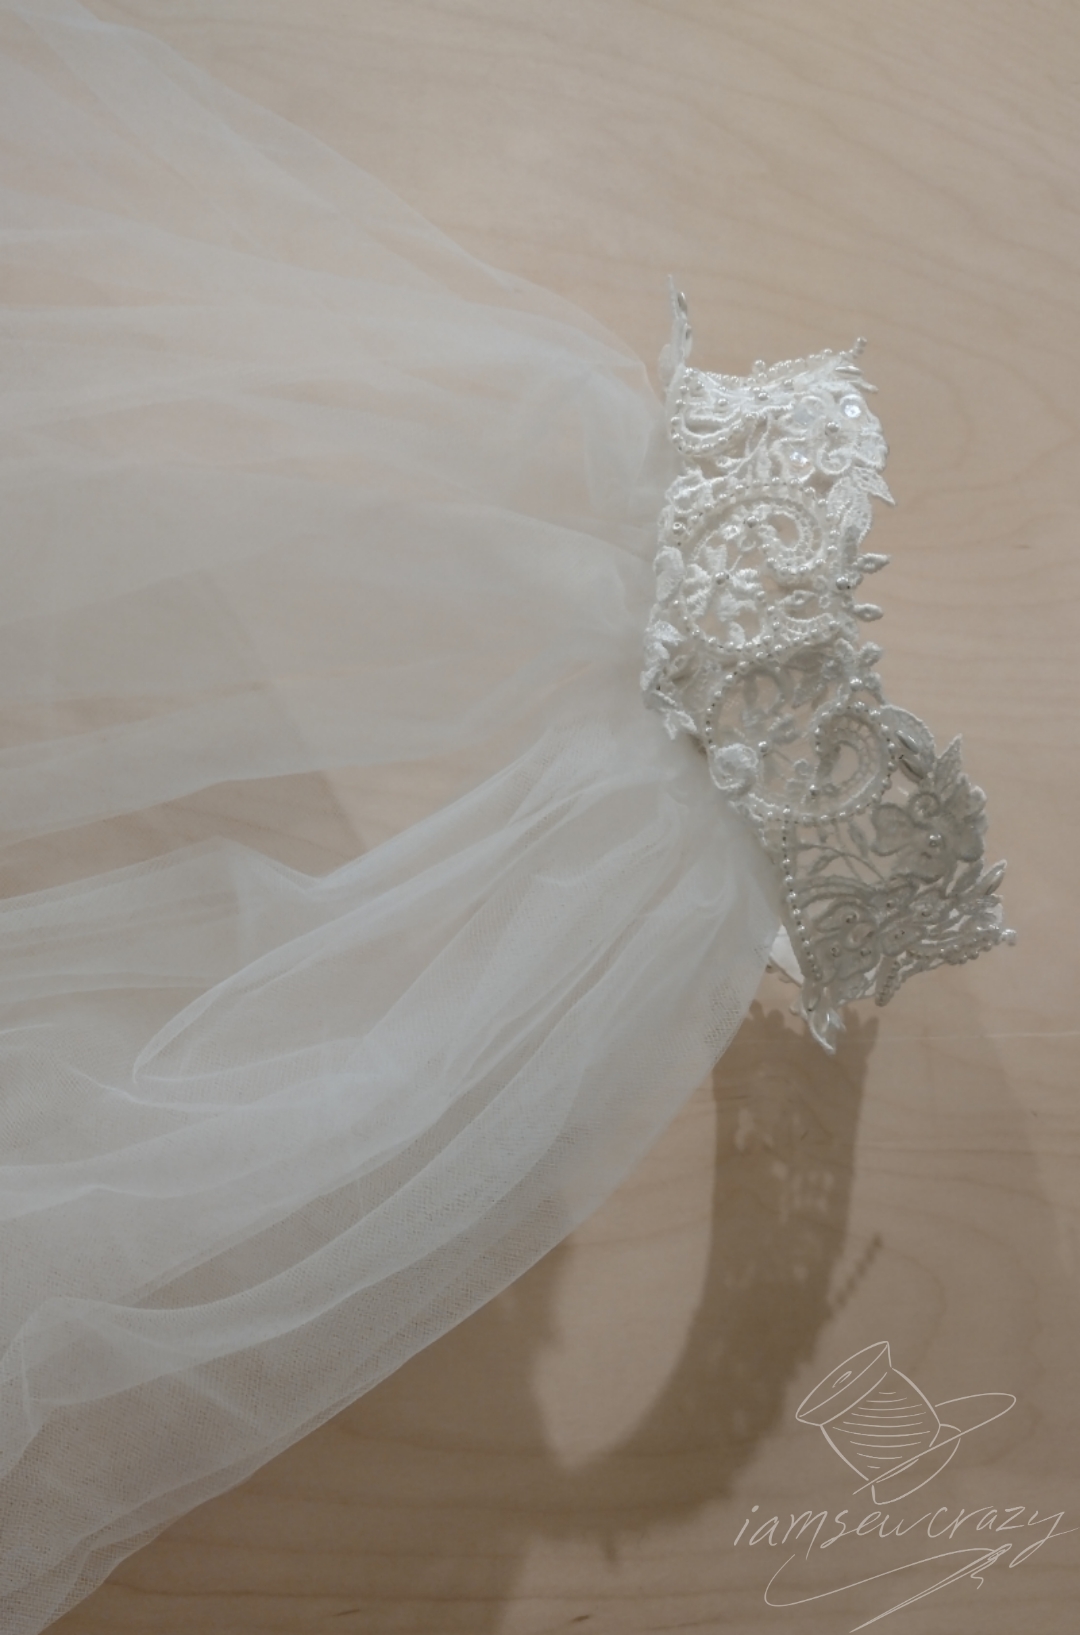
The vintage veil had really good bones to start with, and I was DYING to cut it to pieces! I set to work taking the entire veil apart so that I could work with the components.

The pearls and sequins had originally been glued on, not stitched… and the glue seemed ready to give up. No worries, I would just pull them off and sew them back on when and where I wanted. I carefully saved them all as I removed them.
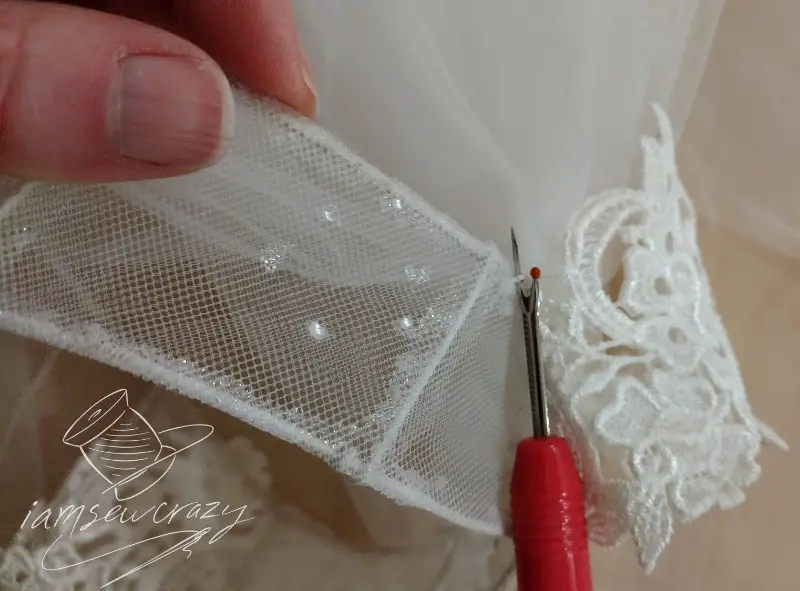
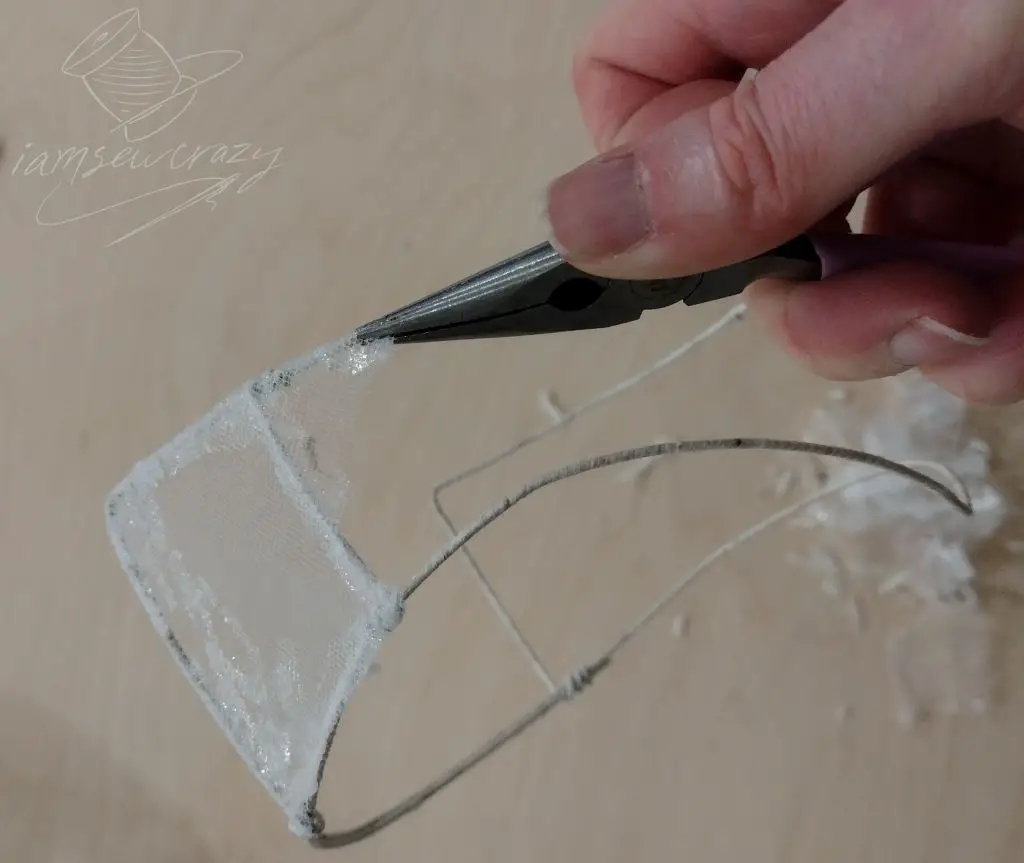
I needed to use a seam ripper for the stitches that held the lace and netting onto the frame.

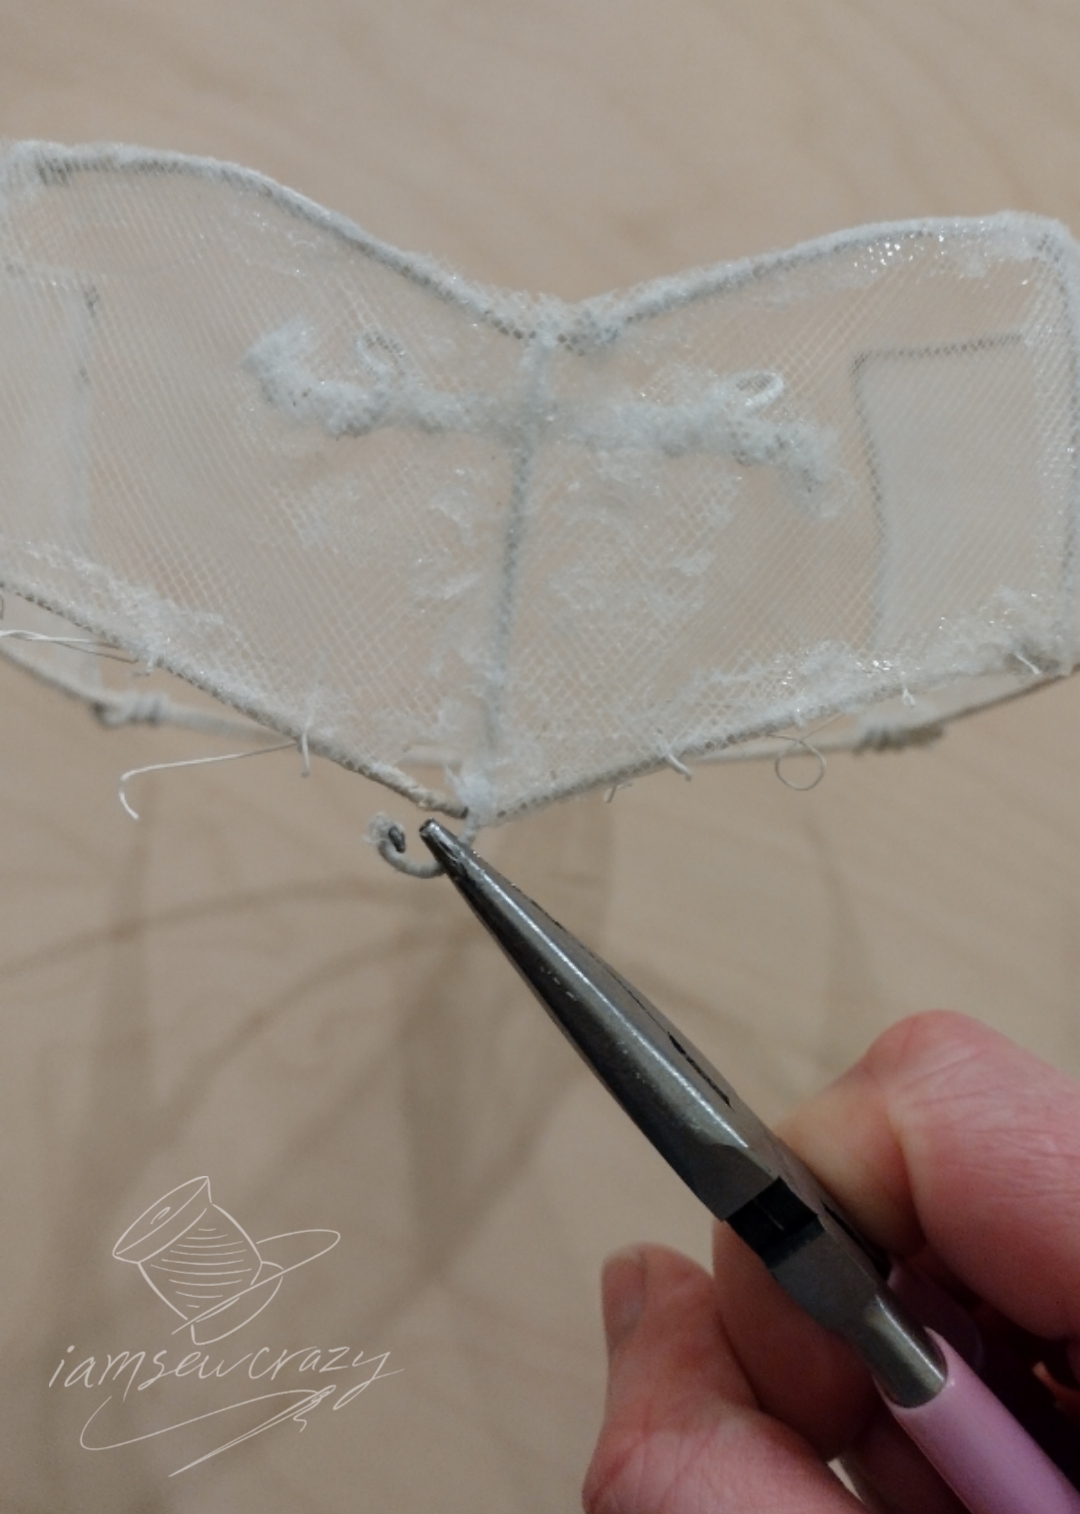
Using pliers, I took apart the thread-wrapped wire frame. It was still in okay shape, but it was a bit rusty. I was planning to cover and reuse the same wire to make the bendable metal base of the fascinator.

I tore off all of the bits of tulle that were glued to the frame so that I had a clean slate to work with. These little bits were thrown out, since the veil included plenty of tulle that didn’t have glue on it.

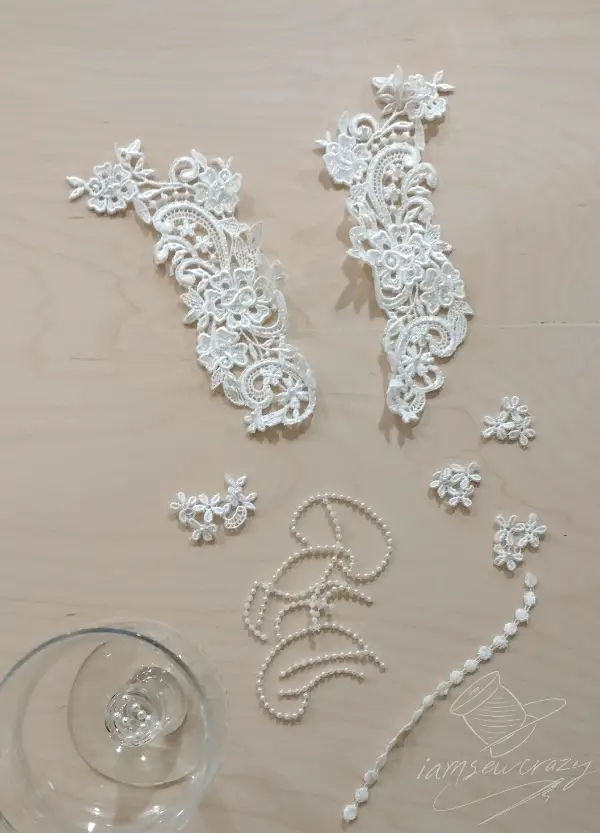
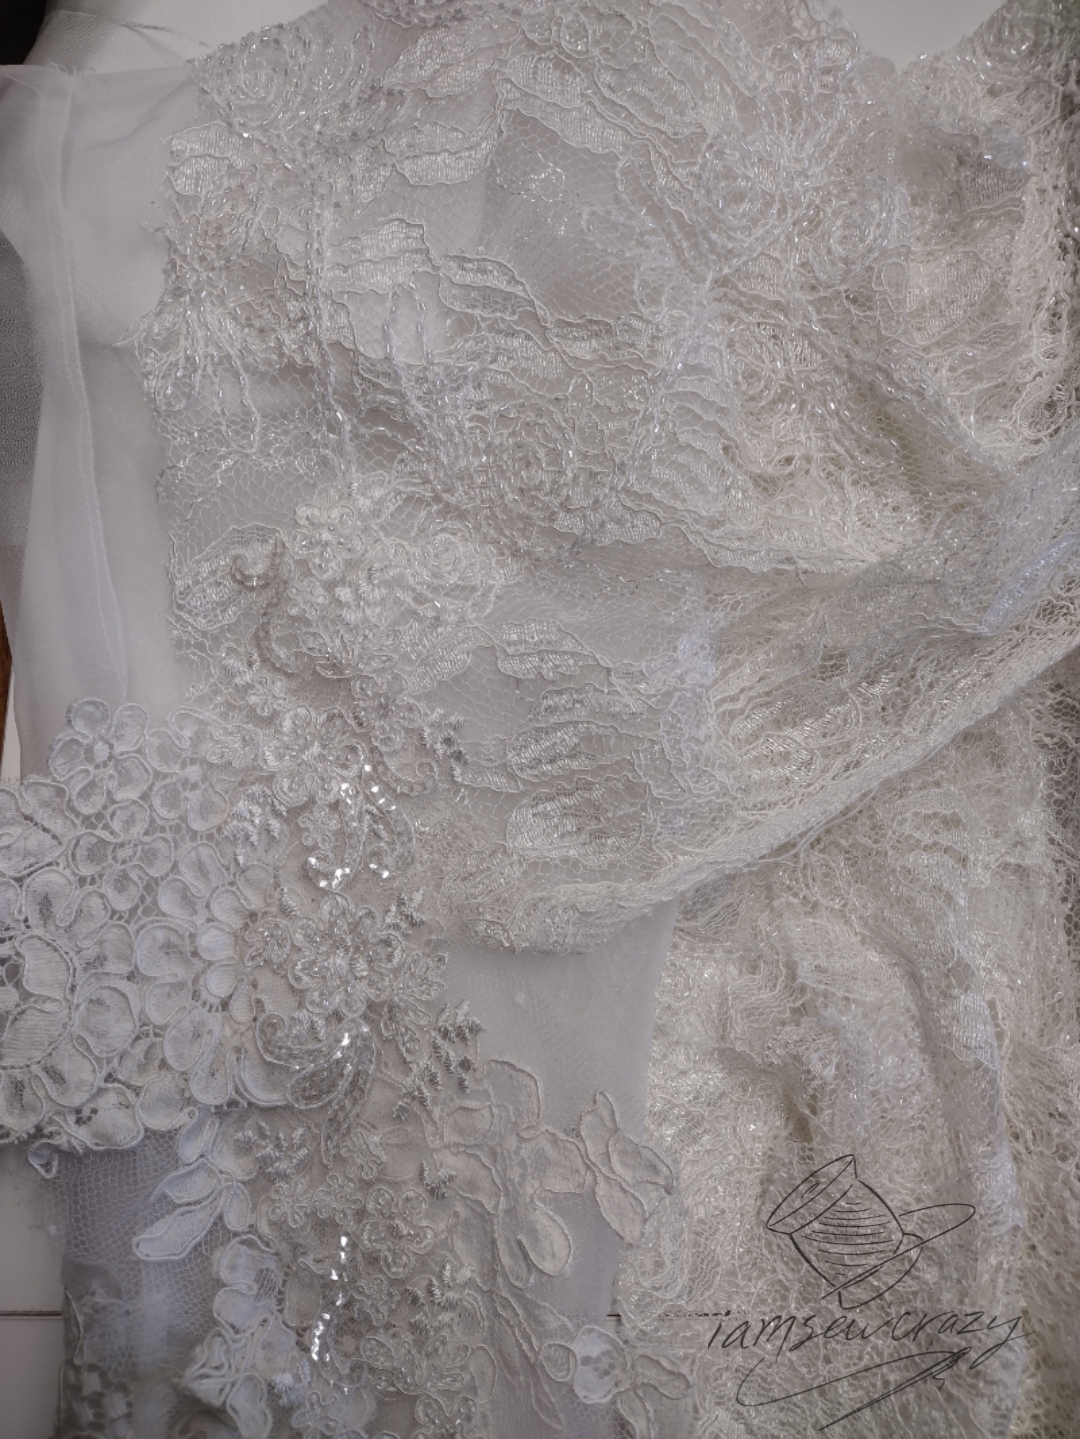
The lace from the veil was absolutely perfect. There were two large, thick mirror-image pieces on the front of the veil that were in great shape. I decided to use them to cover the metal base of the fascinator. The smaller lace motifs would end up in the center of the flower. The lace that looks like a dotted line had no place in my vision, so I ended up throwing it away. (That’s okay! You don’t need to reuse every single scrap when you restyle a wedding veil.)
The pearls would need some refinishing, but that was no big deal. The sequins I could simply reattach where I wanted them without any issues.
How to restyle a wedding veil into a flower-shaped fascinator
Overall, I’m really excited about the materials I have to work with. I have a lot more tulle than I need, because the veil was so much larger than the fascinator will be. But that just gives me more wiggle room with how I cut out the pieces.
Making the flower petals
I needed to bring in some solid fabric from the dress, or else the flower would look too much like one of those poofy shower scrubbies. To do this, I applied Heat-n-Bond to the satin dress fabric. Then I peeled off the paper and ironed another piece of dress fabric on top. Then I cut out some flower petal shapes. The Heat-n-Bond stiffened the fabric, and allowed me to shape the petals later on, using heat from curling irons and a hair dryer.


I cut these petals a little bigger than I’d need them to end up. This made it easier to pearlize them with a shimmery coating, because I could hold on to the extra fabric while I painted them. I also cut out some flower petal shapes from the sheer fabric of the dress train. These would be layered in with the satin petals to give the flower even more dimension and texture. I melted the inner point of the sheer petals with a lighter to make sure they wouldn’t fray and come apart from the flower center.
Pearlizing the flower petals
I wanted the petals to have a pearlized coating that matched the buttons on the dress, so I tested out a few options. I settled on a mixture of pearlized and crystal acrylic finishes, and an “enchanted shimmer” topcoat. After coating the petals on both sides, I allowed them to dry.


Making the flower center
The flower center is made of the veil’s tulle, twisted and twirled around the small lace motifs from the veil. I coaxed into a cup-shaped poof that would hold beads and sequins later, for some more sparkle. I just did what looked right, layering and trimming and slashing the tulle until it lay the way I wanted it to.


Sewing the flower together
Using a sewing machine to give me a head start, I layered the sheer petals over the satin petals and tacked them together in a long chain. Then I cut each pair apart.


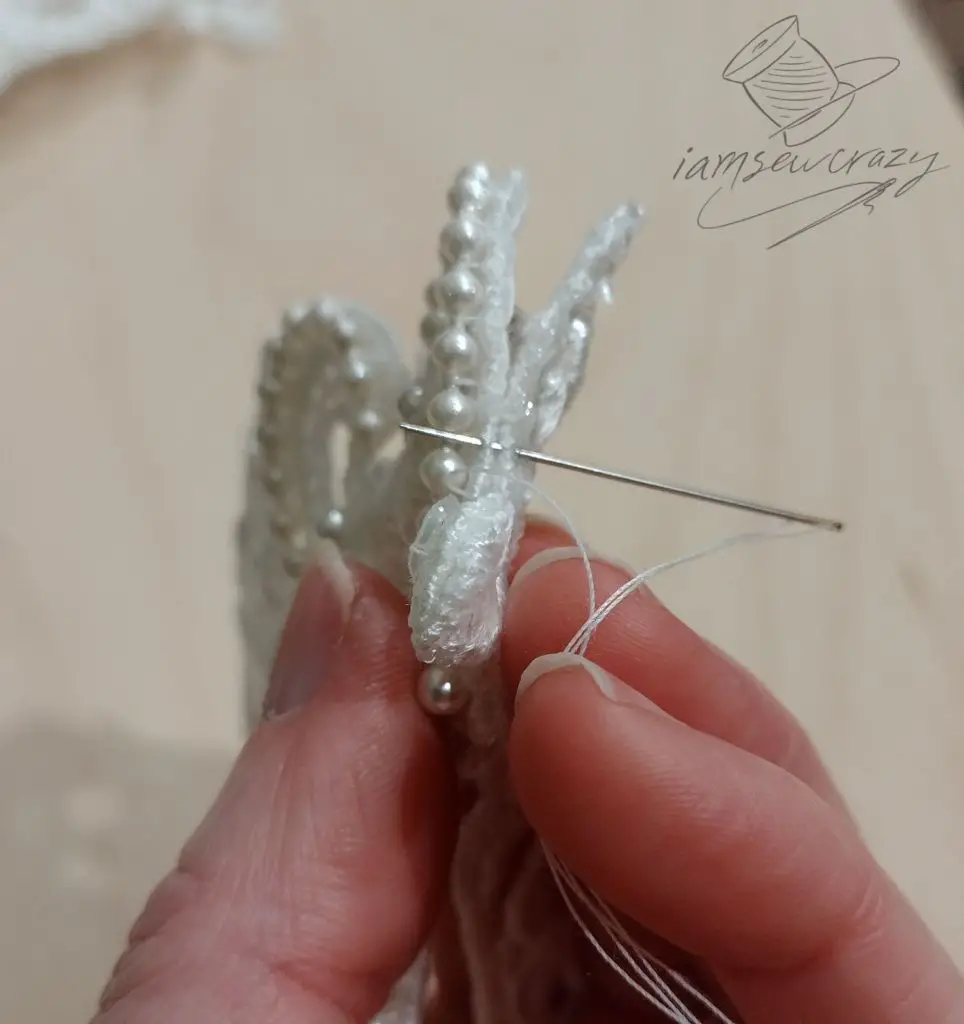
I used a hand needle and sturdy thread to sew the petals in a spiral around the flower center, mixing in some tufts of netting from the veil to give the flower more interest and texture.


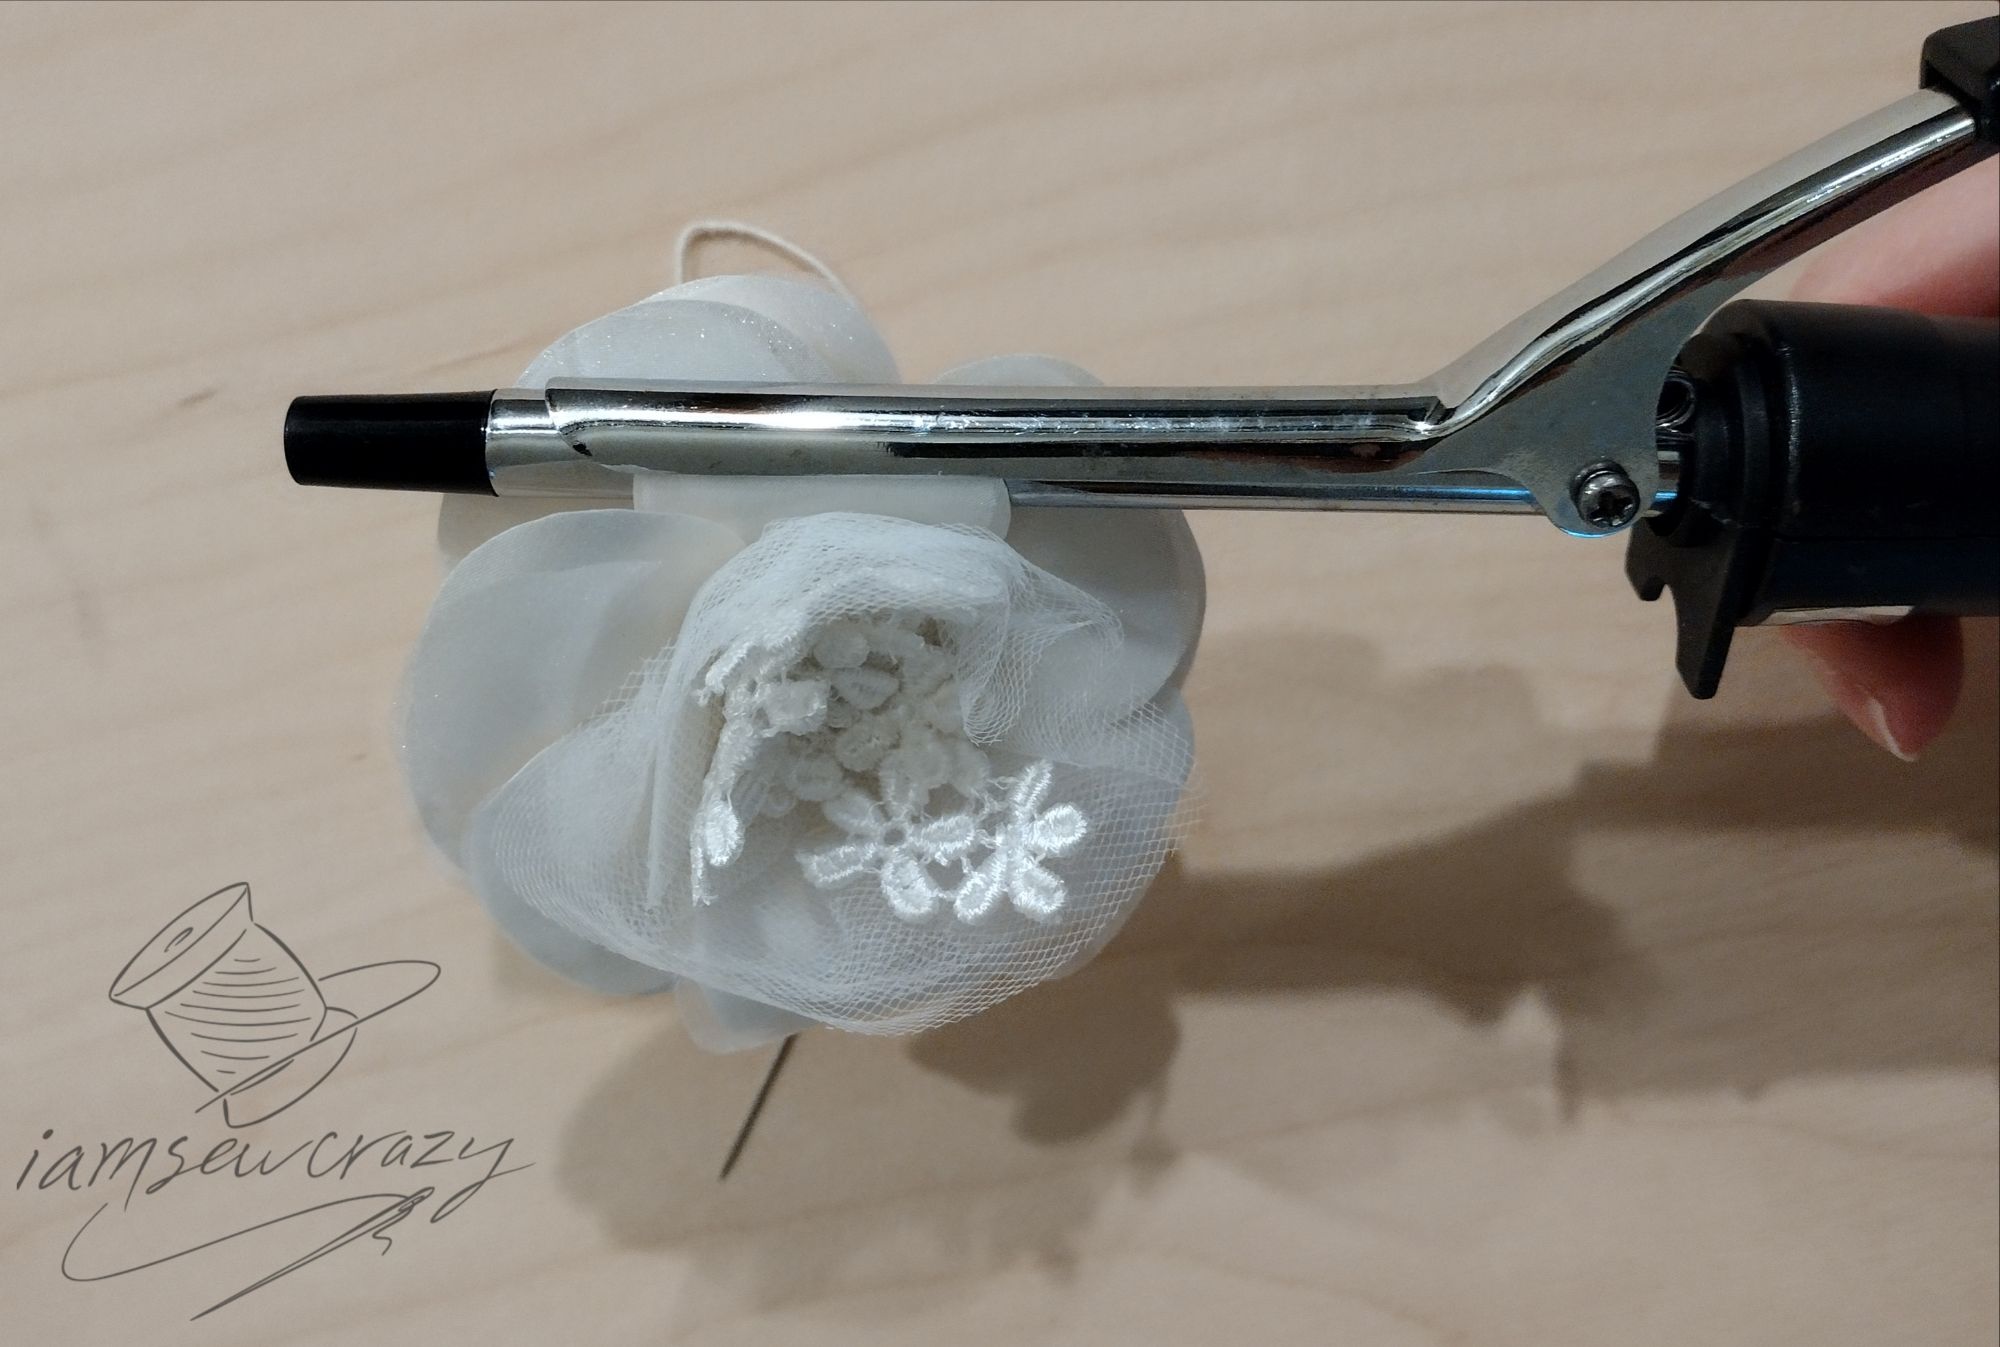
Shaping the flower petals
Since the satin petals have a layer of Heat-n-Bond sandwiched inside them, I can shape them with a curling iron. I’m curling each petal downwards to give it a more natural look.

Making the frame
Remember how the wire frame was a little bit rusty? I didn’t want rust spots getting anywhere near the white flower. So, I slid some heat-shrink tubing over a piece of the wire and shrank it by holding it next to (not over) a flame. Then, I bent it into an oval shape, and sealed the two ends together with a larger piece of heat-shrink tubing.


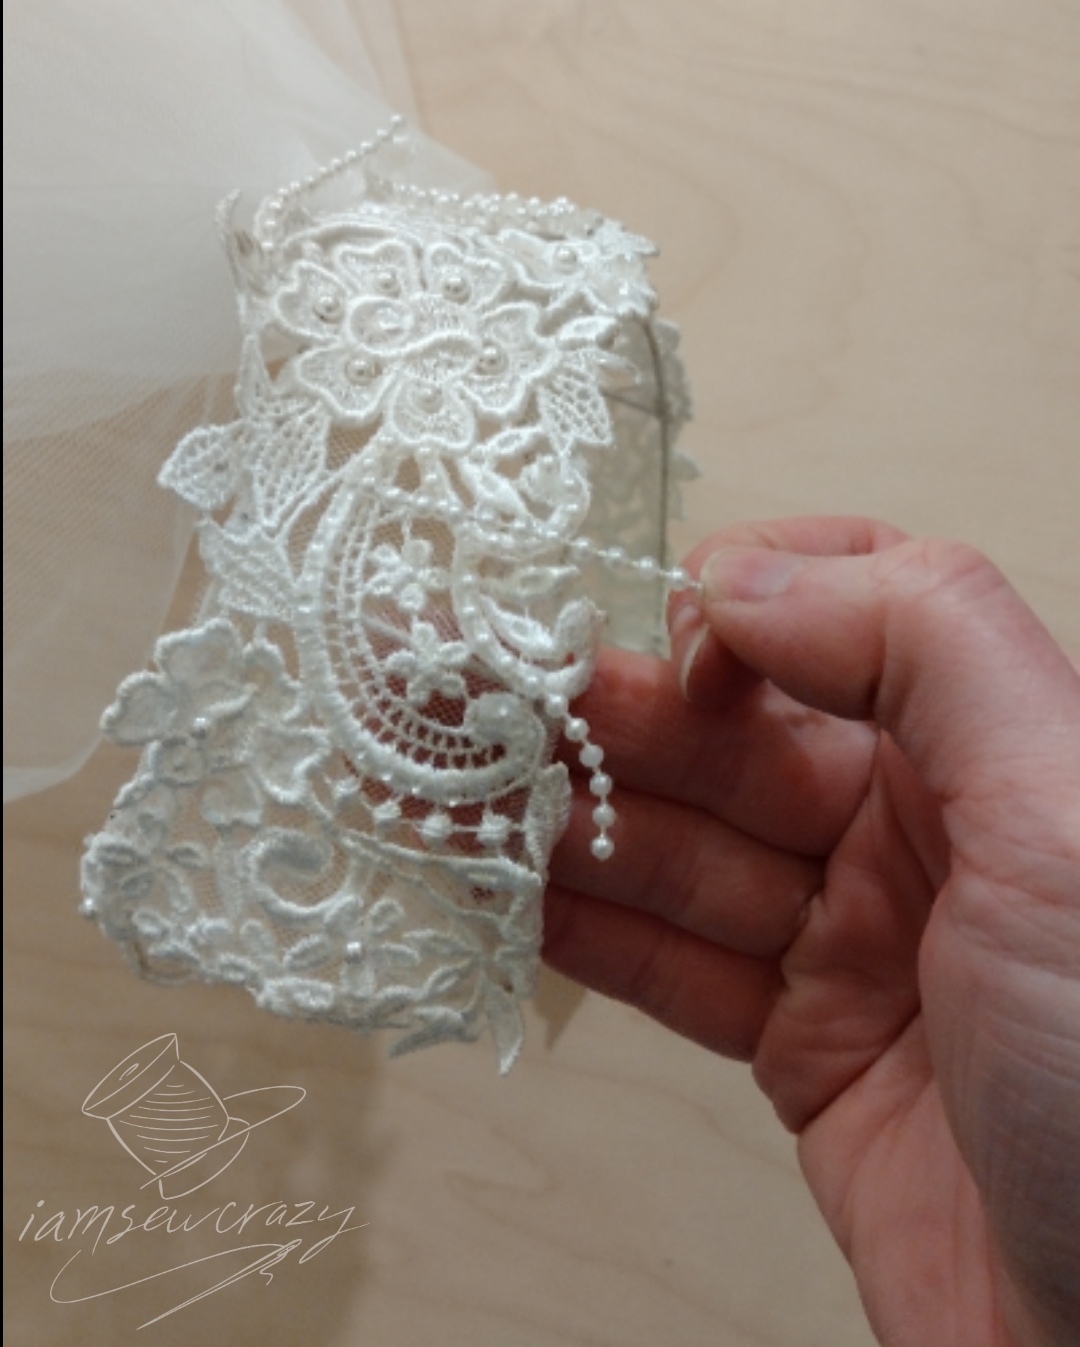
I bent the wire frame into a teardrop-shaped swoop to match the curved design in the lace, and sewed the wire to the upper piece of lace. I had already re-pearlized the small strands of pearls, and now I reattached them to the upper piece of lace, too.


Next, I sewed the two thick pieces of lace together, sandwiching the wire frame in between them. The lace-covered frame was bendable, and easy to shape to the bride’s head.

Sewing the fascinator together
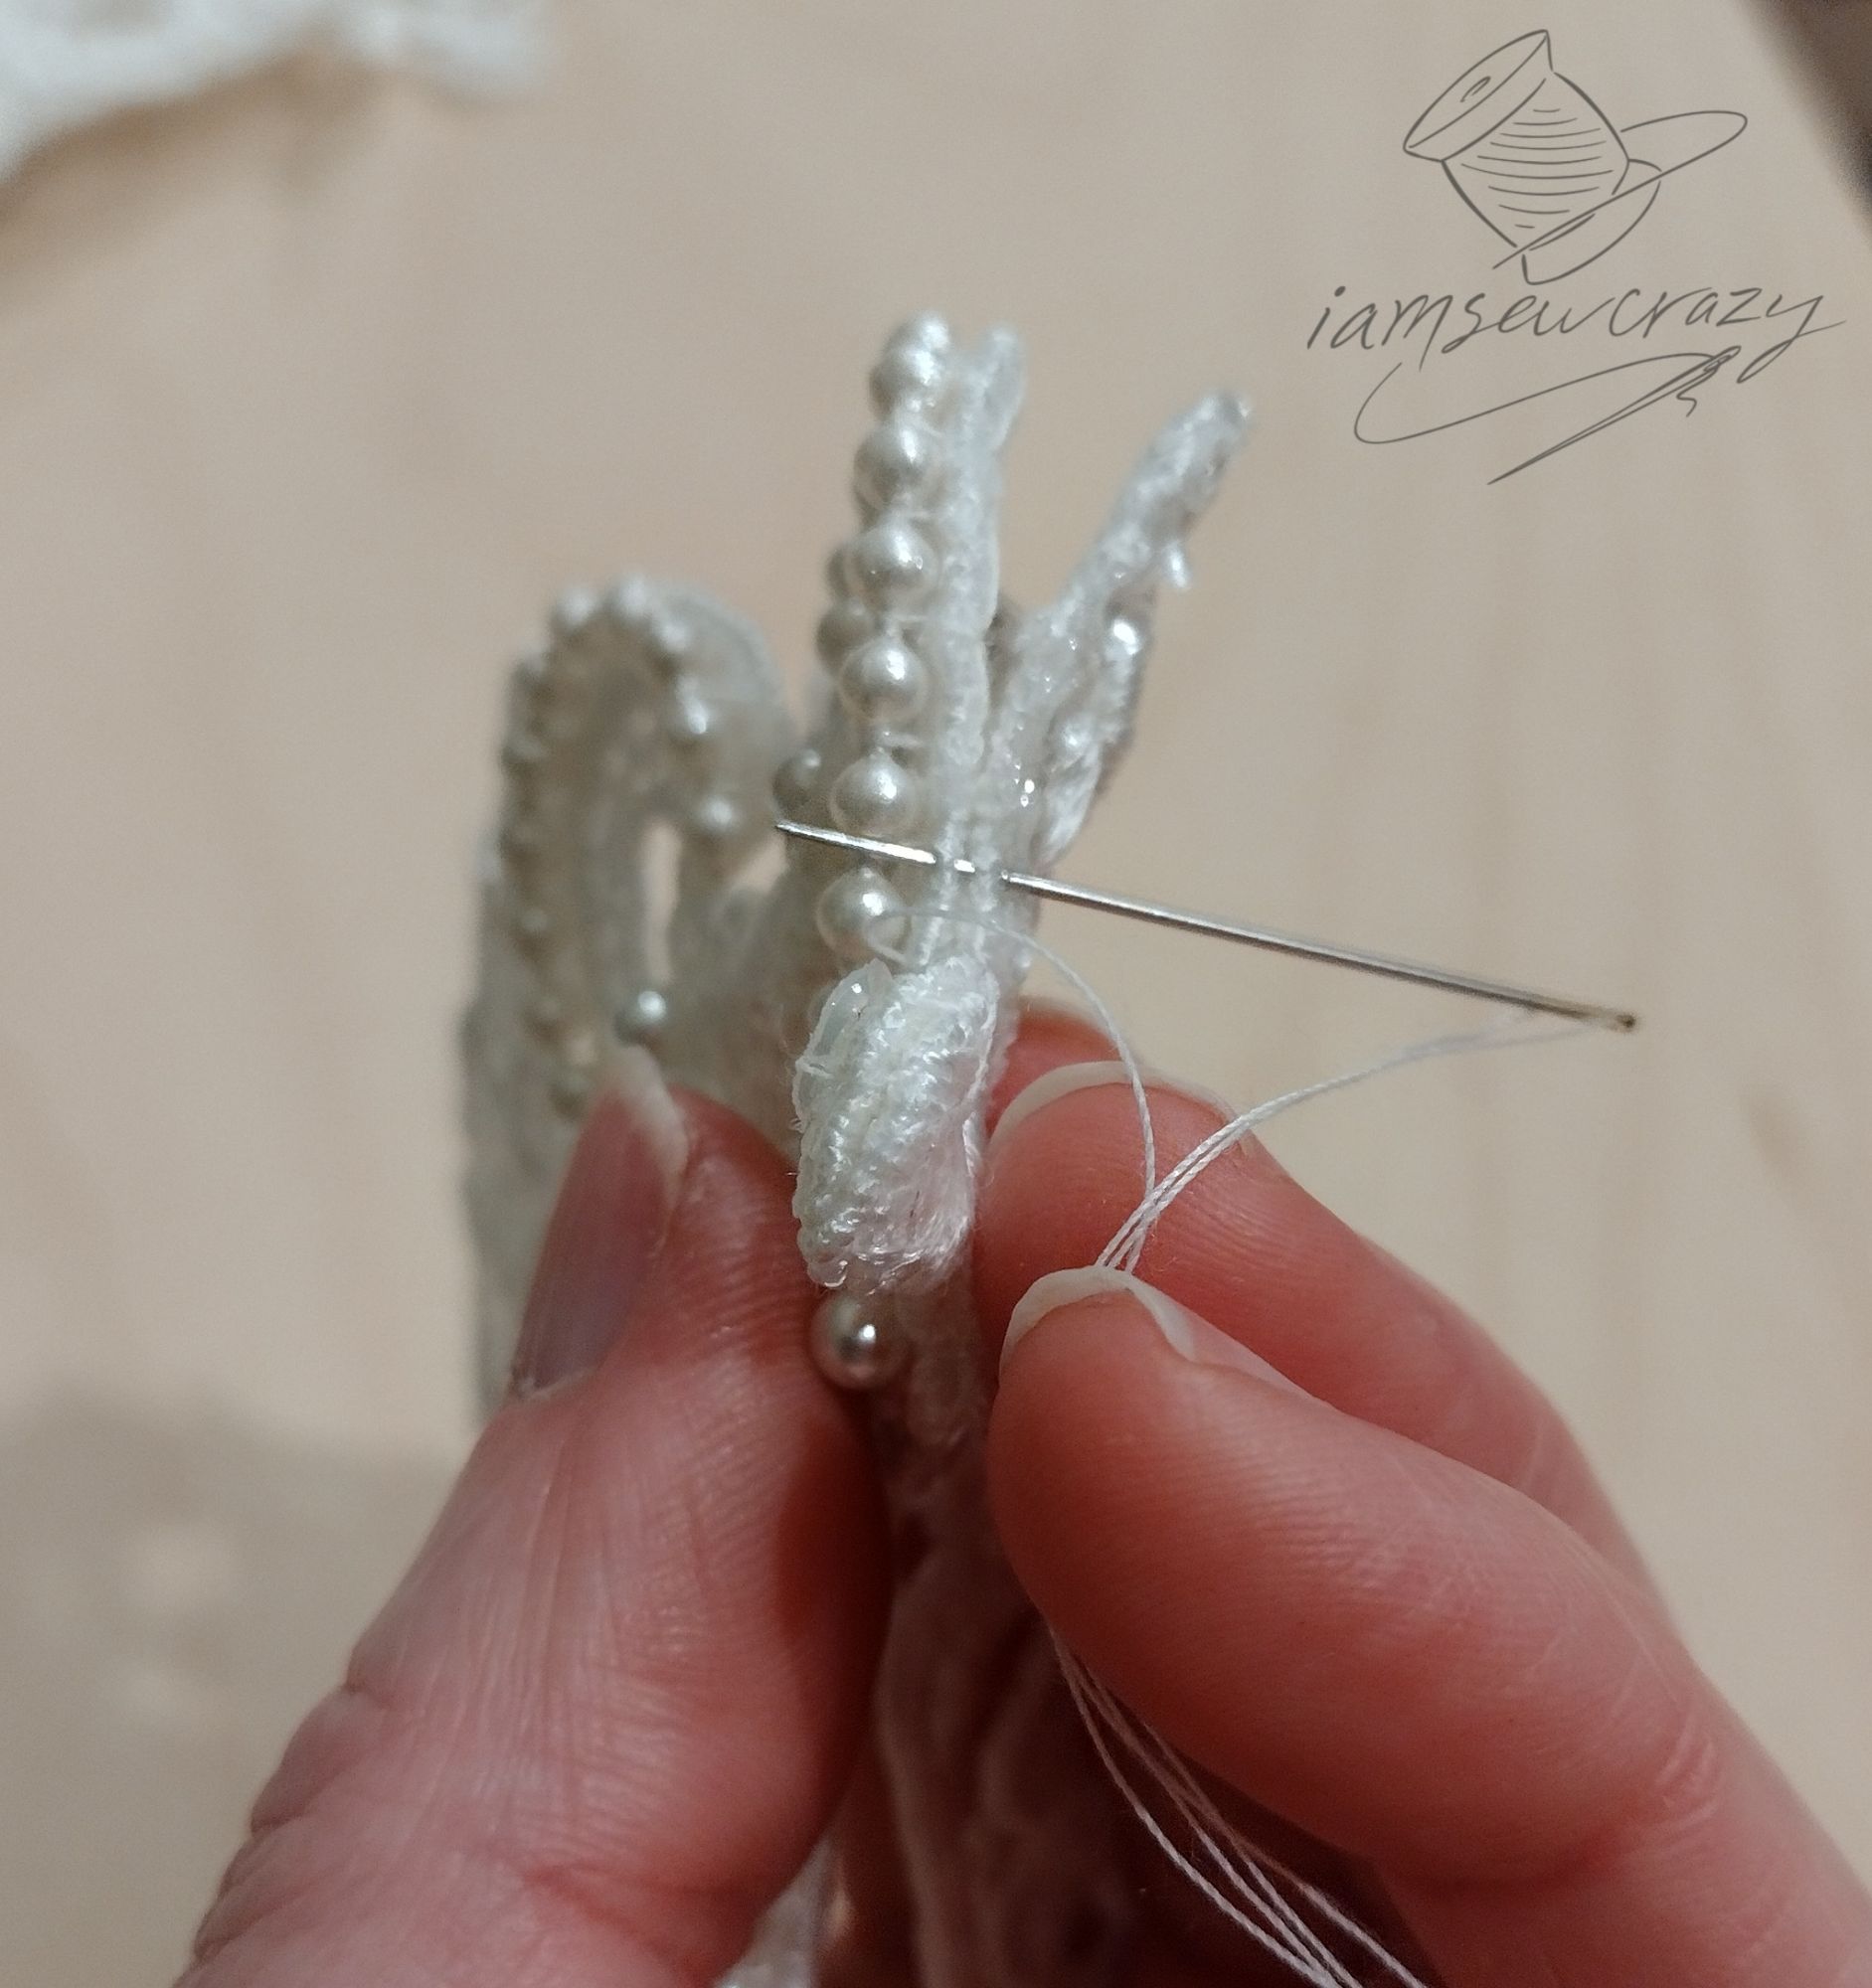
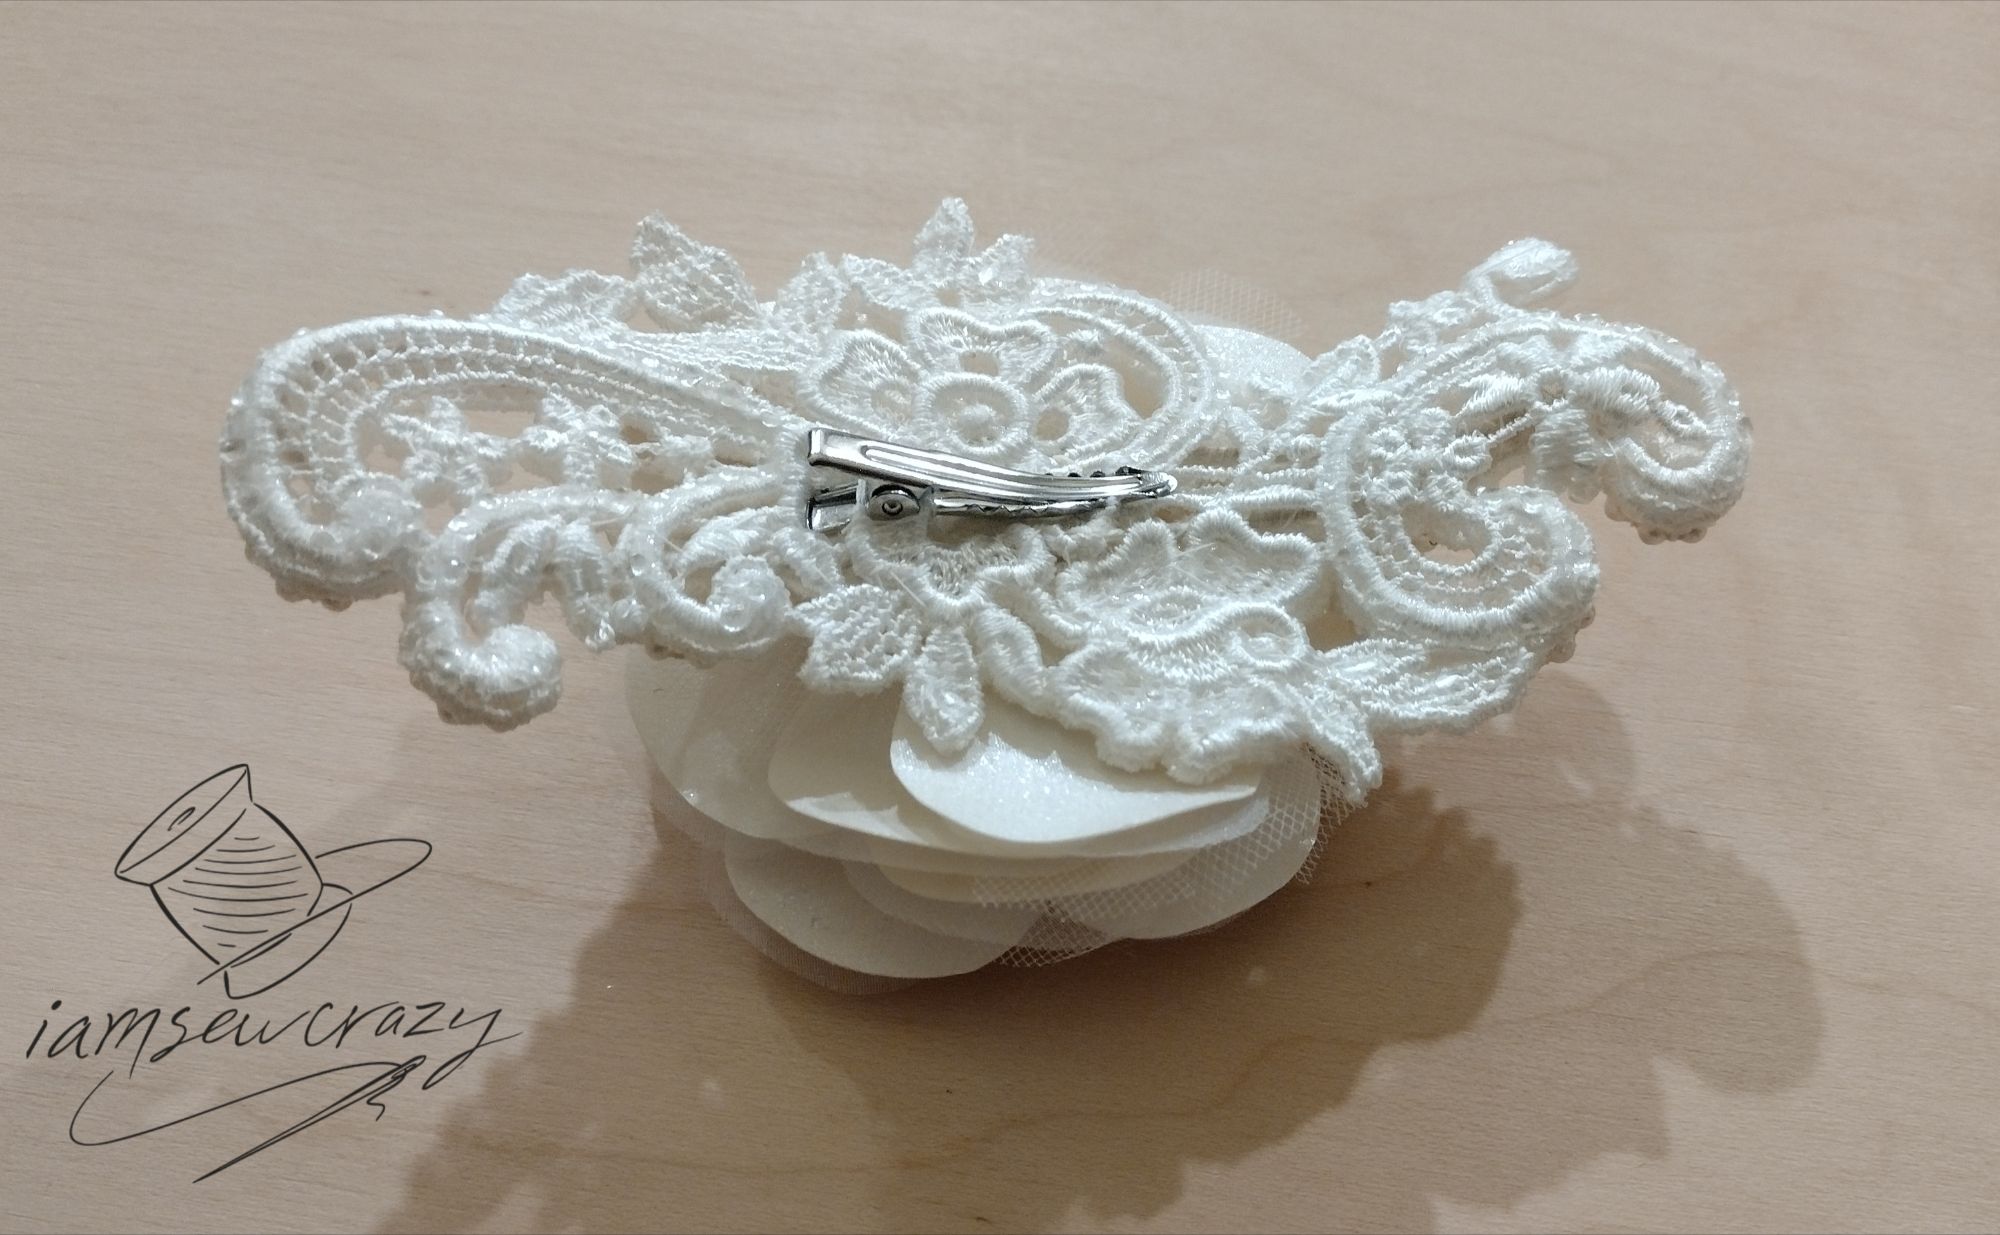
Then I sewed the flower onto the frame, using the same hand needle and sturdy white thread that held the flower together. I also added a metal alligator clip on the back, to hold it in place on the bride’s hair.

Adding pearls, beads, and sequins
I reused the pearls from the veil, after I refinished them with the same pearlized coating I applied to the flower petals (and, later, to the buttons on the dress.)


The sequins from the veil were one thing I could just reattach without any issues. They went onto the lace-covered frame, and sprinkled into the center of the flower. The flower center needed a few more beads, and the bride chose some pale blue glass beads I had on hand in the studio. There was her “something blue”!
The wedding pictures


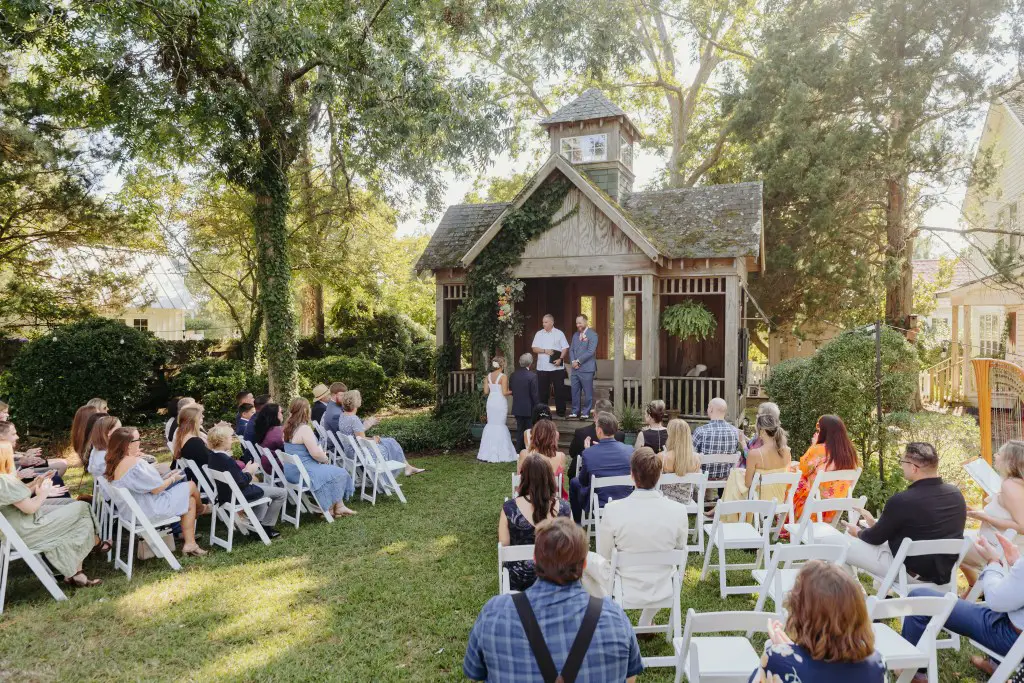
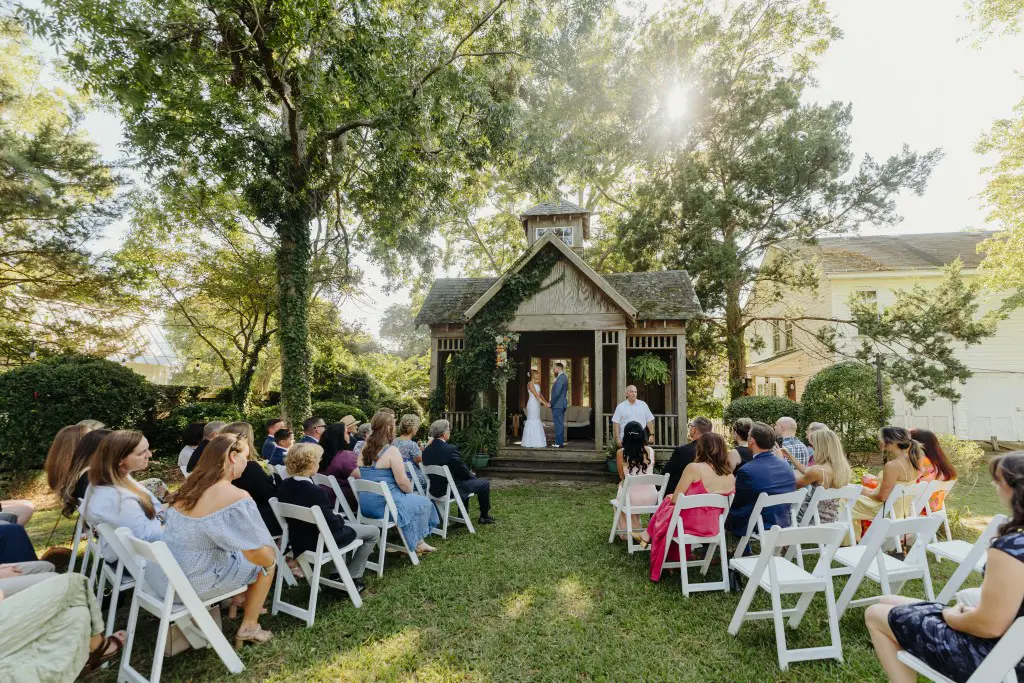
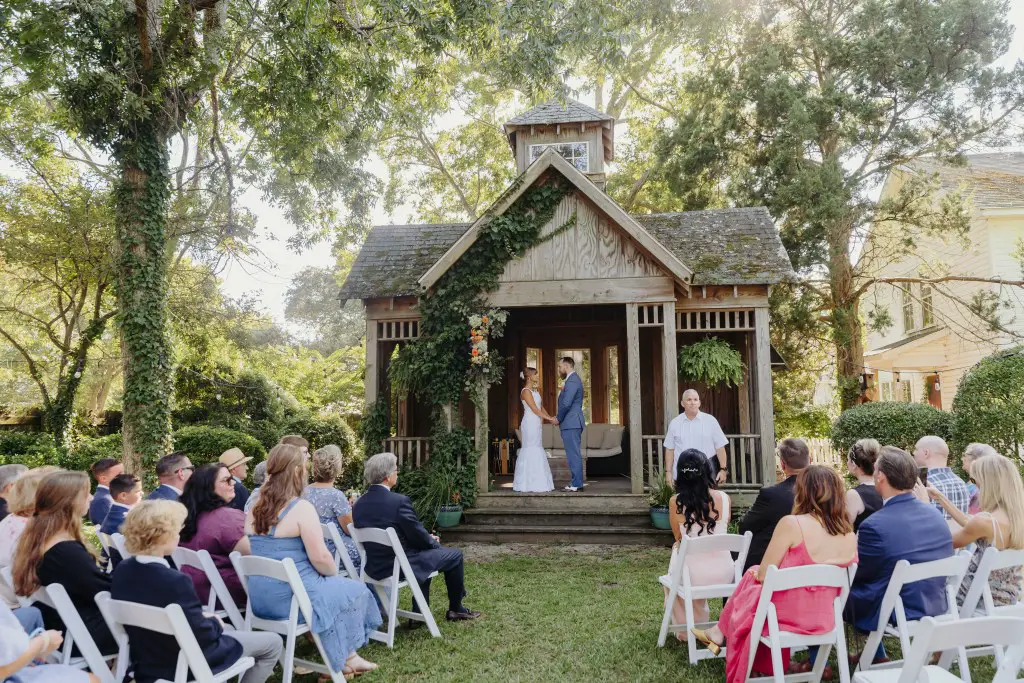
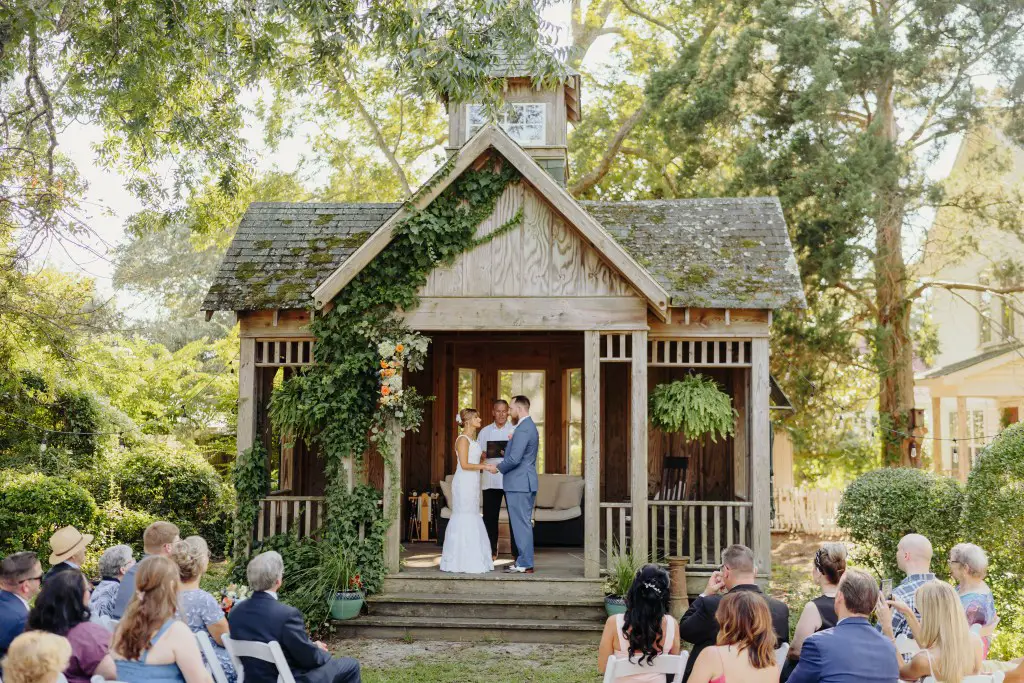
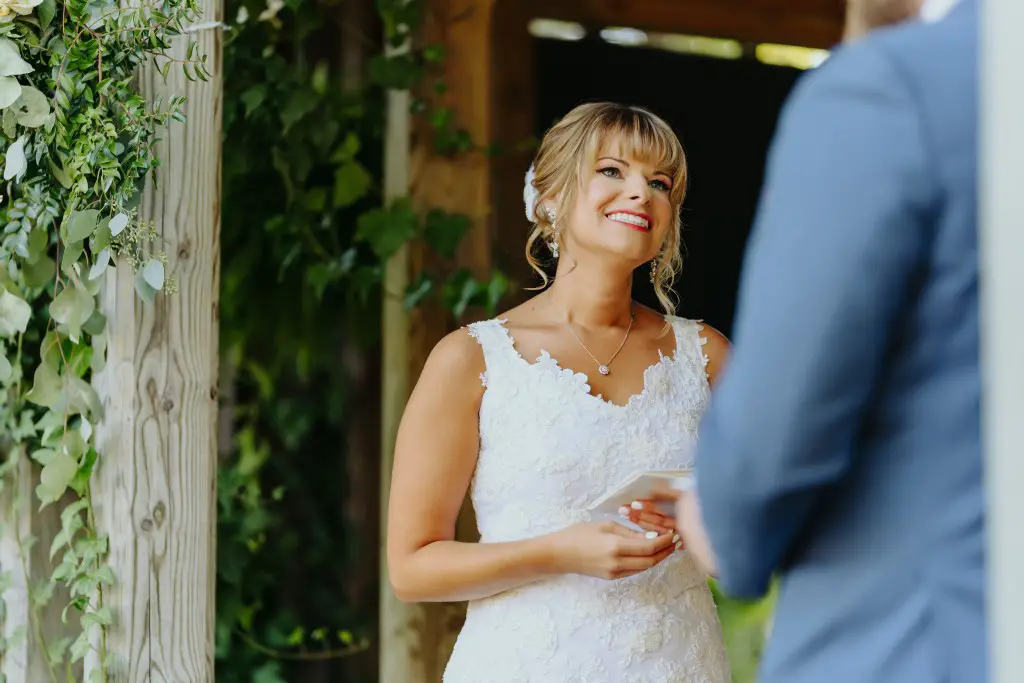
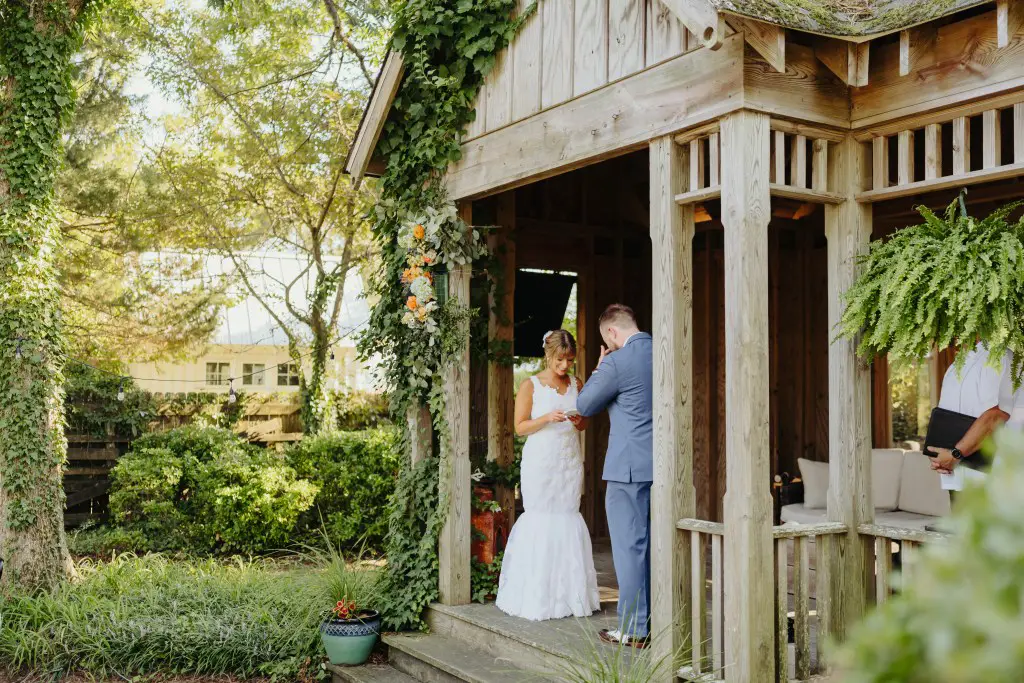
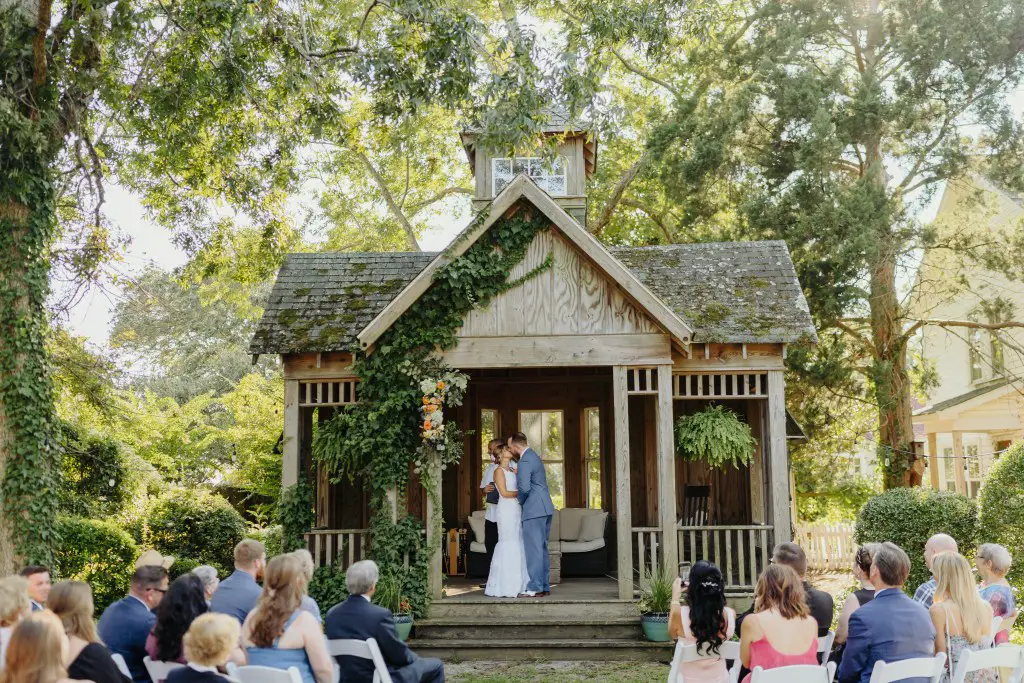
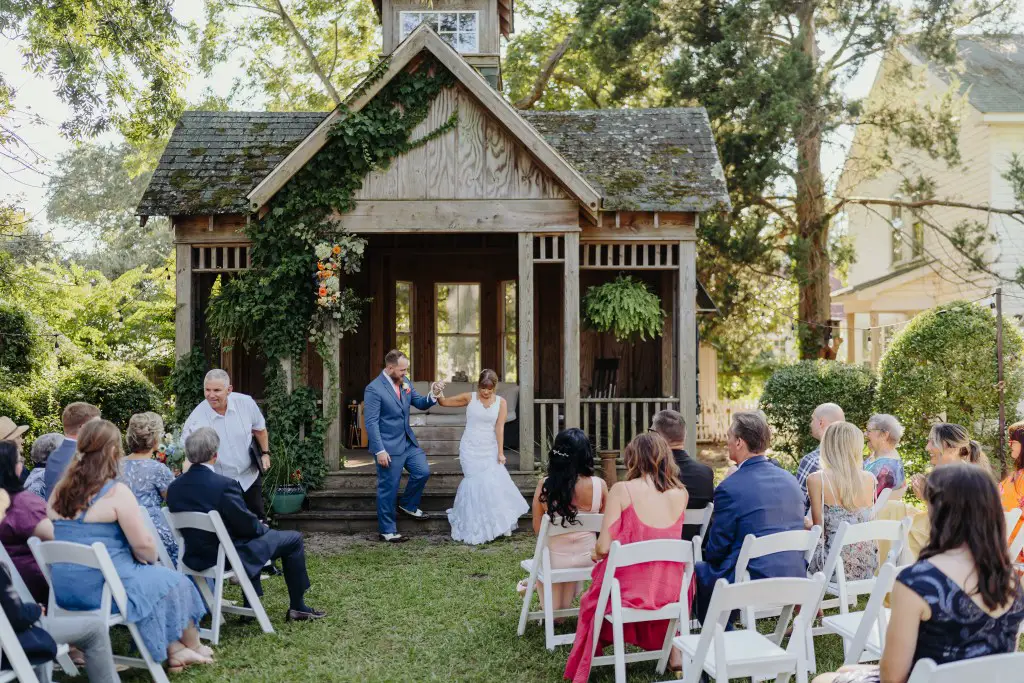
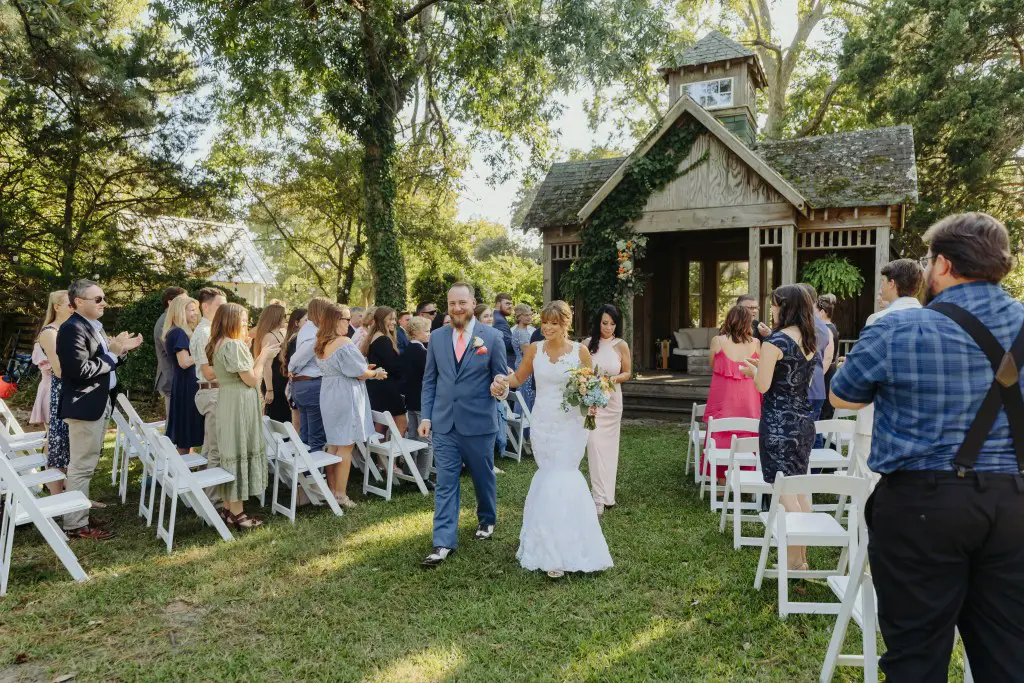
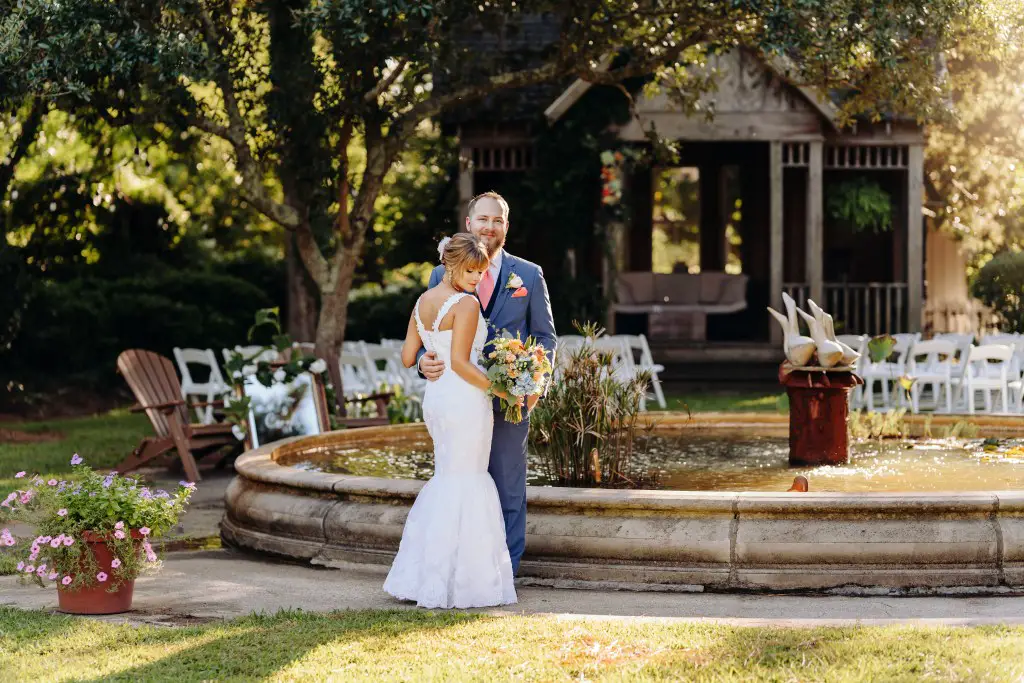
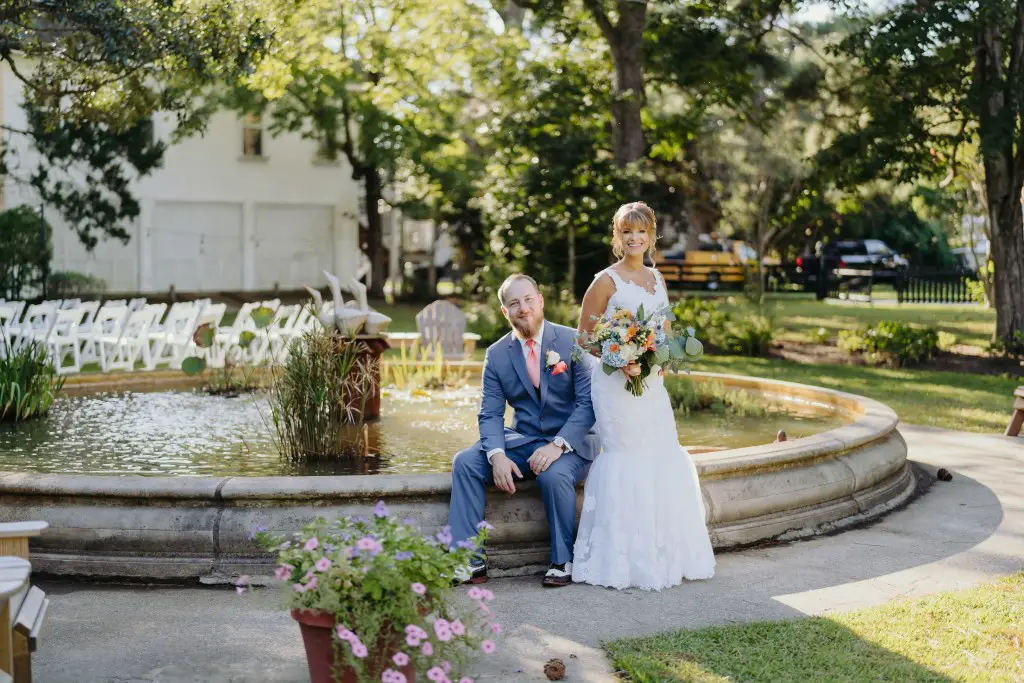
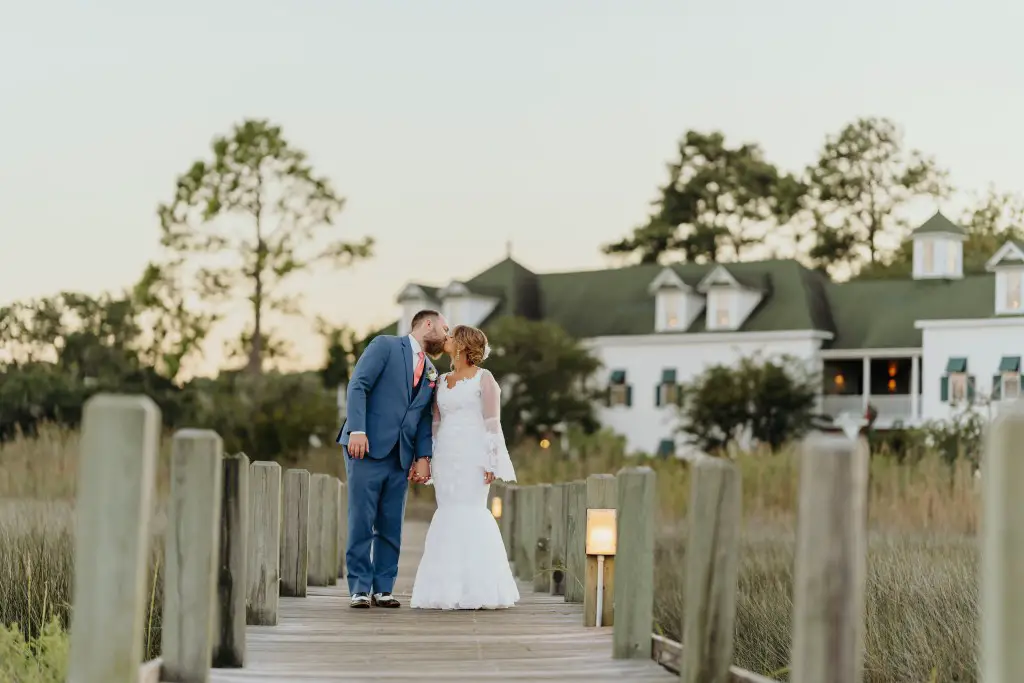
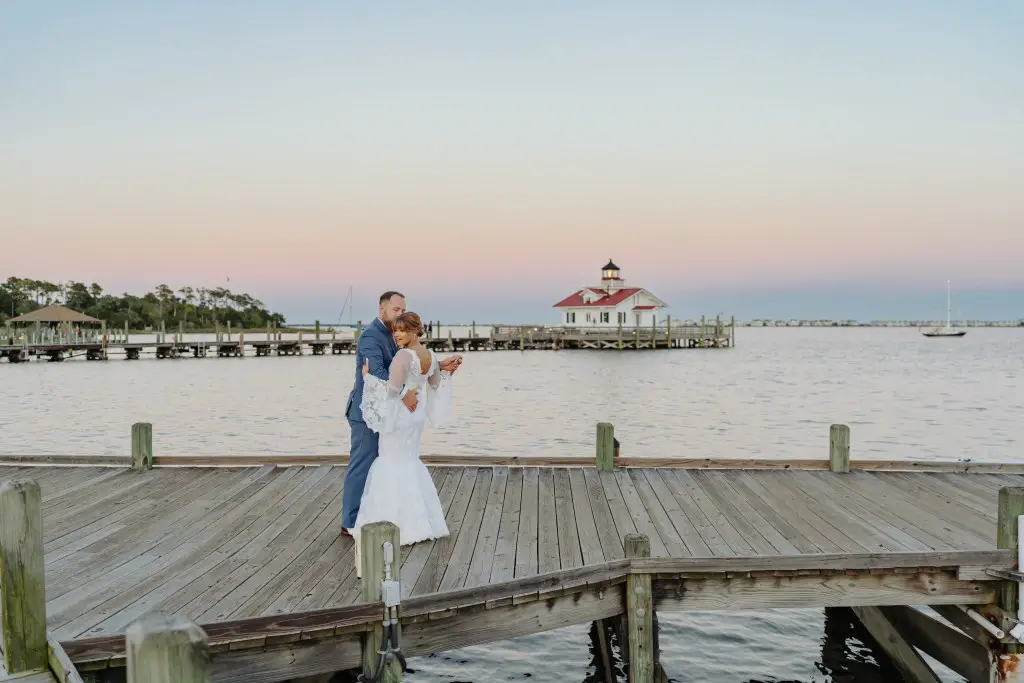
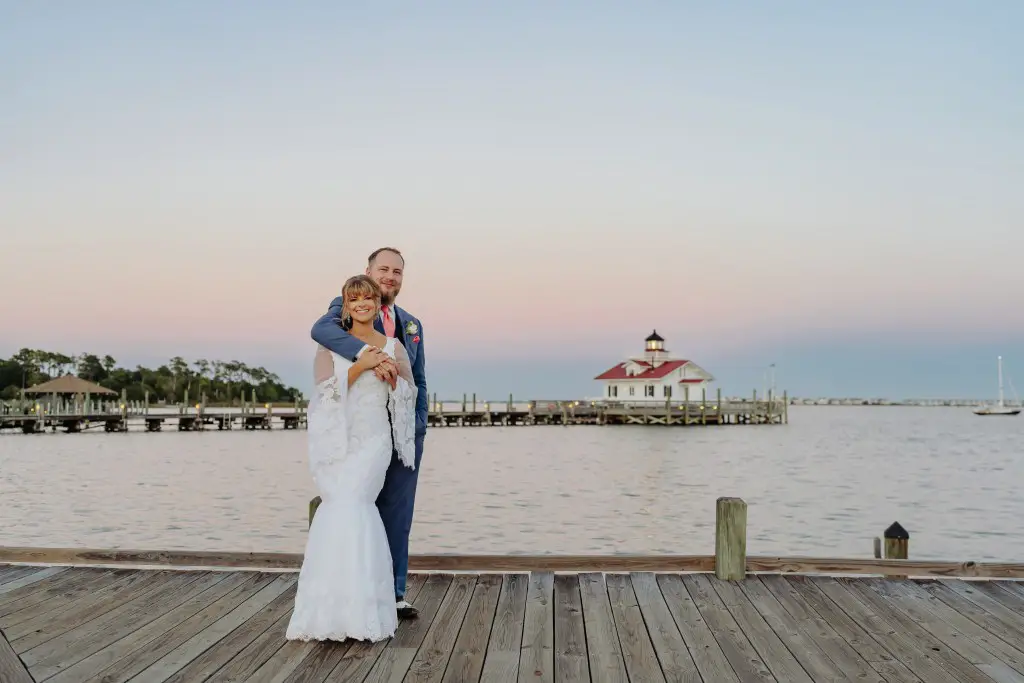
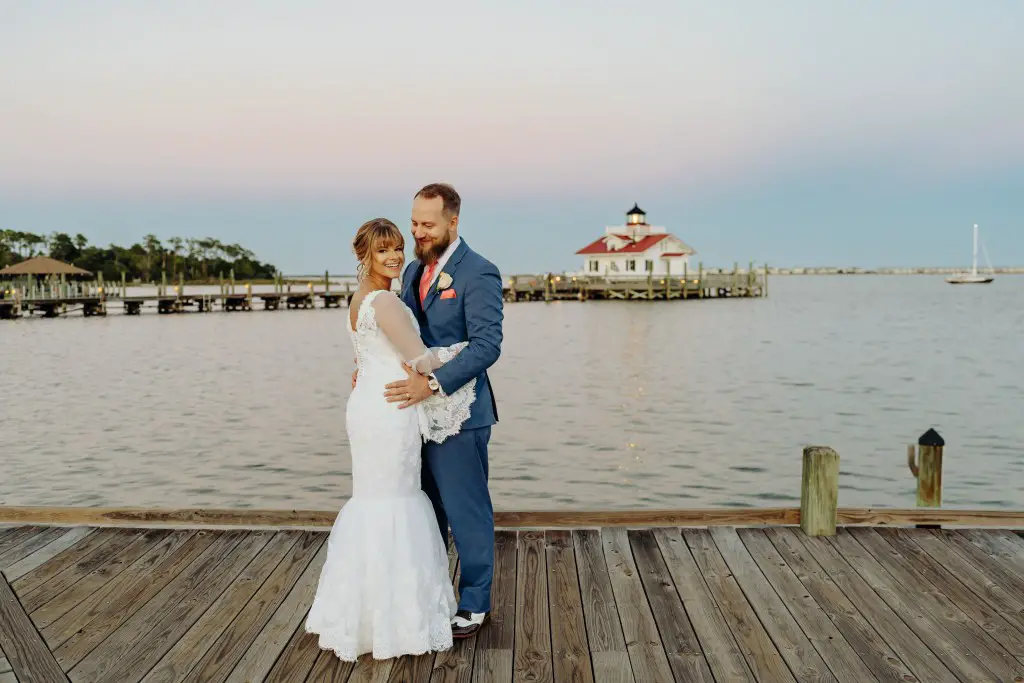

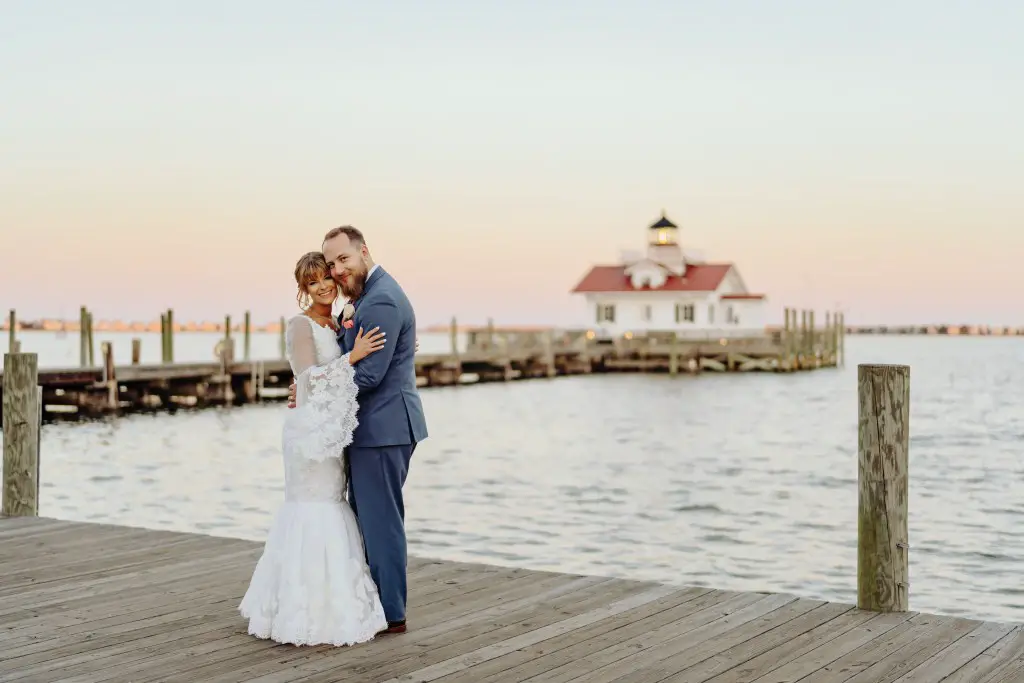
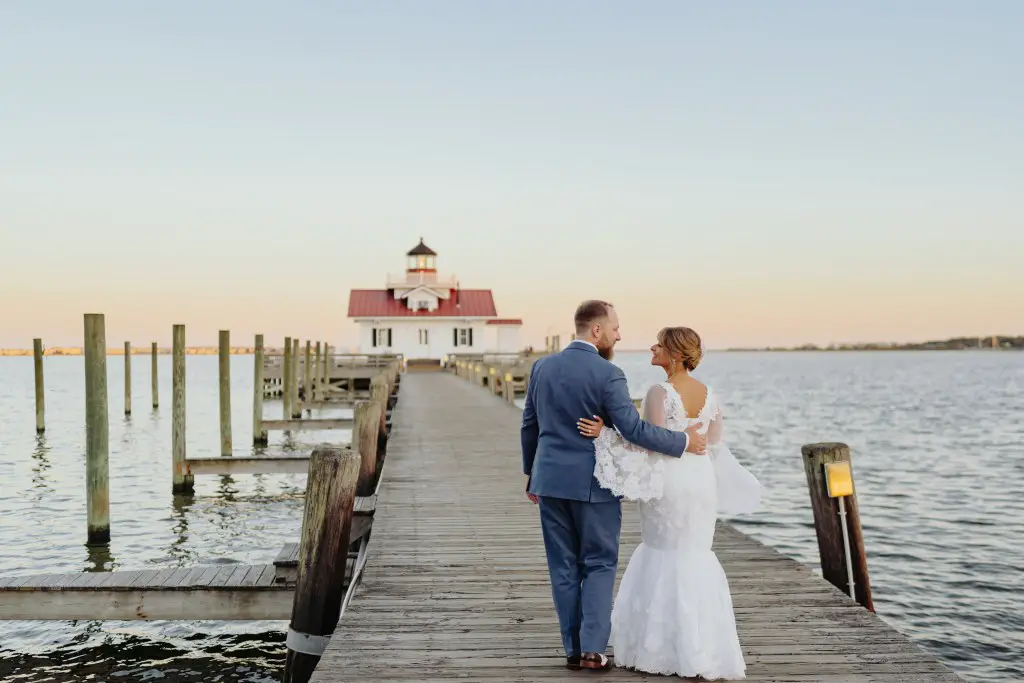
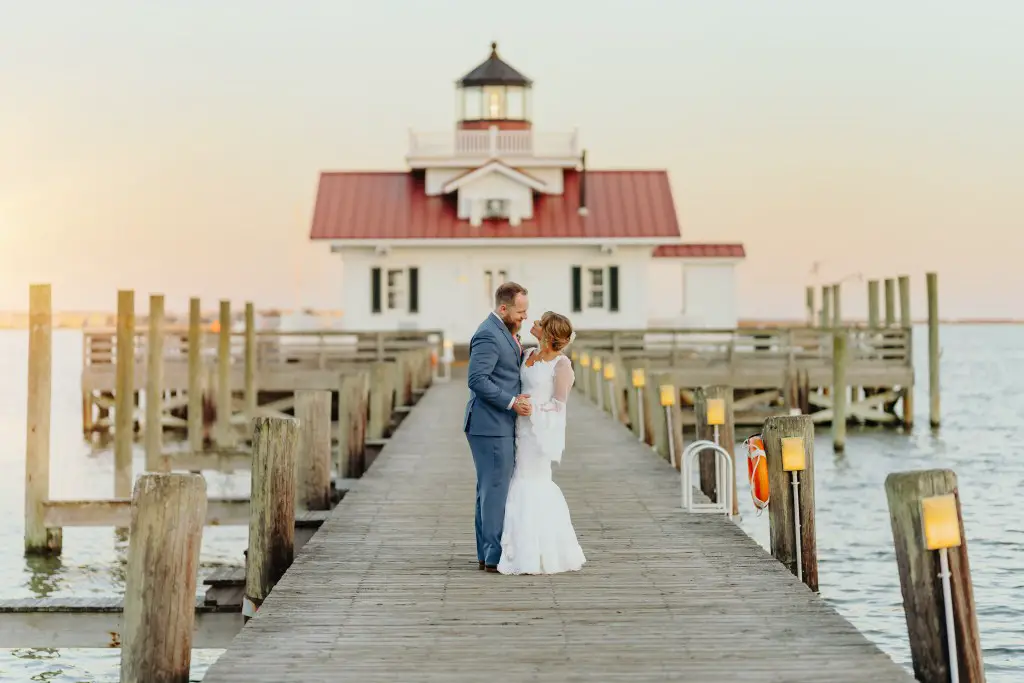
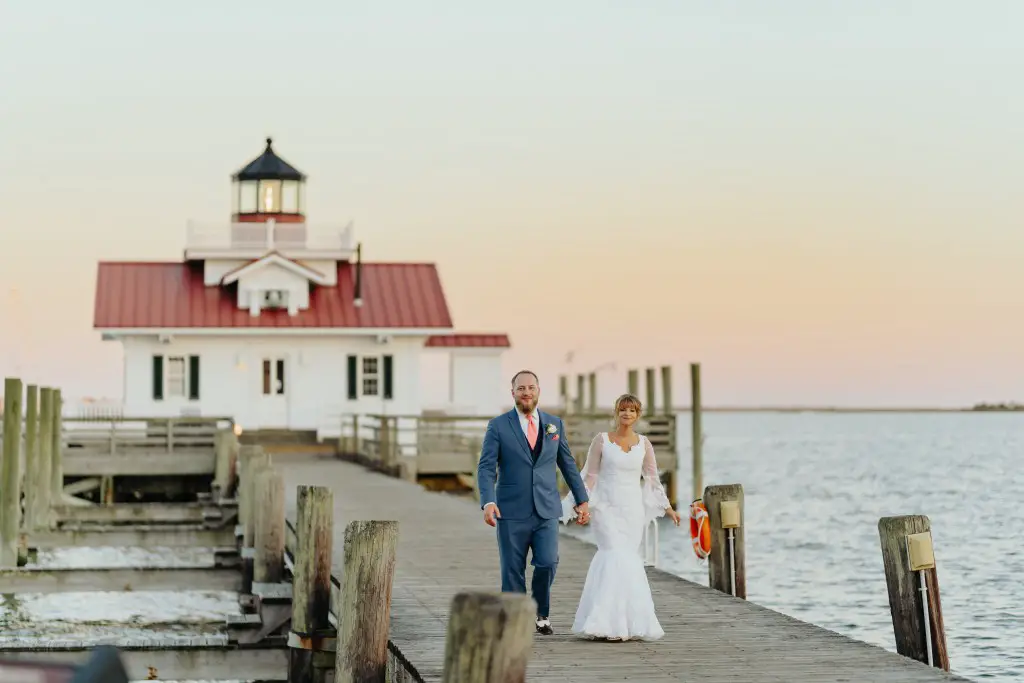

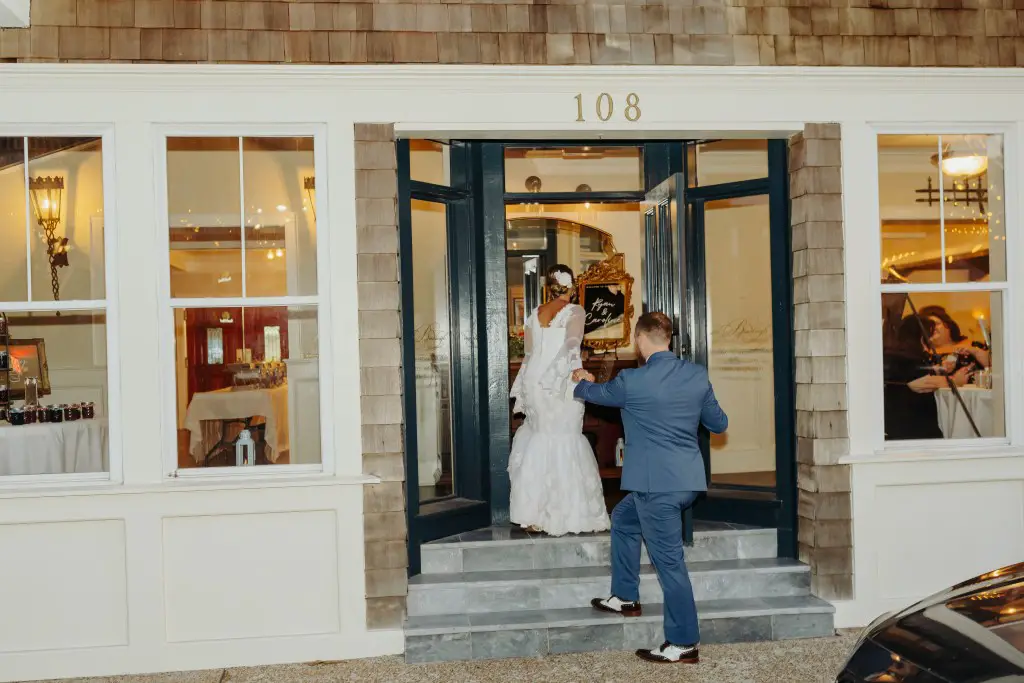
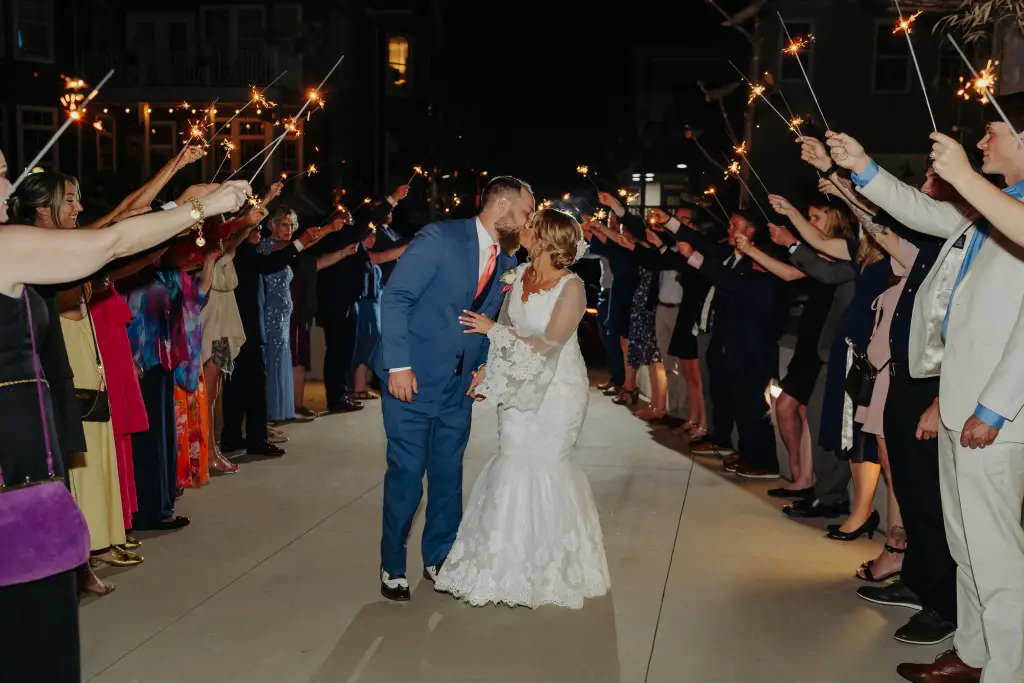
All of the wedding day photos are courtesy of Maria Kandalova Photography. The pictures turned out great, and I’d like to thank Maria for allowing me to use her photos. If you’re looking for a photographer in the Outer Banks area, check out Maria’s website or instagram.

I’m so happy I got to make this bride’s dream outfit come true. And it was so sweet that her mother’s dress was included in another love story. That’s one of the best things about sewing! Making one-of-a-kind items that mean so much to the people who own them.
I hope you’ve gotten some guidance about how to restyle a wedding veil! Try it and see how amazing it can be to give new life to such a meaningful garment.
Happy crafting!
Jessie

