


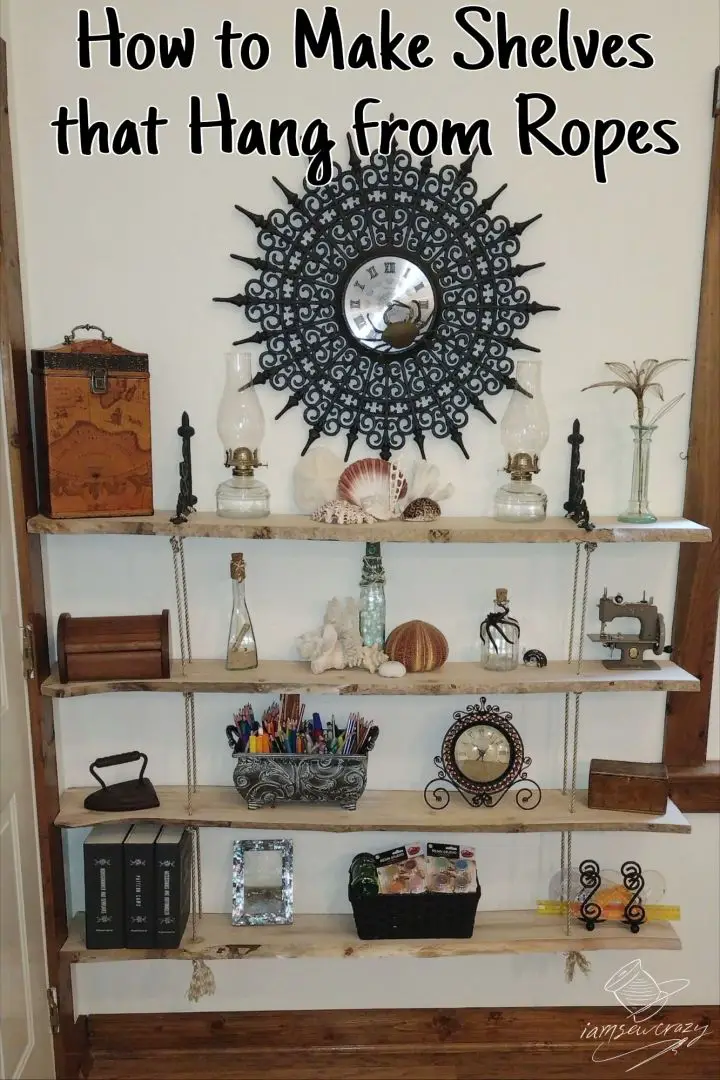
These hanging rope shelves were a lot of fun to make, and fit perfectly behind the door! They make a unique focal point to the room, and are a great place to display treasures. Follow along if you’d like to see how to make shelves that hang from ropes for your own space!

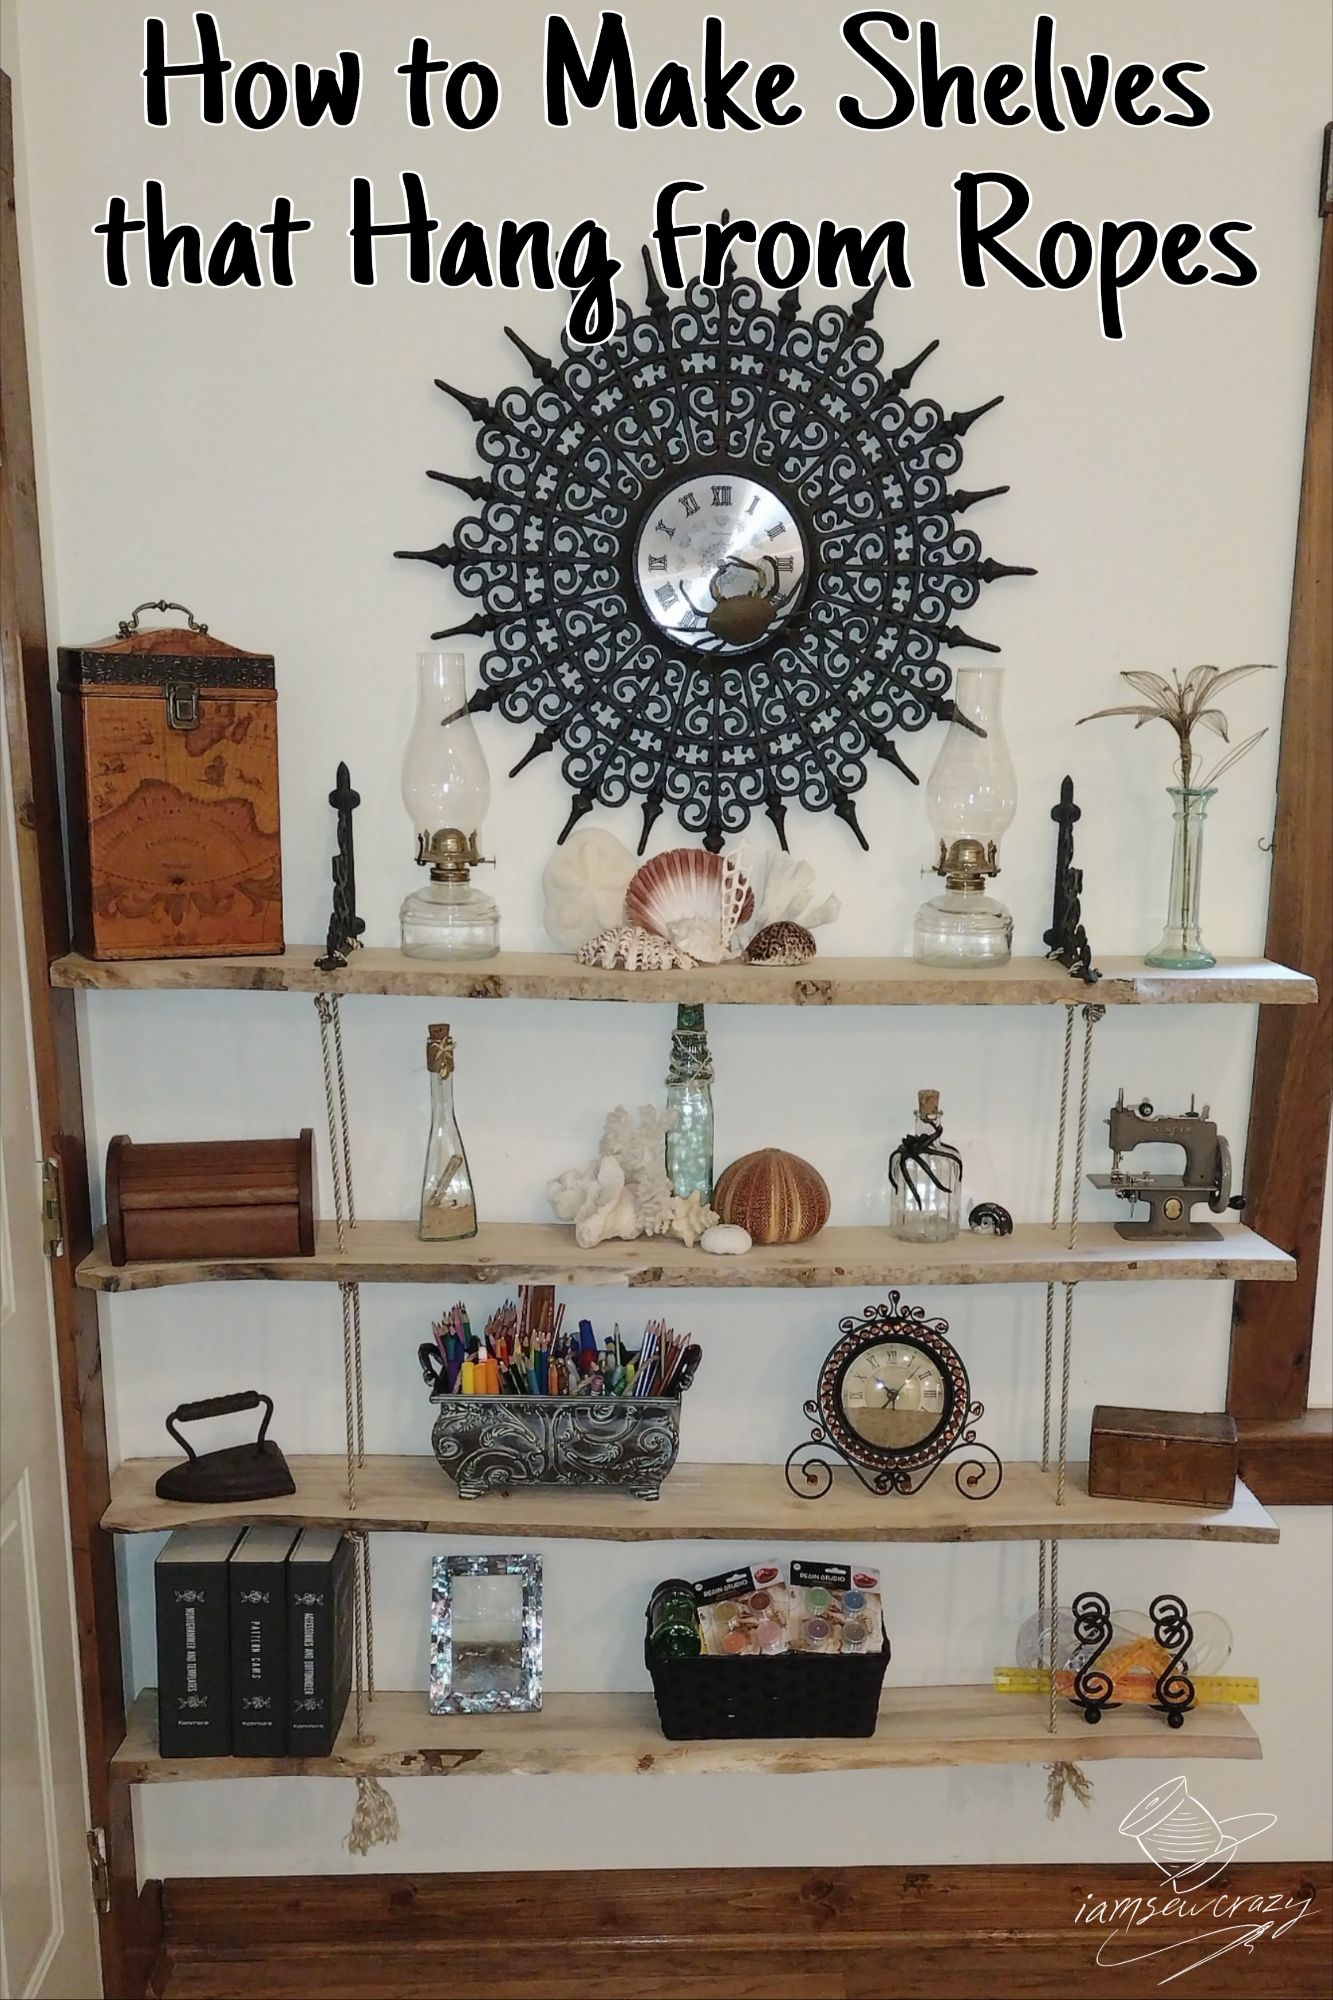
These DIY hanging rope shelves add the perfect touch to my nautical-inspired sewing and craft room. The top shelf is attached to the wall by 2 cast iron brackets. The lower 3 shelves hang from ropes that go through the brackets and down through each shelf.
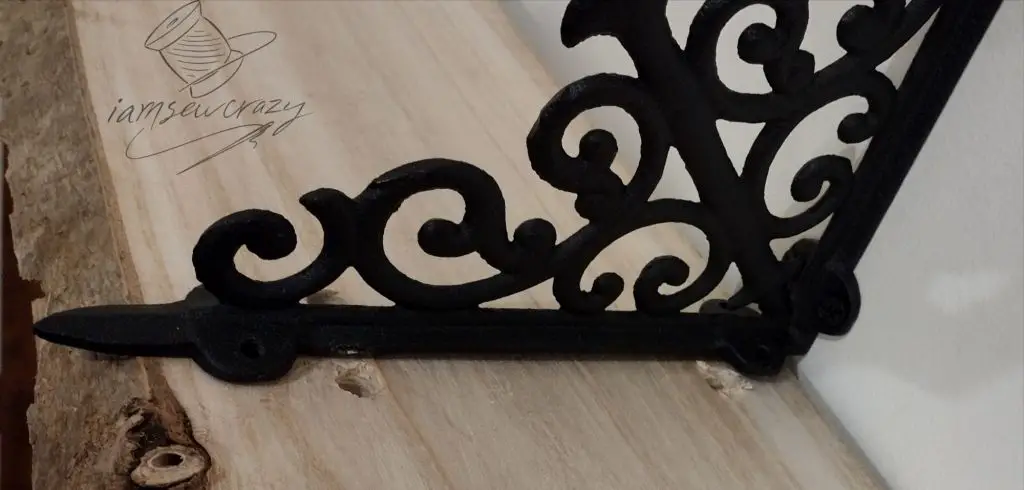
The shelves are live-edge slabs (with the bark edge of the tree left on, and not squared into rectangles). The live edge gives them an interesting, irregular profile. The shelves sit between a door and a window, but are not supported by anything other than the ropes and brackets.
Supplies needed to make DIY shelves that hang from ropes:
- 2 cast iron brackets (I’m using 8″ brackets, but choose some that complement the width of your shelf boards. By the way, as an Amazon associate, I earn from purchases made through my links at no additional cost to you)
- 25 feet of 3/8″ rope (You may want extra rope to make shelves that are farther apart. Or to make more than 4 shelves. I used the 3/8″ thick rope, but of course that’s up to you!)
- 12 fender washers (you will need 4 washers for each lower shelf that is not attached to the brackets. I had one shelf attached to the brackets, and 3 shelves below that. So that meant I needed 12 washers.)
- 4 shelf boards of your desired length and width. (I used 1″ thick slabs of live-edge paulownia wood, but pine would be a great choice too! My boards were about 8″ wide by 52″ long)
- 8 2″ long screws that fit into the holes on your brackets
- 8 bolts with matching nuts (the bolts should fit through the holes on your brackets and through the thickness of your shelf boards)

My sewing room has kind of a nautical/steampunk vibe to it, and so these DIY hanging rope shelves were a perfect fit. But with a little tweaking, they would look great with industrial decor (maybe use cables with these clamps instead of knots, and pipe fittings instead of cast-iron brackets). Or make them boho-style, using wooden brackets and tying some interesting macrame knots on the ropes. Or even go all “enchanted forest” by twisting some fake vines down the ropes and across each shelf. These shelves should be completely YOU!
Step 1: Decide where to put your hanging rope shelves
When you are planning where to put your shelves, you should take note that the LOWER shelves can sway to the side if they are bumped. The top shelf cannot move at all. So it is a good idea to place fragile items on the top shelf. Or, you can use museum gel to secure delicate items to the shelves if you want to.
The door that’s next to my shelves is only able to touch the top shelf when it’s open, because the top shelf is the board that sticks out the most. So the door can’t bump anything off of the shelves. And it’s an exterior door, so it stays closed unless someone is going in or out, and doesn’t hide the shelves by staying open. But you should consider these factors if you are placing your shelves near a door.
You should also consider that shelves hanging from ropes might not be a good choice for houses with pets or small children. In my sewing studio, this is not a concern. But stability will be more important than looks if you have adventurous pets or curious kiddos. In that case, I’d just get 8 brackets, and attach each shelf to a set of brackets.
Step 2: Find wall studs to hang your shelves
The first step in assembling your DIY hanging rope shelves is finding wall studs. Drywall anchors can be okay for a single shelf. But since we are hanging 4 shelves from these brackets, we need to make sure the brackets are fixed into studs, and not just drywall.
In my house, it’s easy to locate the studs by knocking on the wall with your knuckles. Where the wall sounds hollow, there’s no stud behind the drywall. And where it sounds solid, there’s a stud there. I placed painter’s tape on the wall to mark the position of the studs. (Painter’s tape is awesome, and that’s why it made the list of 50 Unusual Items I Have in my Sewing Room.)

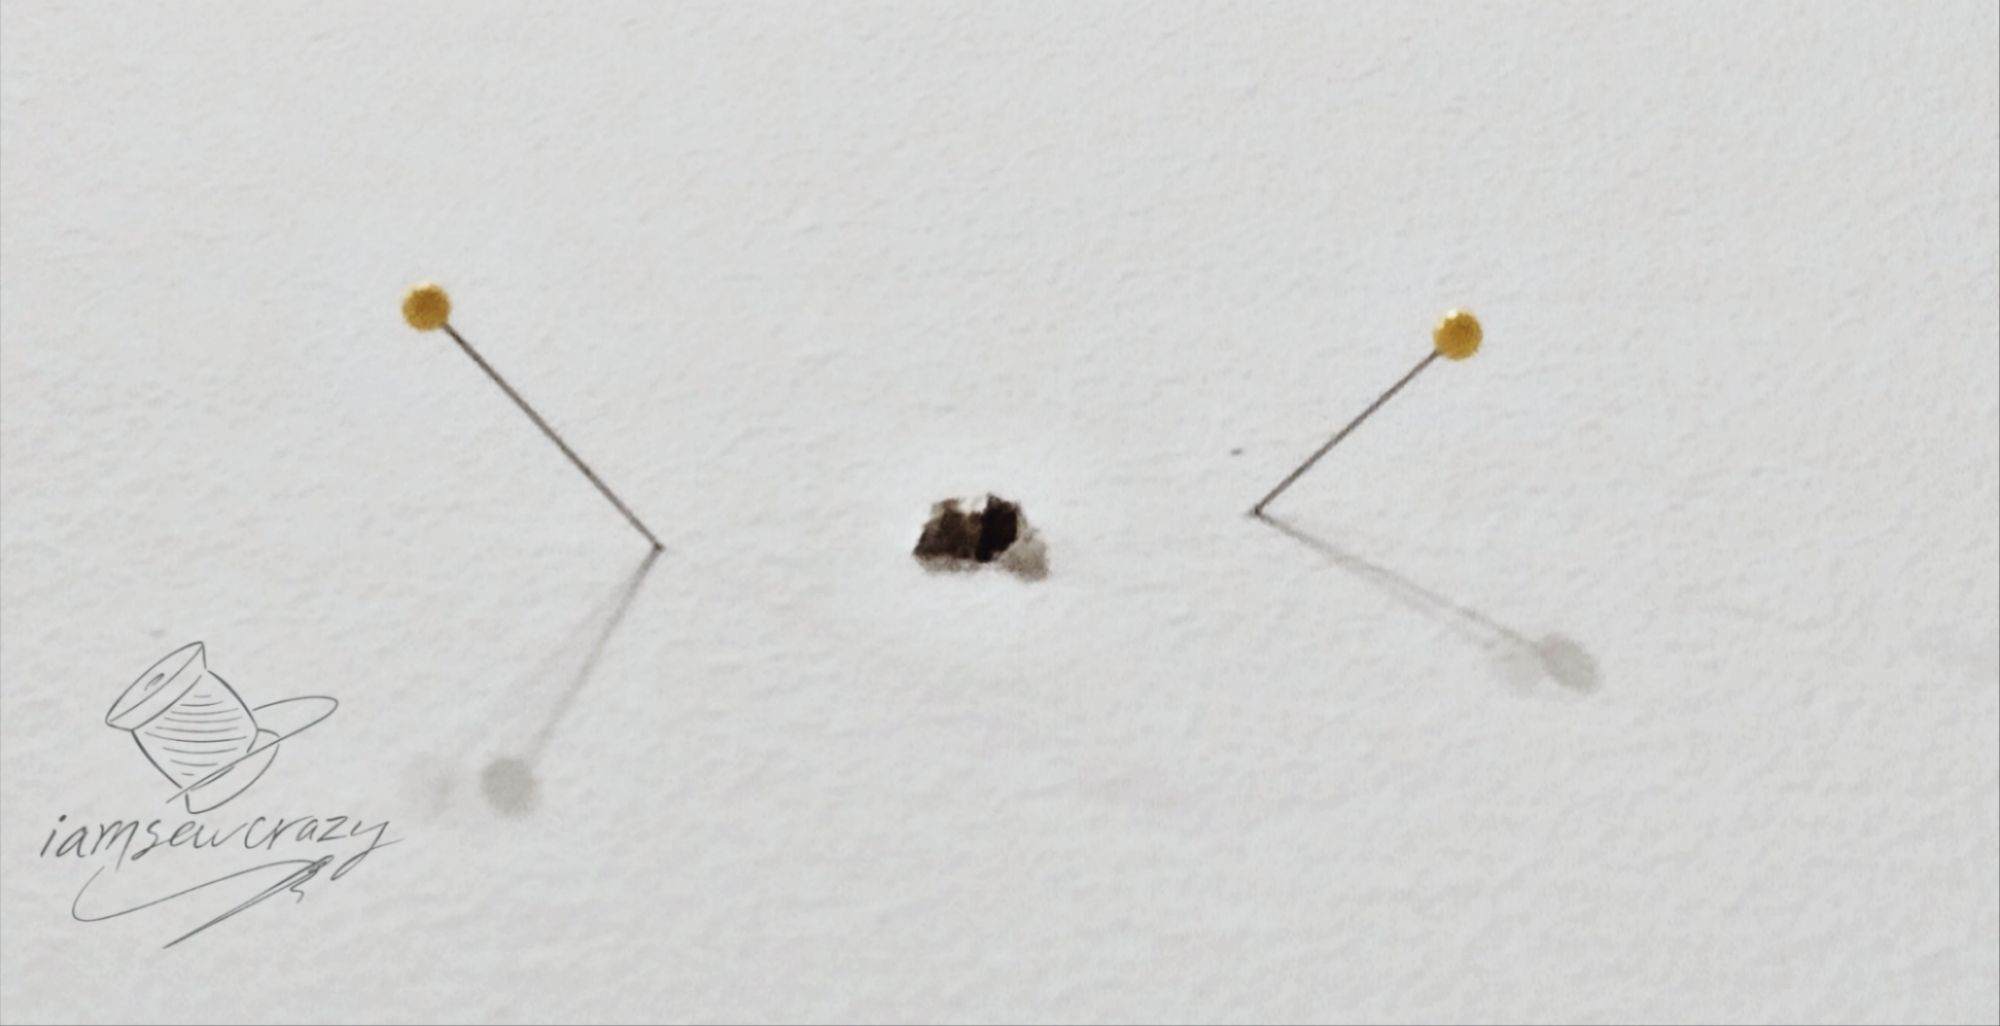
Once you are pretty sure you know where the studs are, double-check your theory. Stick two straight pins into the drywall at an angle, right where you will be screwing the brackets to the wall. You will be able to tell very easily if the pin is hitting a wooden stud on the other side of the drywall, vs empty space or insulation.
Studs are usually placed 16″ apart in the USA, so that will give you a hint about where they might be. Electrical outlets will usually be to one side of a stud. And you can sometimes locate a line of drywall screws going up your wall by using a strong magnet. The line of screws will be going into a stud.
If you’re still not sure where the studs are, borrow or buy a stud finder to make sure you locate them. It’s an important step because heavy shelves like these should be anchored into wood, not just drywall. You definitely don’t want your lovely hanging rope shelves falling down.
Step 3: Attach shelf brackets to wall studs
Using 2″ long screws, I screwed the brackets to the wall studs. I knew I had hit the studs with the screws because there was resistance behind the drywall instead of empty space. You can also hedge your bets a little by angling the screws towards the center of the bracket. This will make it easier to land the screw in the stud.

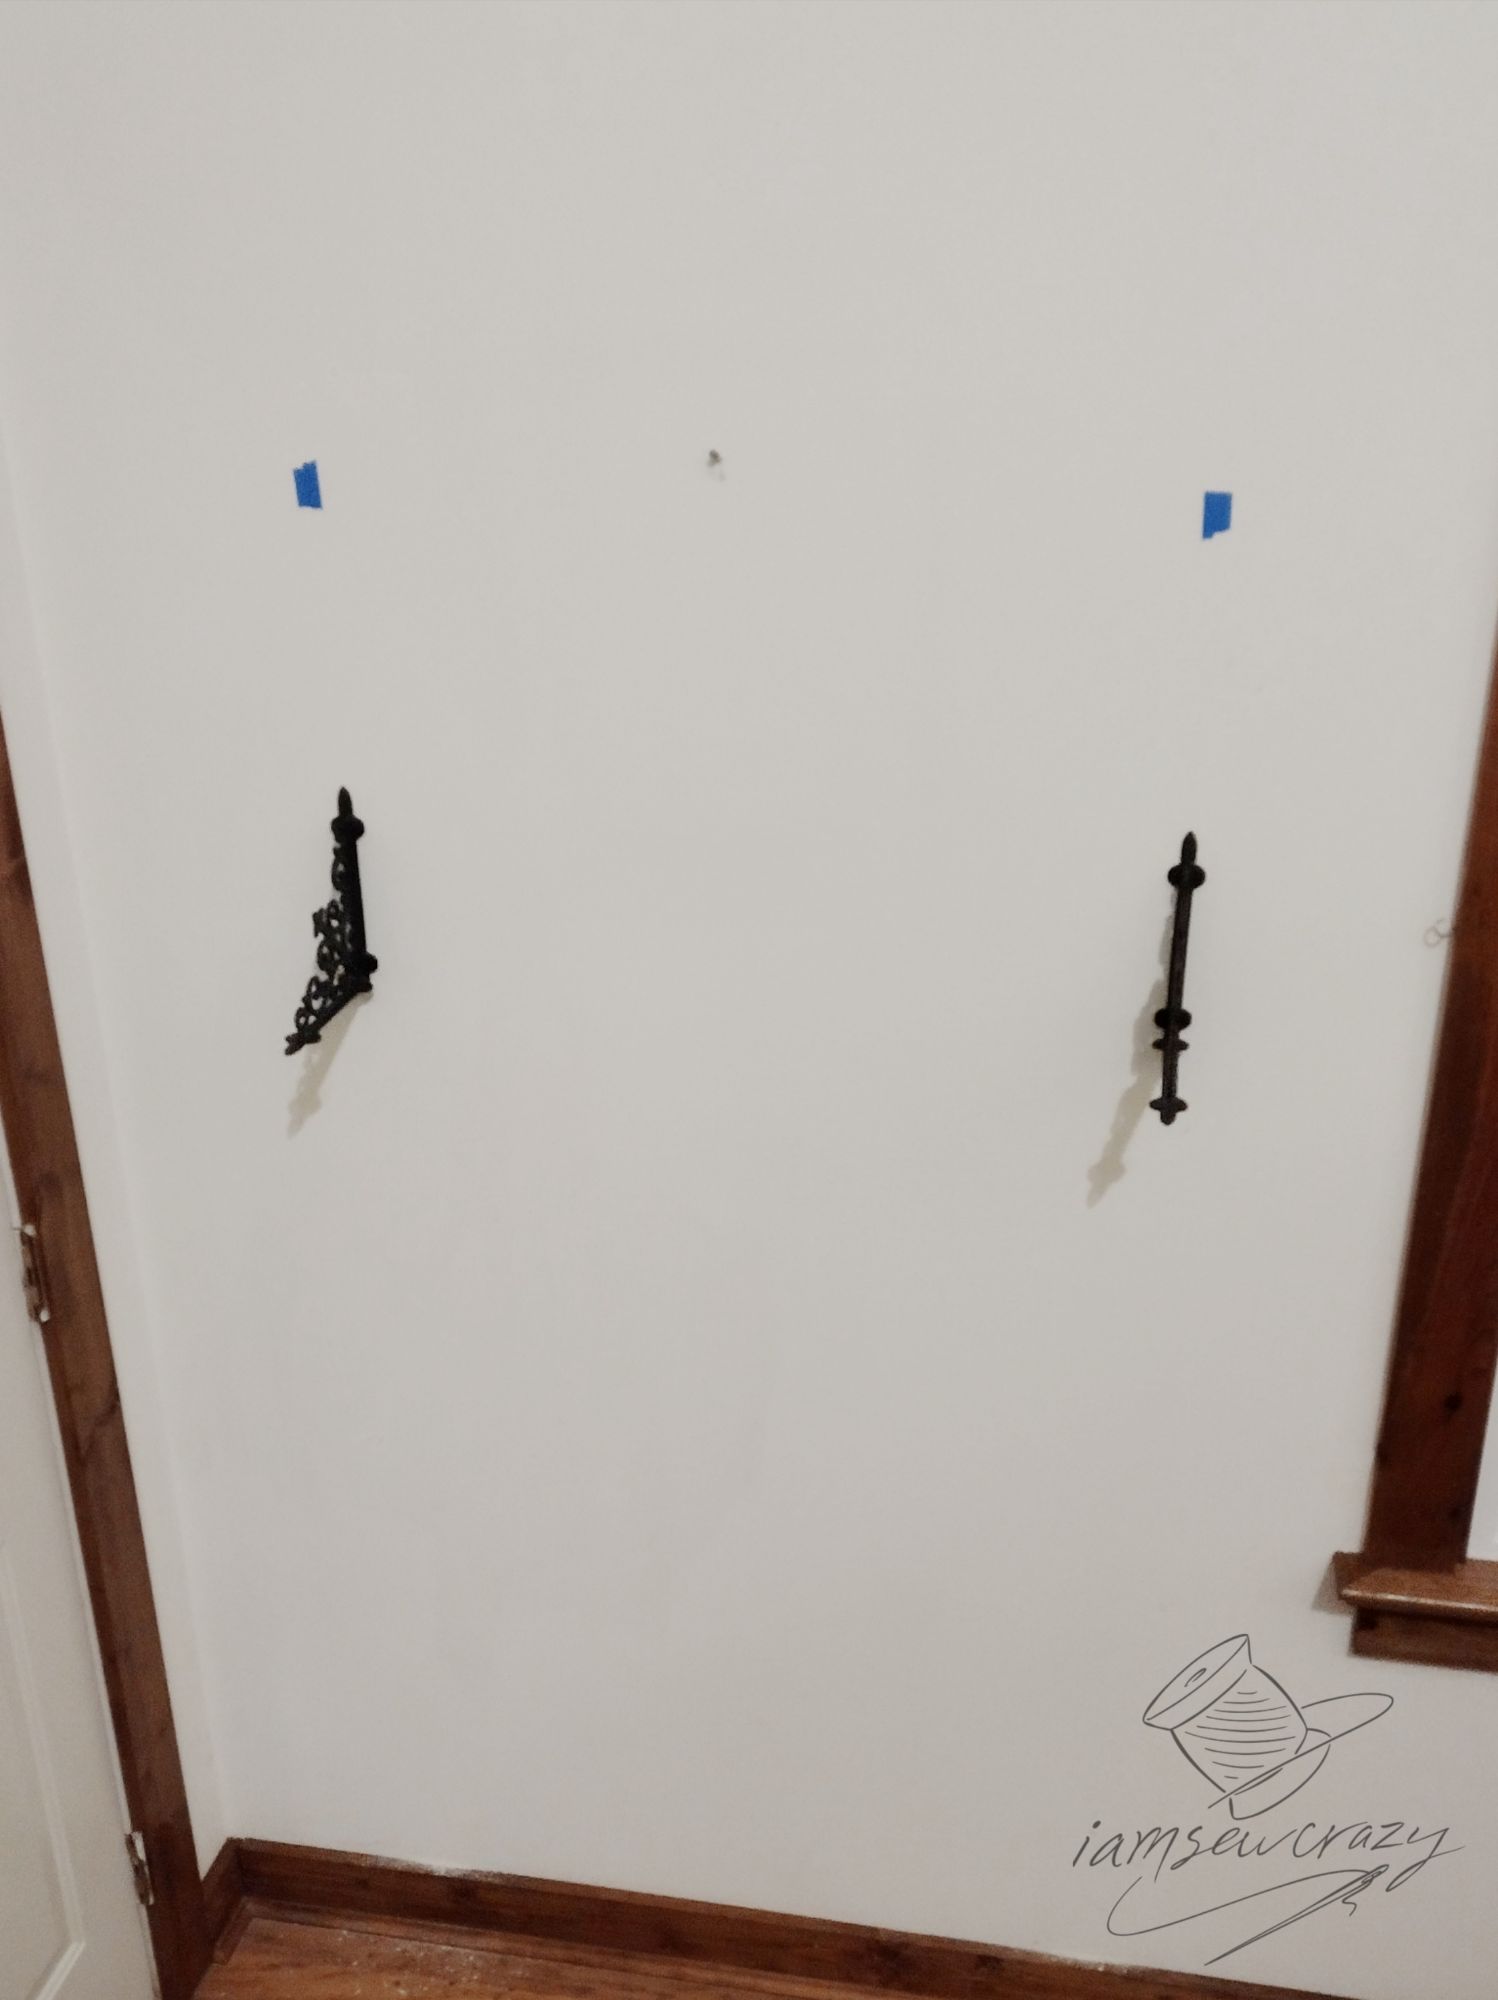
By the way, a lot of times this type of bracket is installed with the flat side up, so that the shelf rests on the bracket. This is a great look, and a good idea for most shelves. But I didn’t want the ropes hanging down over the brackets. When I was thinking about how to make hanging rope shelves that had the look I was going for, I knew that I wanted the brackets to be a focal point, and for the rope to hang from the flat edge of the bracket.

Pro tip: if you don’t have black screws, just use a sharpie to turn the screw heads black after you’ve screwed the shelf brackets to the wall.
Step 4: Drill holes in shelf boards
Now hold the top board up to the brackets and mark where you need to drill holes in the board. I put 16 holes in the top board: 4 smaller holes to bolt the shelf to each bracket, and 4 larger holes to run the ropes through each bracket. The thickness of your rope and bolts will tell you how big you need to make each hole.

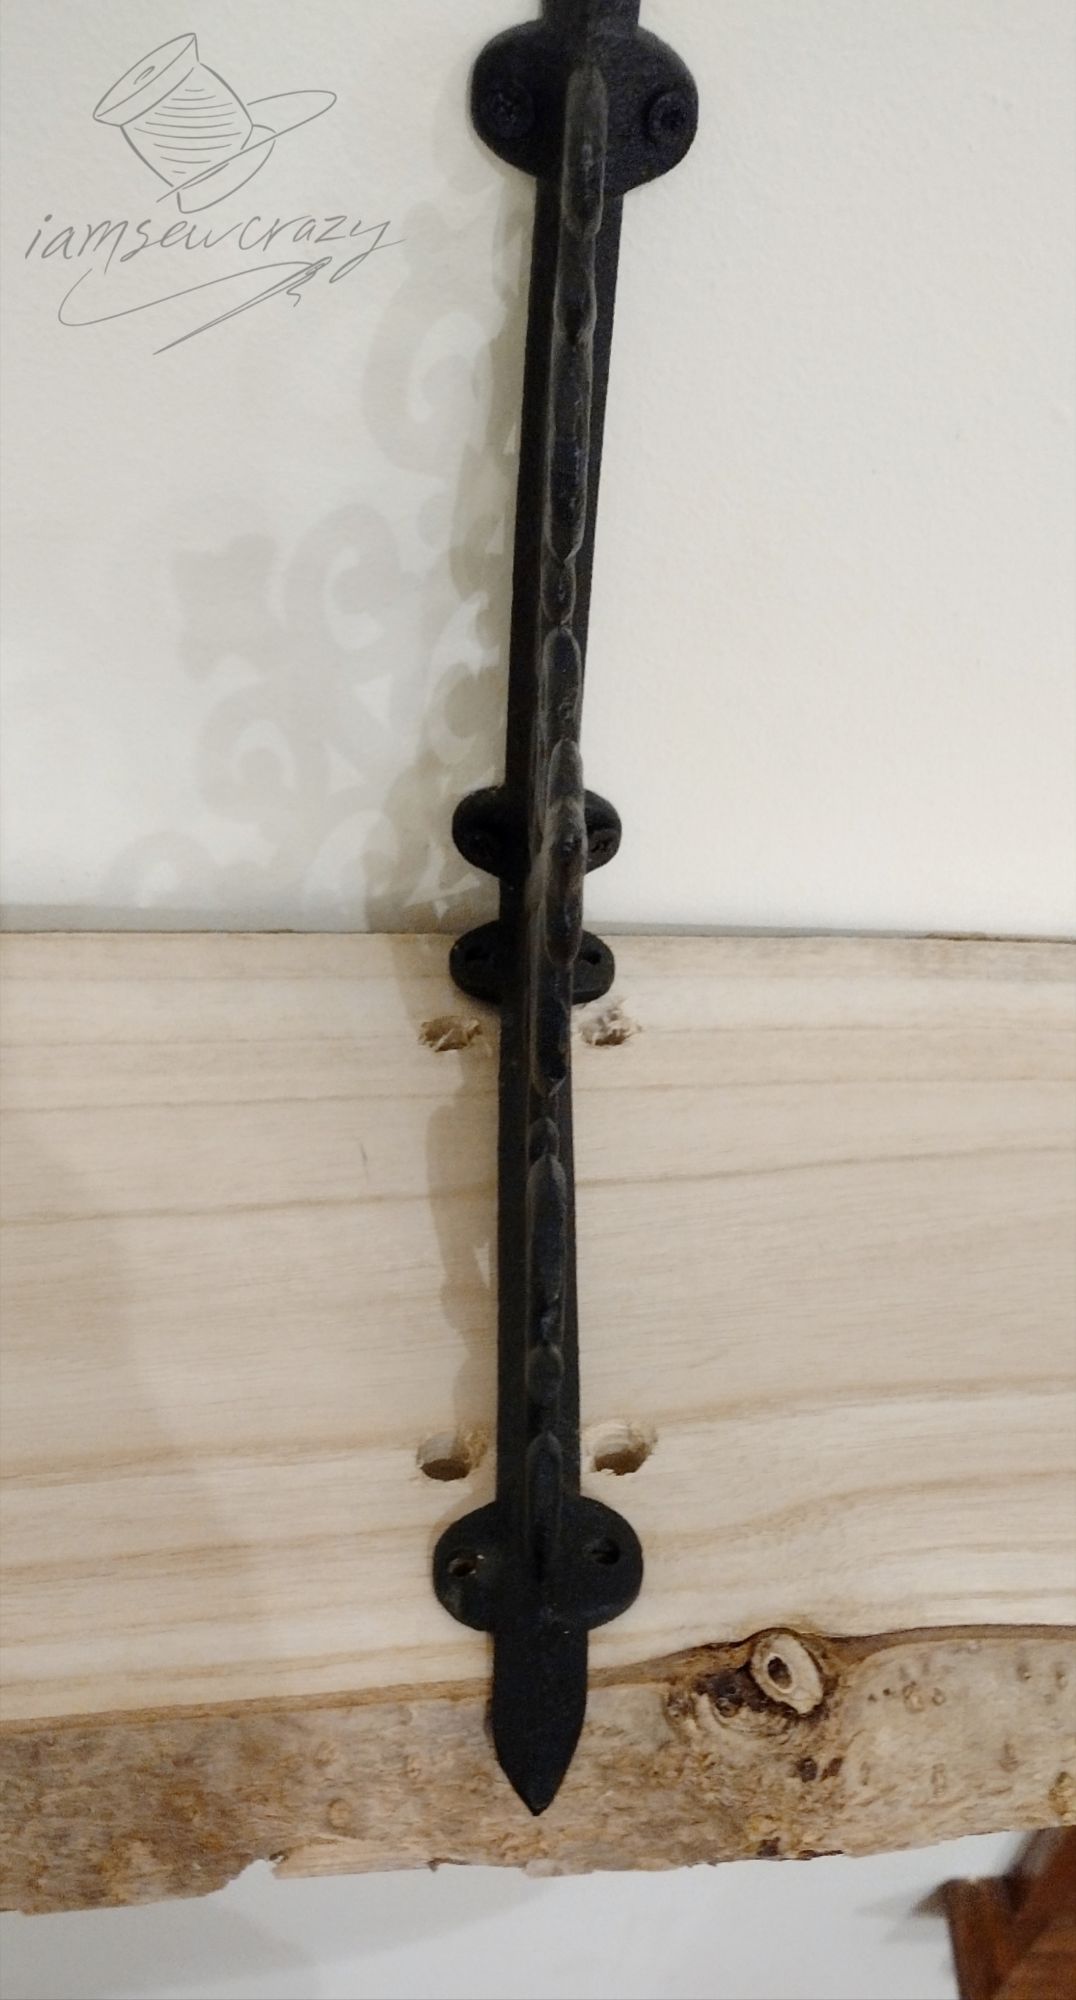
Each lower board only needed 4 larger holes that aligned with where I wanted the ropes to fall.

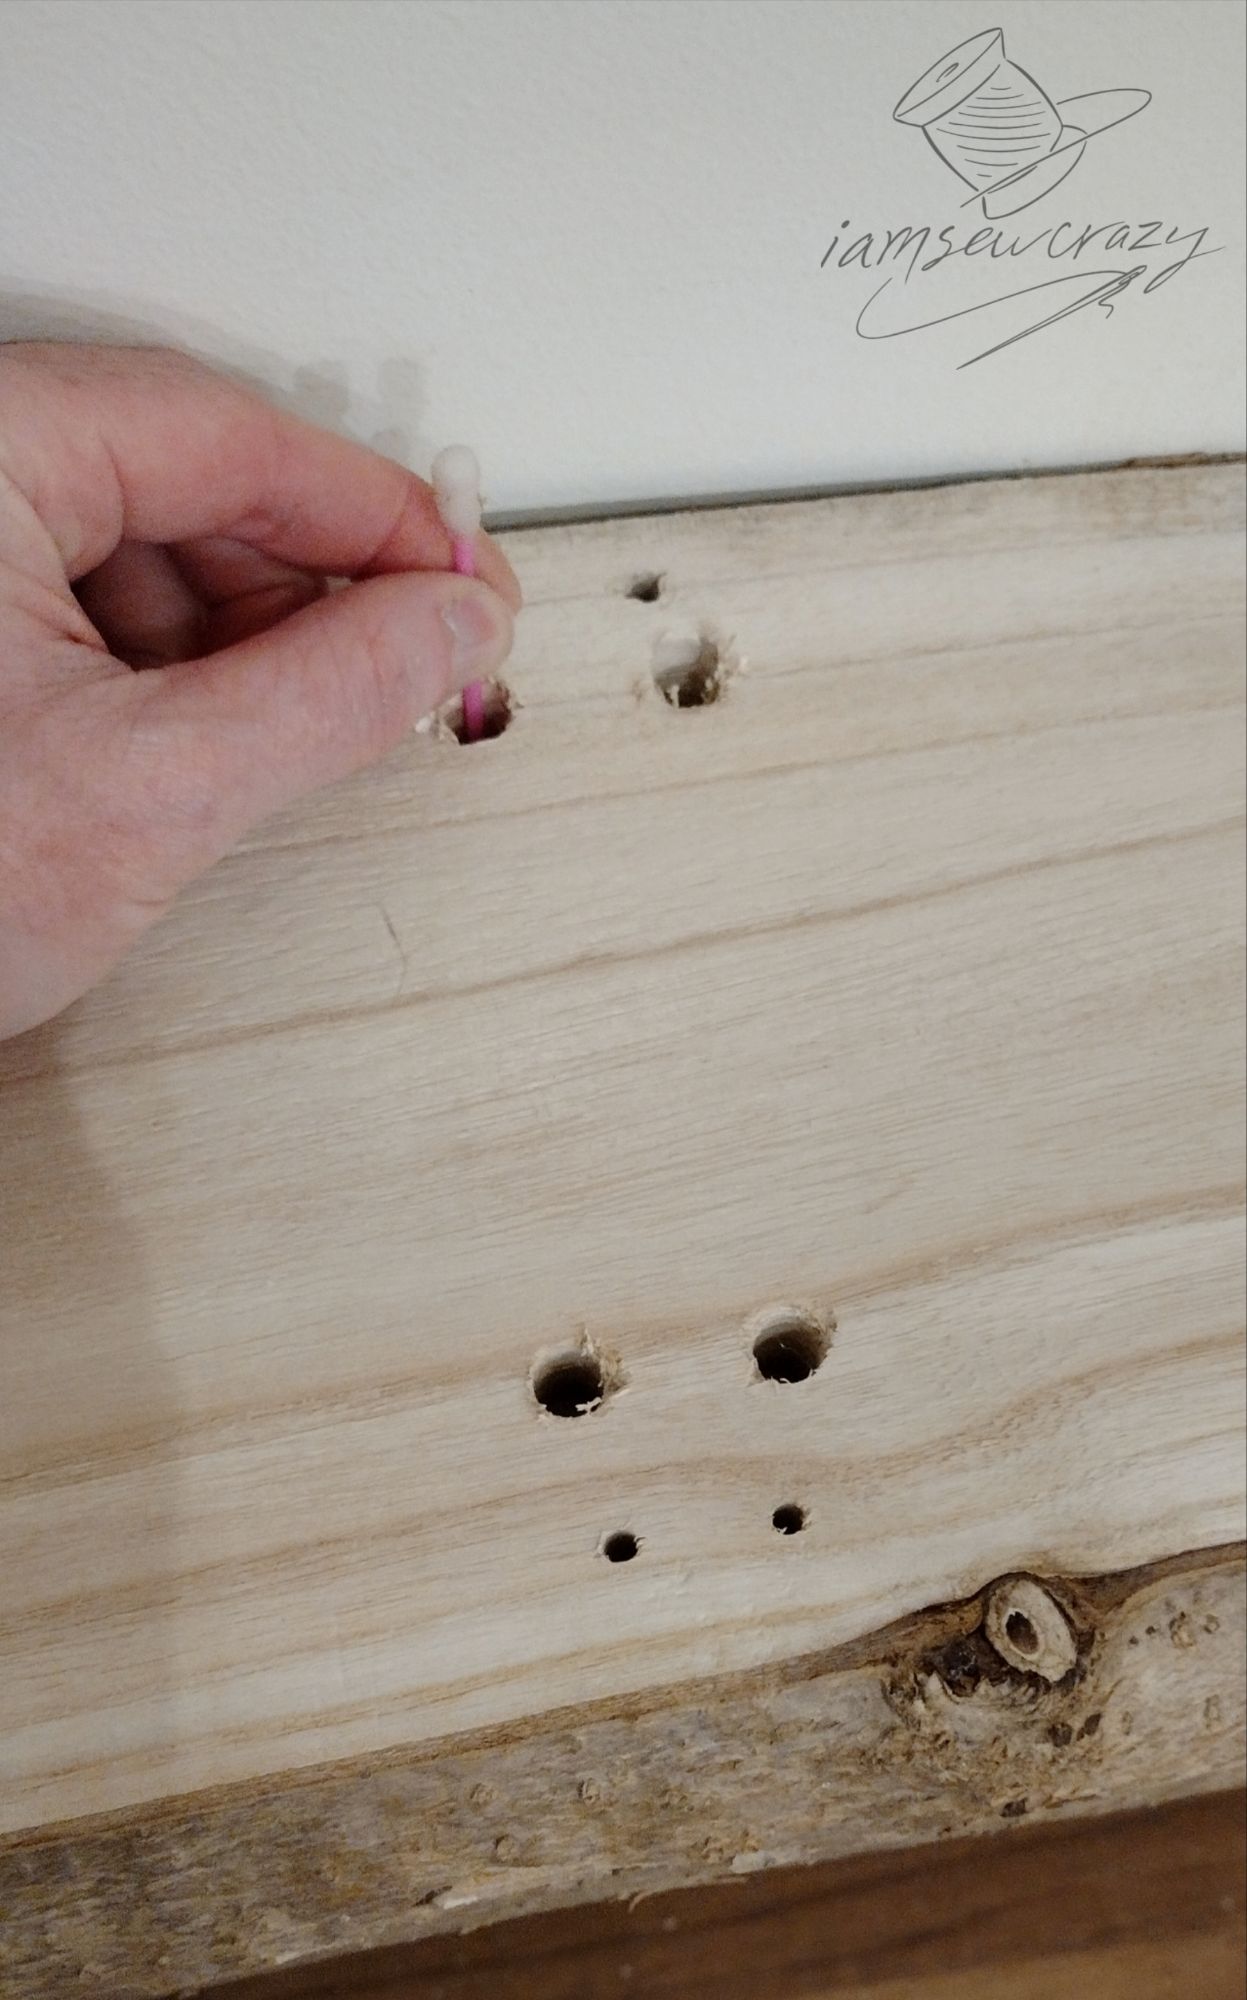
I drilled the holes in the top board, and then stacked the drilled board on top of the next board. Then I dabbed through 4 of the holes in the top board with a wet cotton swab to mark the position of the holes on the next board. This ensured that the holes would be in the same place on all 4 of my boards. The water spot was easy to see when I was drilling, and I found it easier and more foolproof than trying to mark through a small hole with a pencil.
Step 5: Bolt top shelf to brackets

Use the smaller holes in the top board and the holes in the brackets to bolt the top shelf in place, adding small washers on the underside for support if needed. (Depending on the size of the nuts you are using, this may not be necessary.)
Step 6: Add ropes to top shelf
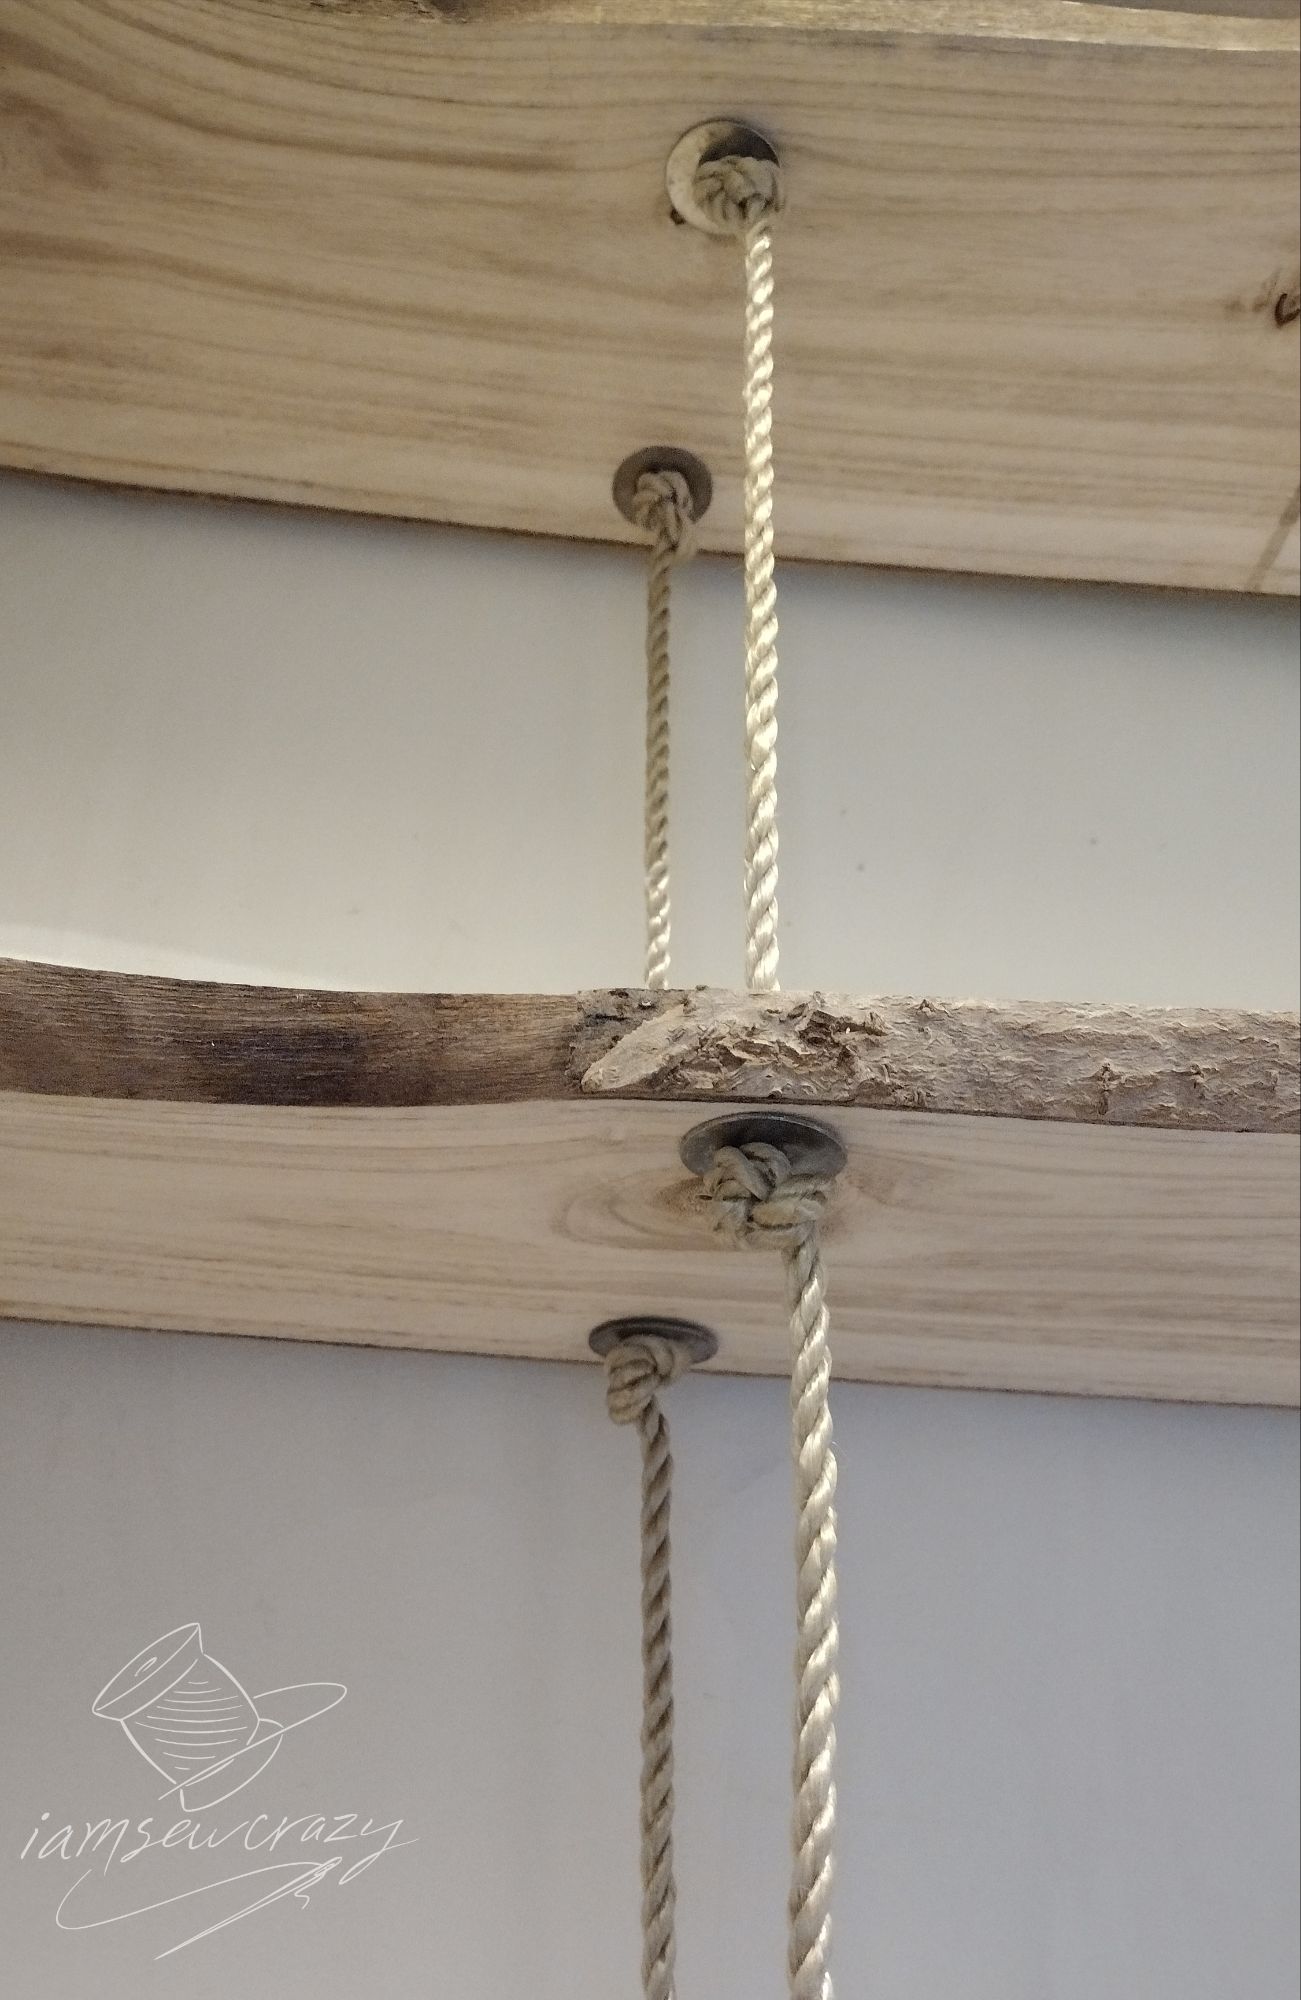
Run the ropes through your brackets and the larger holes in the top shelf. There are several different ways you could do this, depending on the style of brackets you chose and the look you are going for. I ran the middle of my ropes across the bottom of the board. Then the ends of the ropes went up through the shelf, through the brackets, and back down through the shelf again.


Make sure that you have plenty of extra rope to thread through the shelves and tie your knots. More is better, since you can always trim the ends, but adding rope will be tricky!
You do not need to tie knots below the first board, since it’s held up by the bolts and brackets. However, I chose to tie knots in the ropes anyway, so that the shelves would all look the same.
Step 7: Add lower shelves to ropes
Measure and make a little mark on each rope piece where you want the next shelf to sit. I have about 11″ between each shelf, but of course that’s up to you!
Working with one board at a time, thread the 4 ends of the ropes through the holes in the board.

Add a fender washer to each rope below the board to support the board, and prevent cracks or splits. Tie a figure eight knot to hold the board in place, making sure the mark on the rope is right above the knot.

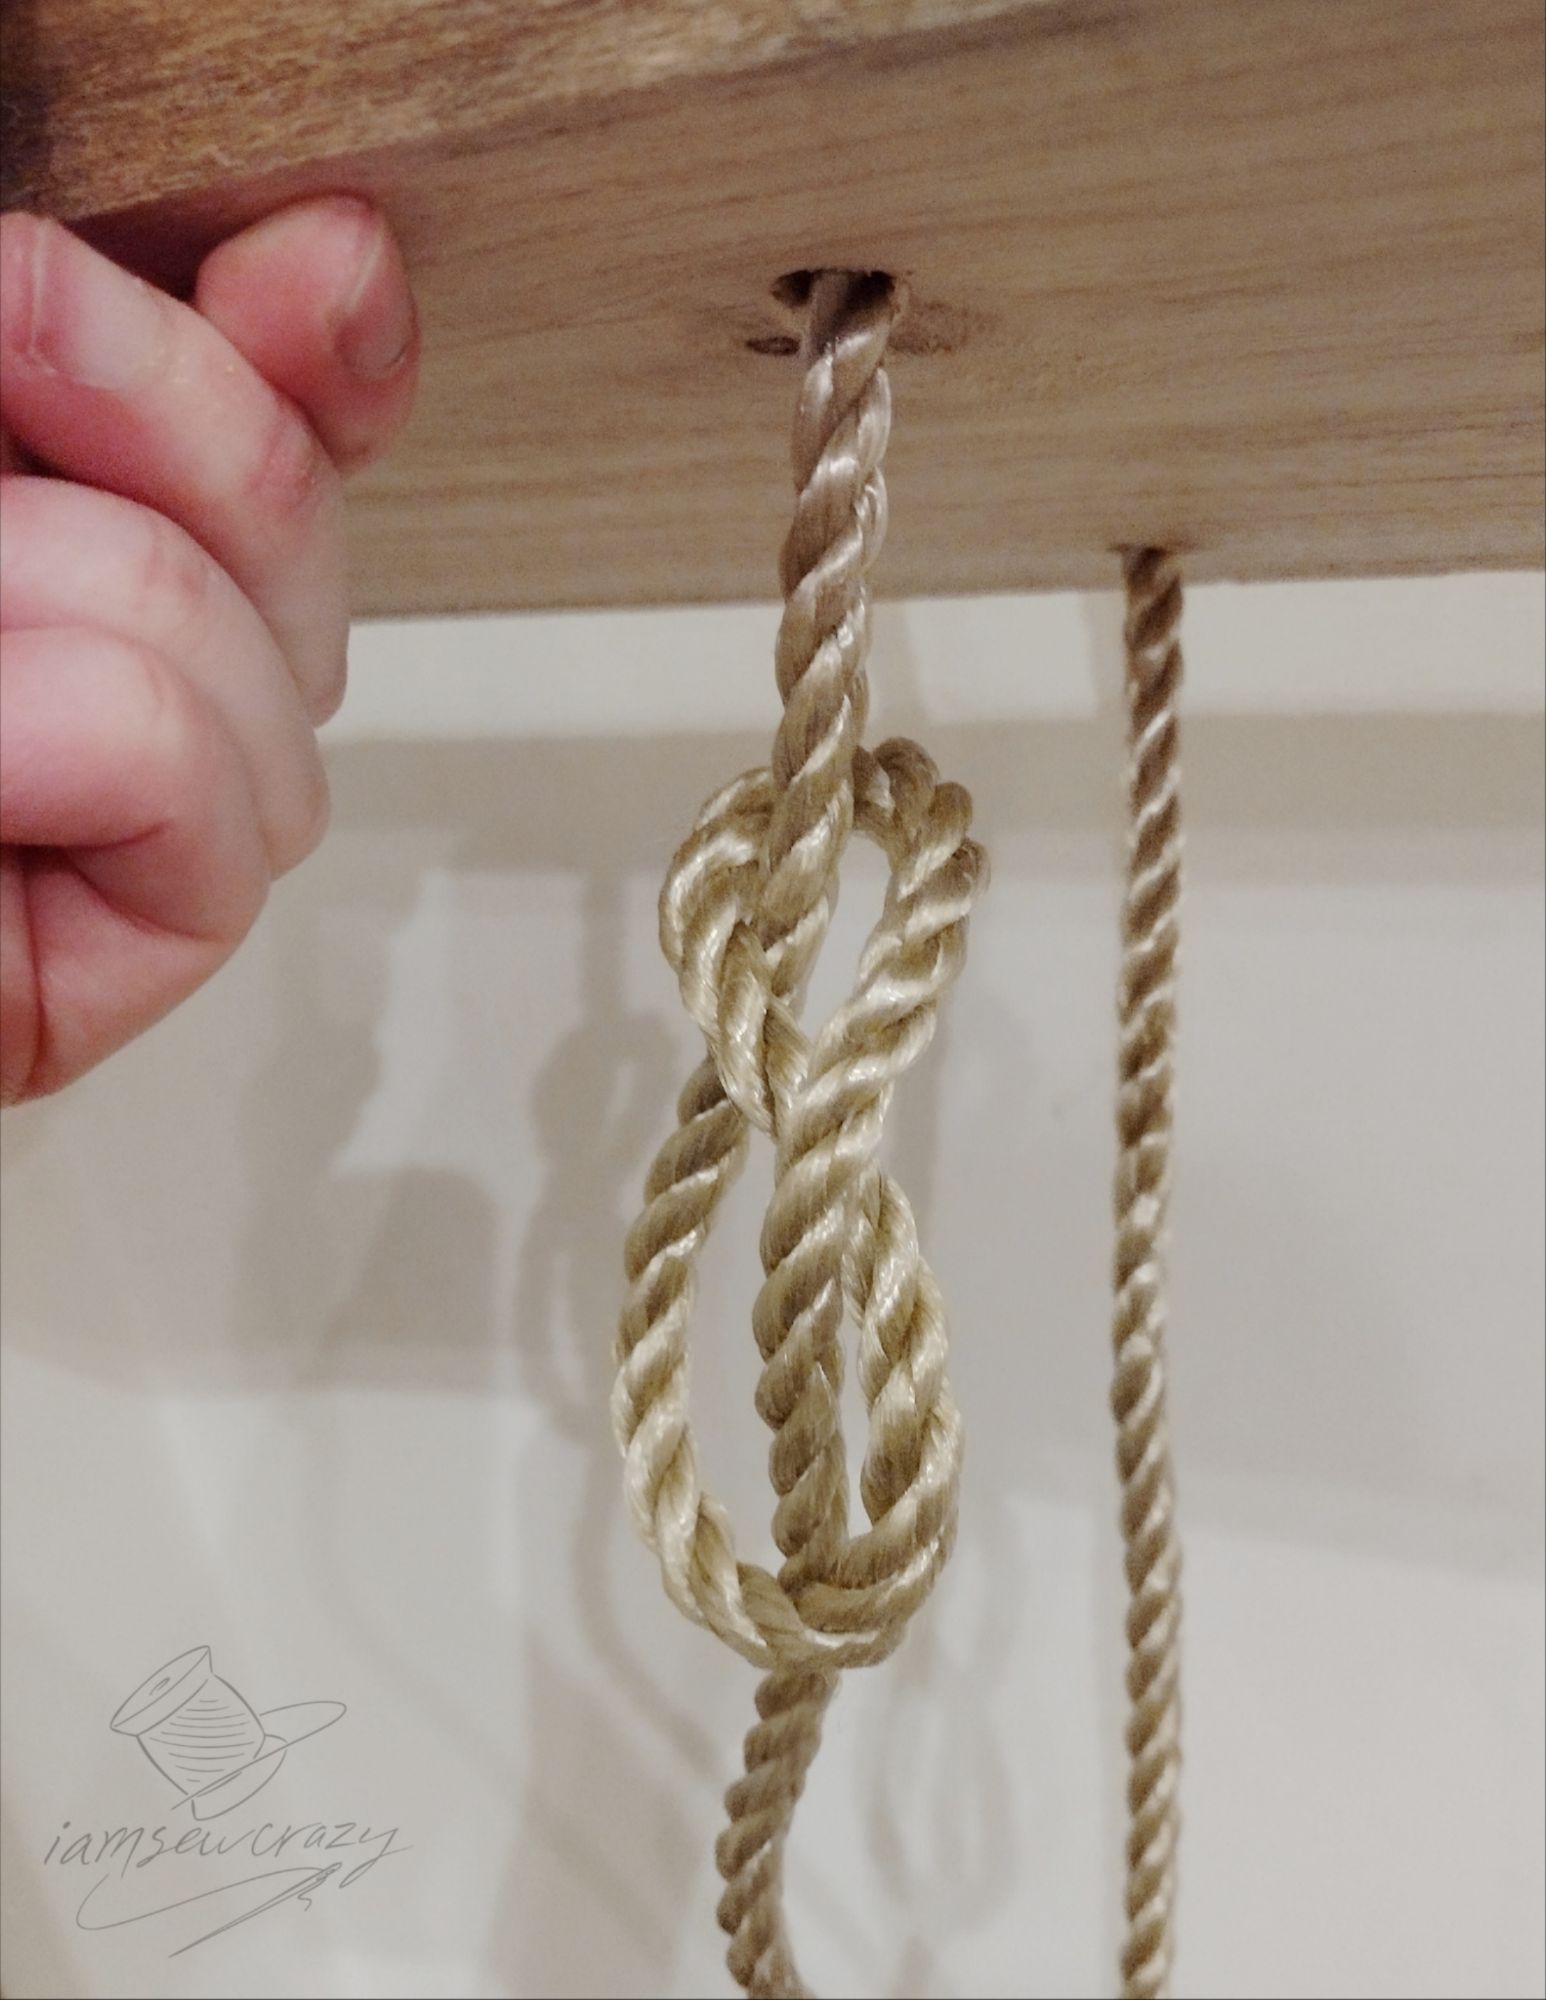
Figure eight knots were perfect for the look I wanted. They are a little larger than overhand knots, and the rope hangs down straight after the knot, instead of going off to the side.

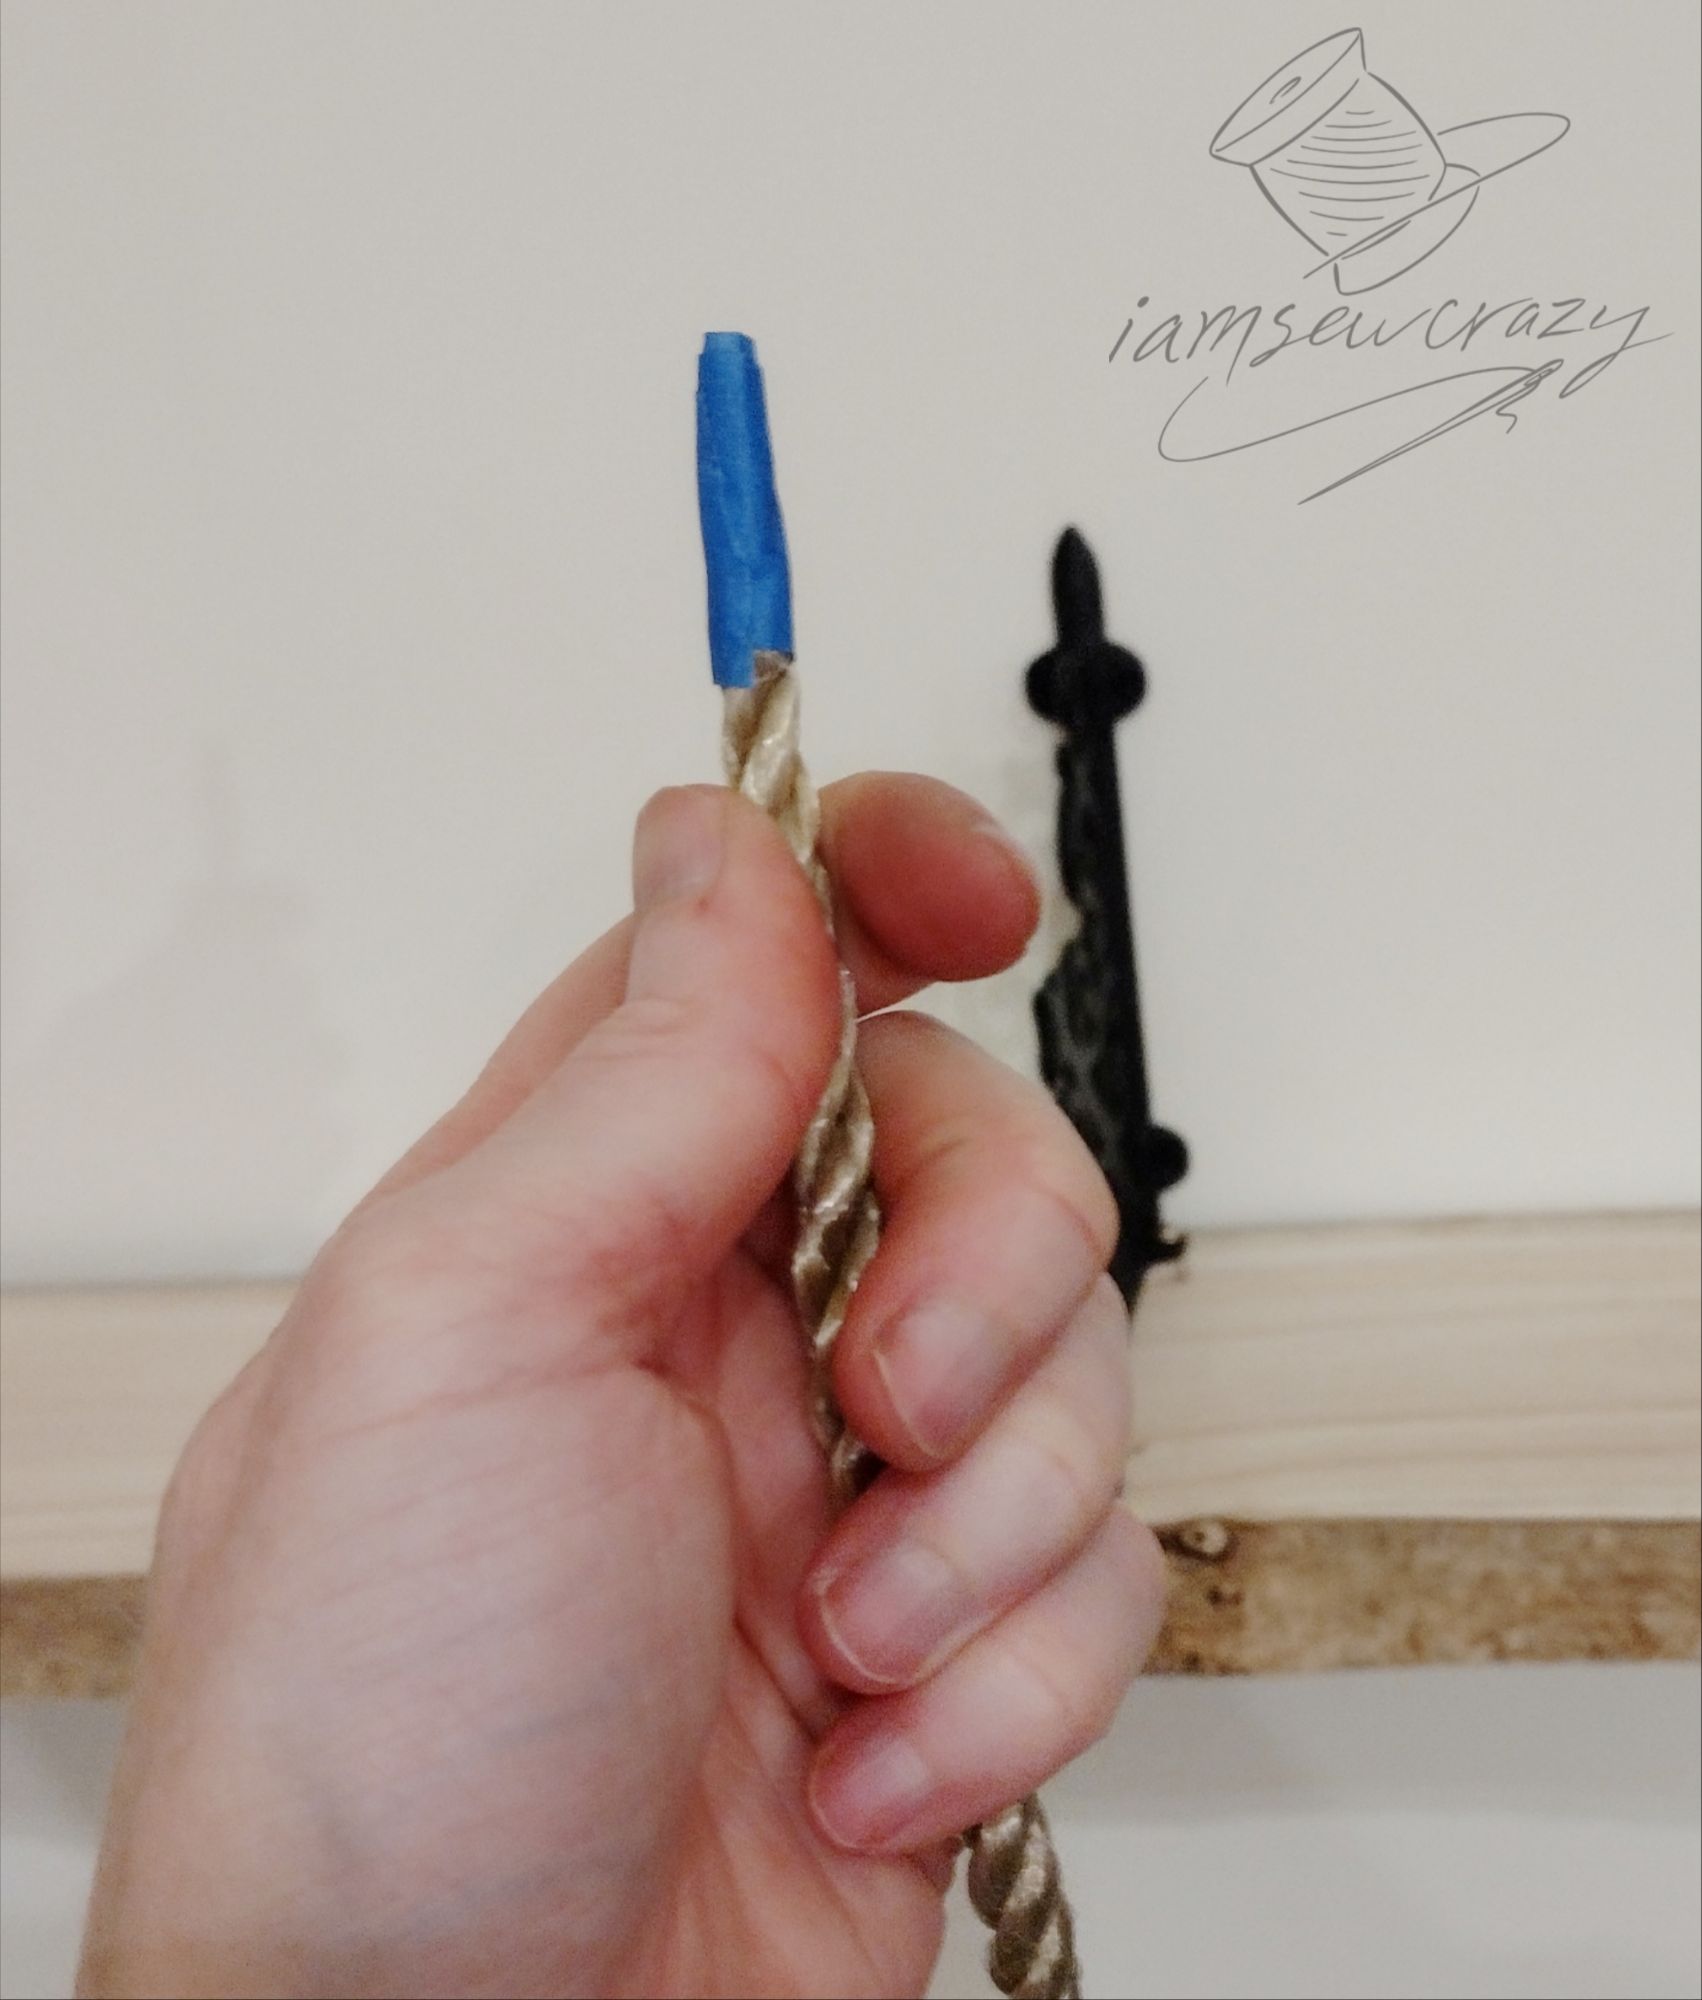
Pro tip: If the ends of the rope get fuzzy and hard to work with, wrap them in painter’s tape to make it easier to thread them through the board. (That’s on my list of 17 ways painter’s tape can make your crafting and DIY projects easier!)

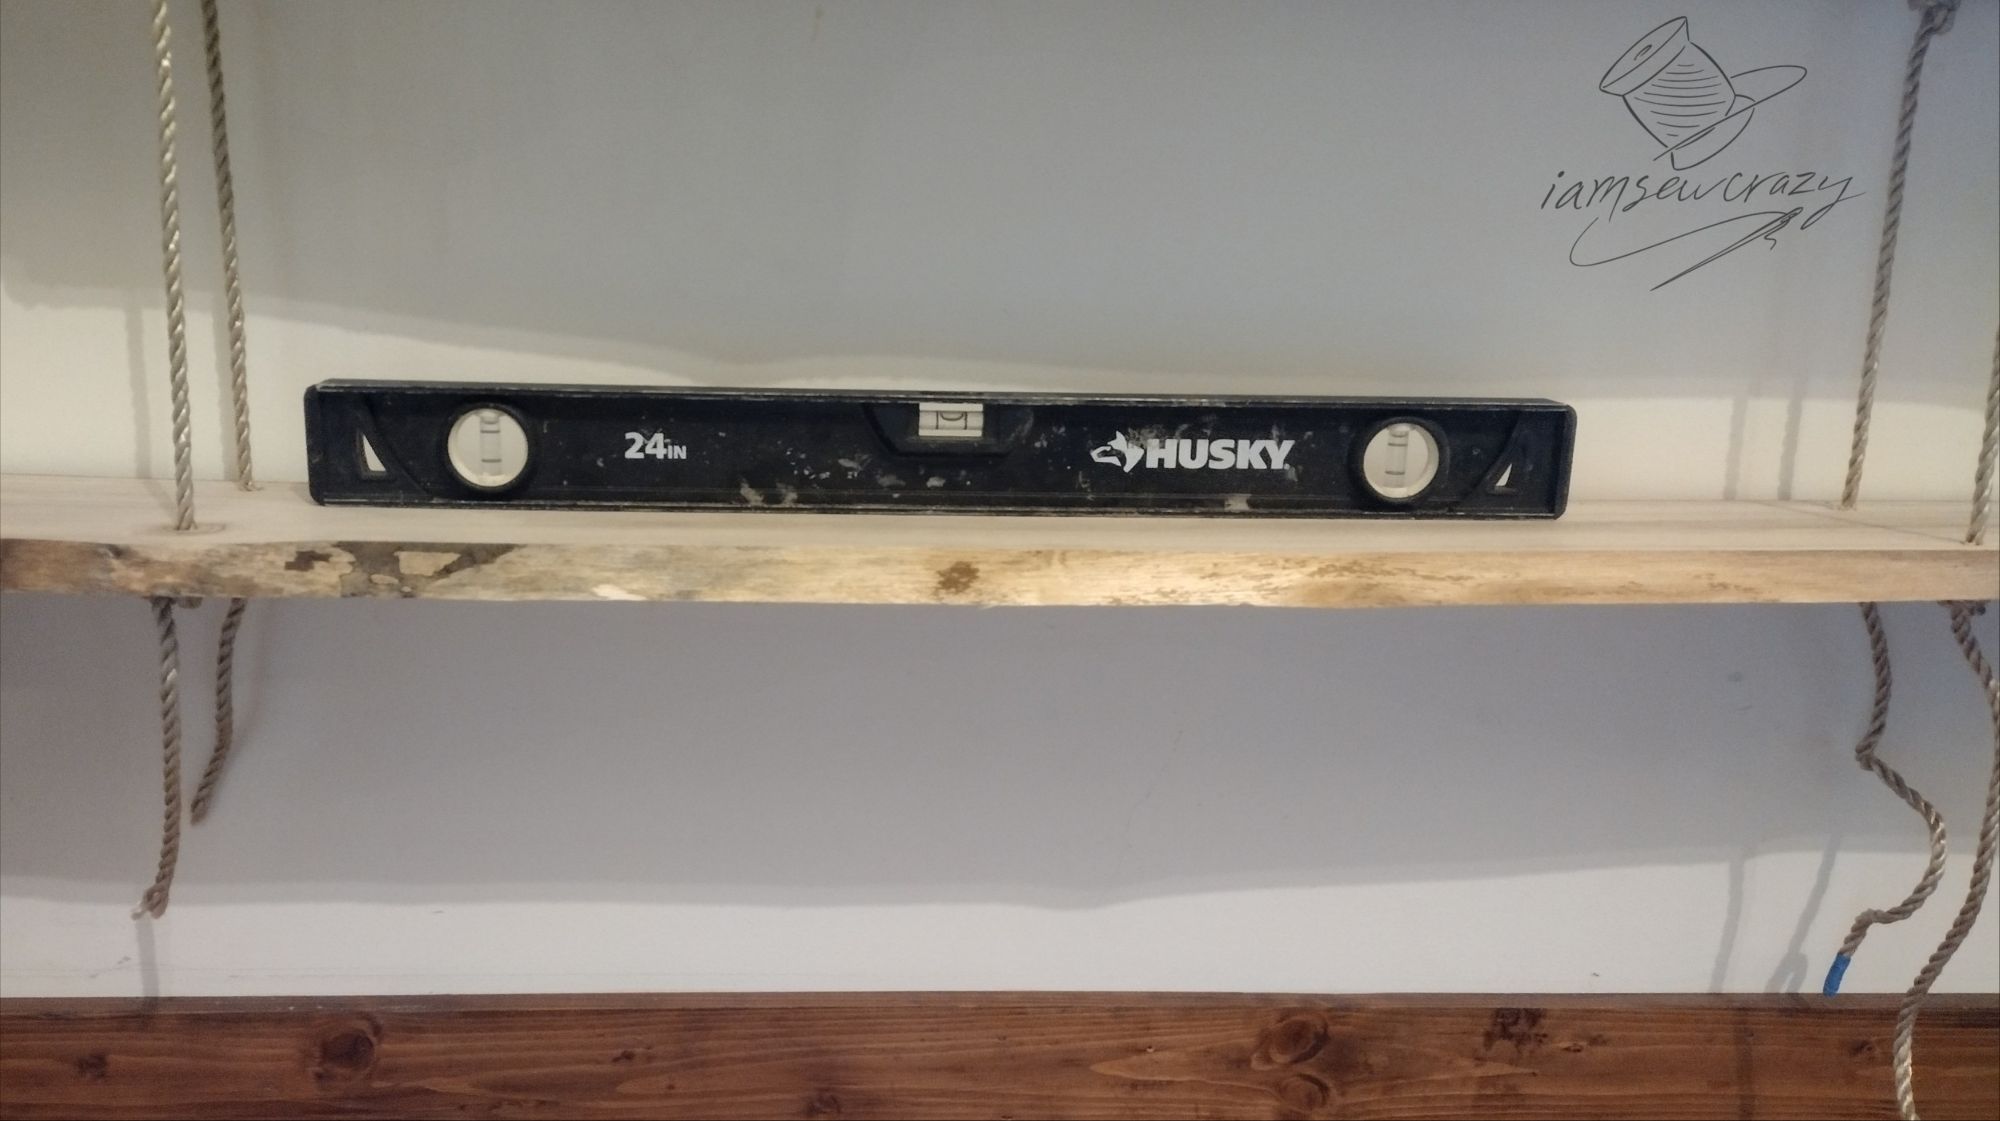
Check the board with a level to make sure it’s sitting right, and adjust any knots you may need to adjust before you move on to the next board. Pull the knots tight and press the board down to make sure the ropes are stretched out and taught. If everything looks good, then go ahead and thread the ropes through the next board and repeat the process.
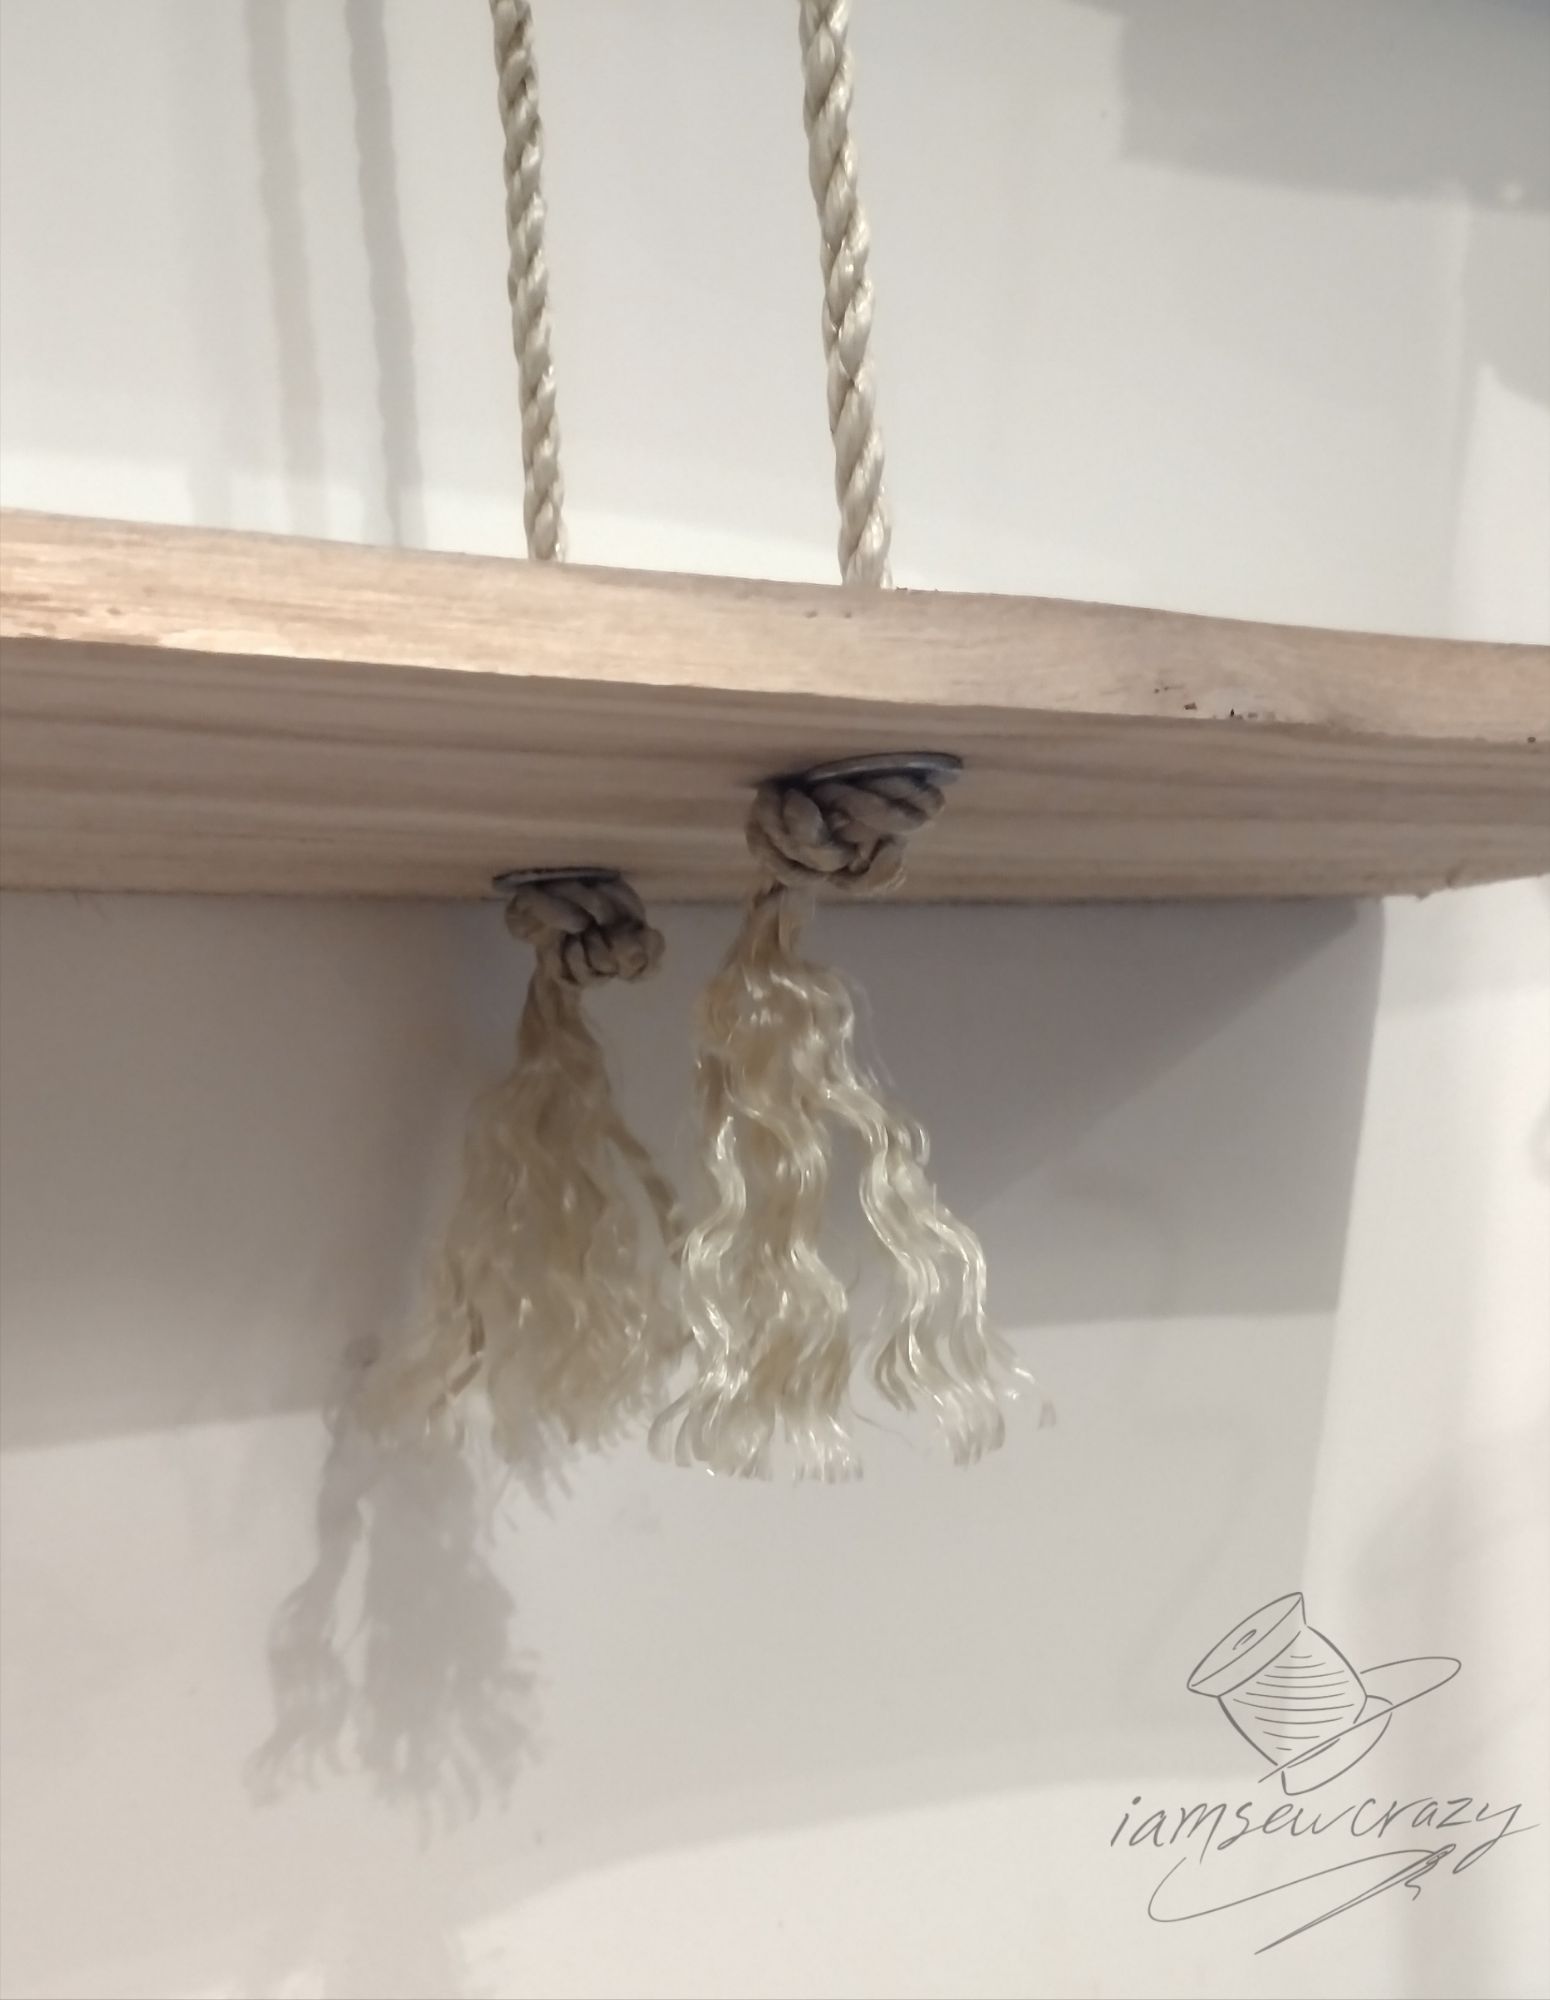
Step 8: Trim ends of rope
Now you’re ready to trim the ends of the ropes (I frayed the ends of my rope into little tassels). The fun part comes next: decorate your hanging rope shelves with things you adore!

Step 9: Decorate your DIY hanging rope shelves!
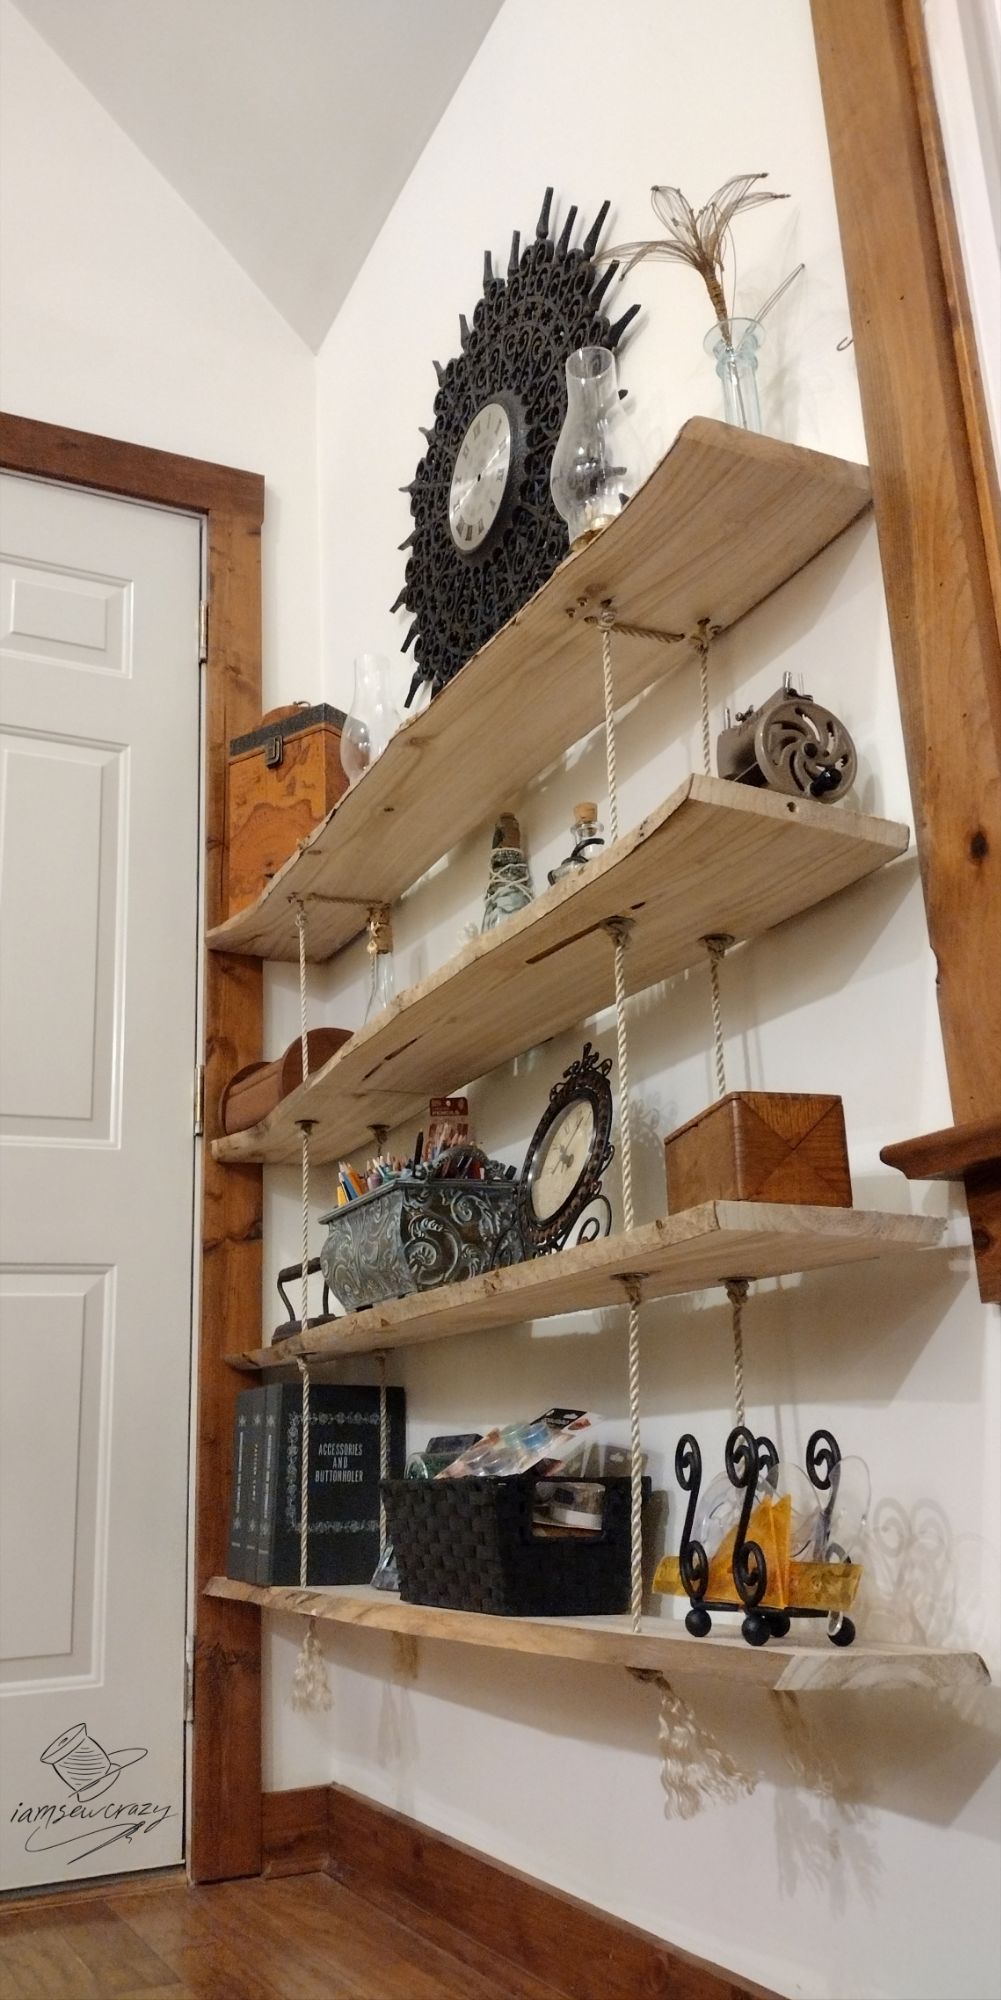
My shelves are in a corner, and are pretty stable. But remember that the LOWER shelves can sway to the side if they are bumped. The top shelf cannot move at all. For this reason, you may want to place glass or fragile items on the top shelf. This will definitely matter more if you have little ones or pets in your house. You can also use museum gel to secure delicate items to the shelves if you want to.
I have a lot of treasures on these shelves, and quite a few of my craft projects. There’s the lily I made out of worn-out guitar strings, and my “Sands of Time” clock. My drawing supplies are in an old planter, sorted into removable compartments that I made using some square plastic bottles. There’s my mom’s Singer Sewhandy sewing machine, and a few other vintage sewing treasures. I’m also displaying my octopus bottle, and my DIY message in a bottle craft (check out my free printable scrolls if you’d like to make your own!)
Now you know how to make shelves that hang from ropes! They add a lot of personality to my sewing studio. Hanging rope shelves are a great place to display your favorite treasures and found objects. I hope you make some rope shelves of your own!
Until next time!
Jessie

