
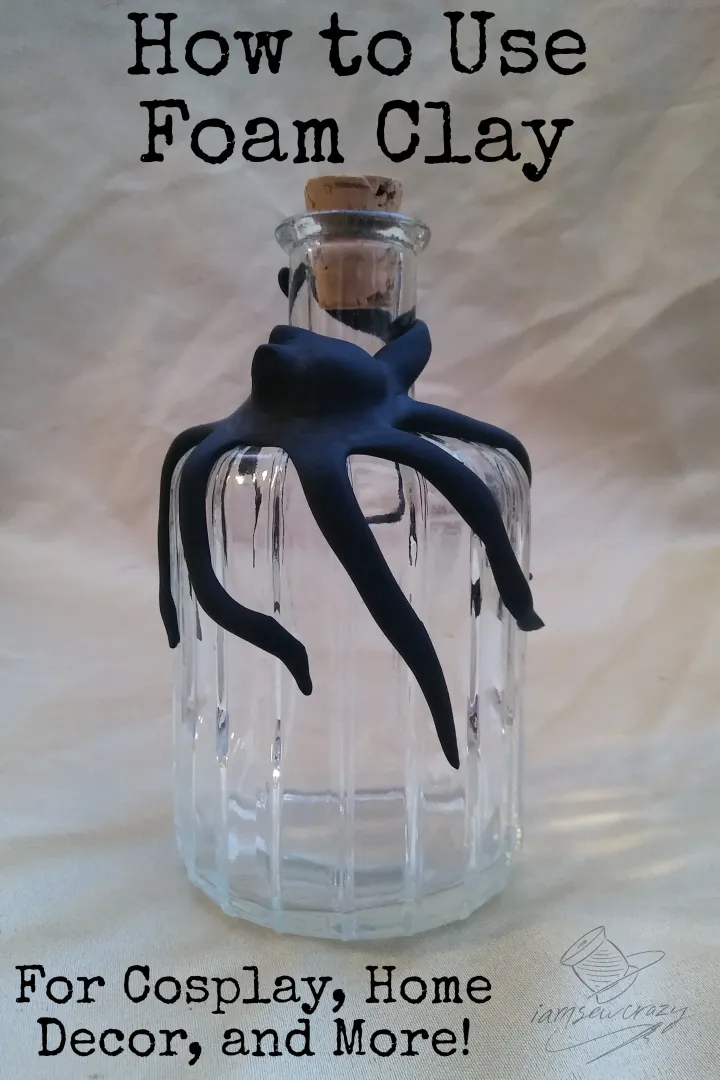
Have you ever used foam clay before? Here are some tips and tricks that will show you how to use this amazing material for your art and craft projects. Foam clay is a soft, moldable medium that air-dries to a lightweight foam. You can paint, sand, and carve the cured material, which makes it ideal for detailed cosplay accessories. You can press it into molds, or lay it onto textured surfaces to shape it or add patterns. And did I mention that using foam clay is a blast? It’s so fun to work with, that it made my ultimate Gift Guide for Creative Kids and Teens! So read on, and I’ll demonstrate a few different ways to use foam clay for your next DIY cosplay or home decor project.

By the way, I did not receive this product for free (although that would have been super cool). All of the opinions I’m sharing are my honest experiences. However, the Amazon links in this article are affiliate links. That means I’ll get a small commission on any purchase made through them at no extra cost to you.
Project #1: DIY Octopus Bottle
Here is an octopus that I made on a recycled glass bottle. It makes a really nice DIY home decor accessory! You can totally paint the octopus if you want to, but I did not add any finishes on top of the foam clay. The octopus bottle has appeared in several DIY escape rooms my siblings and I have hosted. Since it’s a small and simple project, making your own is a great way to learn how to work with foam clay.


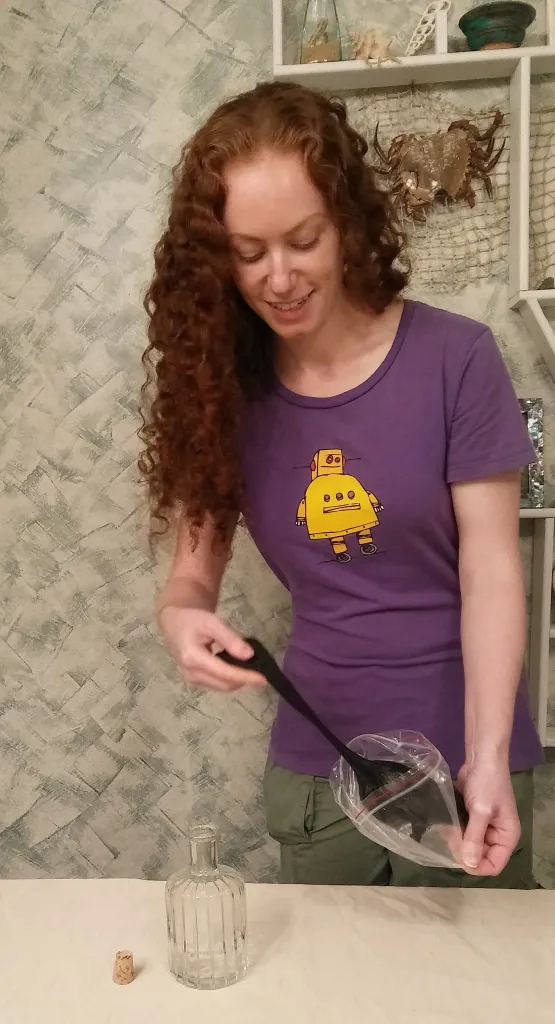
To get started, I chose a glass bottle that had some interesting texture. Since octopuses have eight legs, I cut 8 pieces of foam clay that were all the same size.
Then, I started rolling the pieces between my hands. I tapered the octopus legs down to a point, and laid them on the glass bottle. I placed them down the sides of the bottle and around the bottle neck, radiating out from a central point where the octopus head would be added.


You can dampen the bottle slightly with water to help the octopus arms stick. Foam clay will cling to wet surfaces, so it’s going to stay put on the bottle while it cures. You’ll be able to pull it off if you really want to. But I also wrapped the octopus arms around the bottle neck, so it’s not easily going anywhere.


The octopus head was a separate piece that I shaped with my hands before I added it to the bottle. Uncured pieces of foam clay will meld into each other, so getting the head to stick to the arms was no trouble at all. Dampen the pieces slightly with water to help the new pieces stick.


Since the sides of the octopus head (the neck? Do octopuses even have necks?) were small crevices, I needed something narrower than my fingers to smooth them out. This foam clay kit comes with a lot of smoothing tools and blades for shaping and carving. But for this project, I just used a wet cotton swab to smooth and shape the narrow areas. I also smoothed out the arms a little bit where the foam clay started to dry out. If you bend the clay pieces after they have started to dry, you will cause tiny cracks will appear on the surface. The wet cotton swab will moisten and smooth the area over again.
Sometimes foam clay will “slump” a bit as it cures. Octopus heads are sort of mushy anyway, so it doesn’t matter for this project. That’s one reason this is such a great craft for beginners who haven’t worked with this material before! But it’s something to keep in mind if you are making a project that needs sharp details or peaks. You can always add or refine details after the material cures, if the finished item is not to your liking.
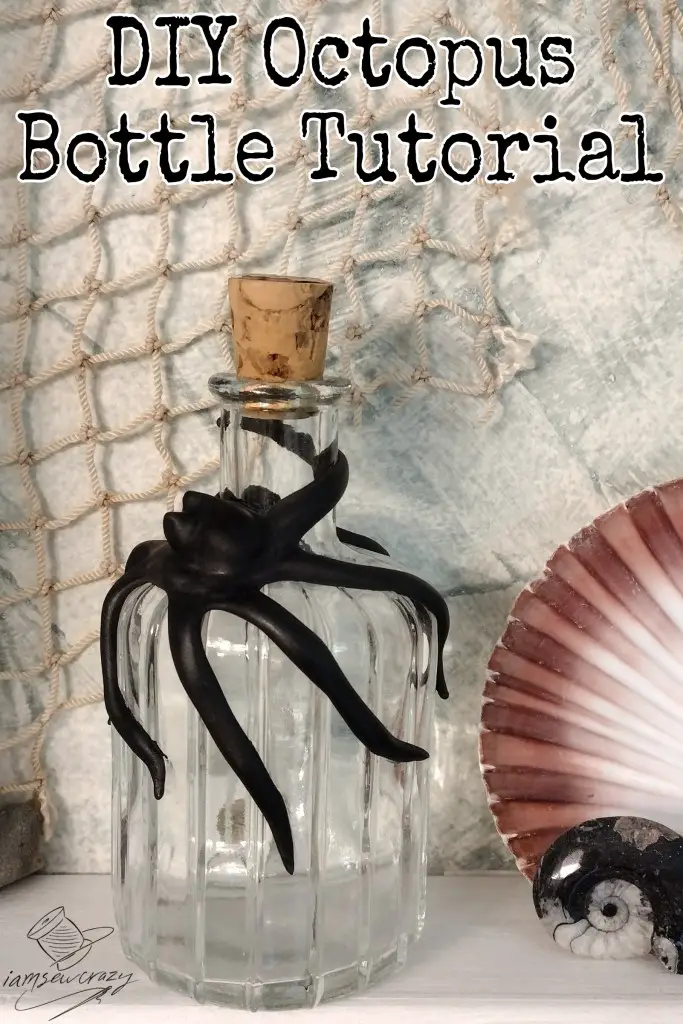
Here is the finished bottle! It’s been through 4 escape room run-throughs, holding “octopus ink” in a wizard’s lair. It has held up very well even though kids have handled it, and the octopus is still firmly attached.
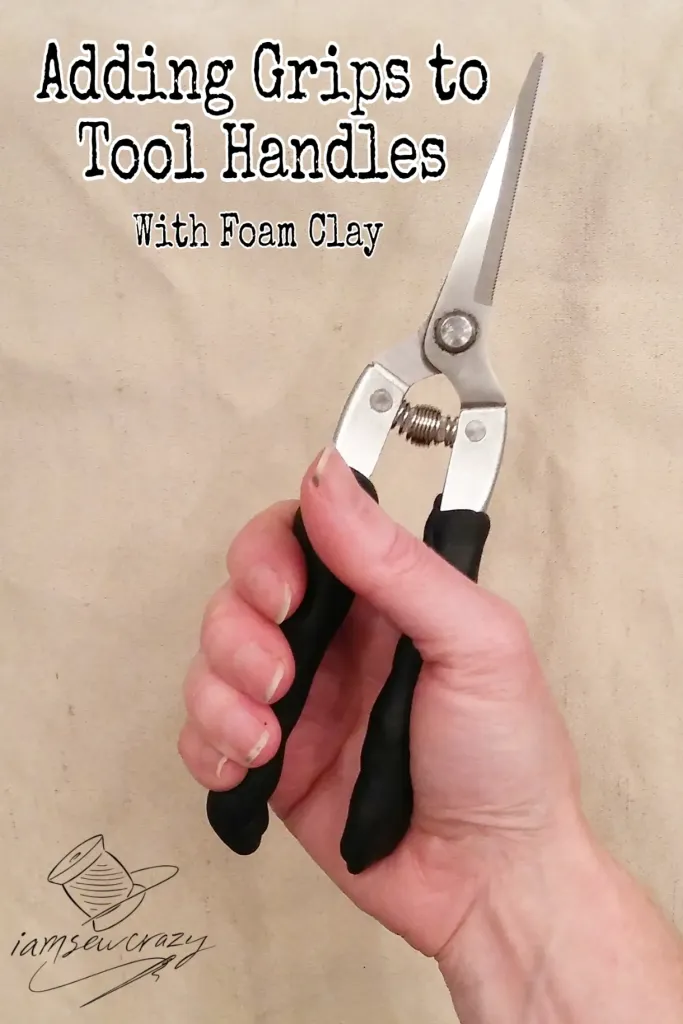
Project #2: Using Foam Clay to Add Grips to Tool Handles
You can also use foam clay for utilitarian applications, such as adding a cushioned grip to tool handles. The snips shown here are really nice tools, but the bare metal just wasn’t that comfortable to hold on to. So, I’m adding some grips to the handles.
Wetting the surface before you add foam clay will help the material to adhere. Water causes the foam clay to become stickier, which is a great thing when that’s what you want! But of course if you add too much water, the material will become too sticky to work with.
Tools with small round handles will have less surface for the foam clay to hold on to. So it may not hold as well or last as long with handles of that shape. The handles on these snips are shaped a bit like the letter U, so there was lots of surface area. There was also a hole through the handles that added another place for the foam clay to attach.


I started by stretching out a piece of foam clay so that it was about as long as the handle. Then, I wrapped it all the way around the metal, making sure the edges got smushed into each other really well where the seams met up.


When I had finished surrounding the metal handles, I grabbed the handle and squeezed my fingers into the foam as I would when I’m using the tool. This puts my exact handprint in the foam, so now I have a custom set of handle grips that match my fingers exactly!
Then, I balanced the snips on the edge of the bucket the clay came in, so that the foam clay could cure without deforming or sticking to anything else.
I have been using these snips with the foam clay handles for exactly 2 years and 8 months, and the handle grips look just as good as they did when I made them. I don’t use them every day, but they have seen moderate usage and are doing fine.
Tips for Using Foam Clay
I’m using black foam clay for these projects, but it comes in several different colors. It can be primed and/or painted when it’s cured, so you don’t need to start with the exact color that you want your finished accessory to be. But if you are going to be painting your item a light color, it’s a good idea to start with white or another light color of foam clay. Likewise, start with a dark color if you are making a dark-colored accessory. This isn’t essential, but it will make the painting process just a little bit easier.
Foam clay will shrink as it dries. It’s not an enormous amount of shrinkage; about 15% or so. But be aware that this will happen. If you are molding a thick piece, you may see some indenting on the sides as the piece shrinks.
Foam clay can be sanded and carved once it is cured. This can be a great way to clean up edges or add sharp details. You can use sandpaper, a Dremel (rotary tool), or x-acto knives. Carving and sanding is a little less kid-friendly than molding though, so be sure to have adults on hand for the heavy duty stuff.
Foam clay is soft and stretchy, and easy to shape with your hands. But because it stretches, it can be difficult to pull off a piece that’s just the right size. Usually it will stretch and stretch if you pull it slowly, but if you pull it really fast it will snap. I think it’s easiest to use a pair of scissors to separate pieces to work with.
It’s non-toxic, and it doesn’t smell. One more reason it’s a great craft medium for kids! It also doesn’t stick to your hands, so you don’t have to worry about using gloves.
Keep some water handy, along with some cotton swabs or silicone shaping tools. Water will help you smooth out the foam clay, and adhere it to other materials. You can also add a little water if the foam clay starts to dry out. But if you add too much water, the material will become too sticky to work with, and start to break down.
Uncured foam clay will stick to cured foam clay or sheets of EVA foam. Just wet the EVA or cured foam with plain water before you add the uncured foam clay. This enables you to make a project in stages, by adding more material to the cured work piece. You can create various components of your design, and then join them together later using uncured foam clay. You can also use foam clay to cover up seams in sheets of EVA foam. Or, add foam clay on top of EVA foam sheets to create textures and design details. If you’d like to see this technique in action, Svetlana from Kamui Cosplay made a really great video that shows how it’s done!
I find that foam clay “slumps” a bit as it cures. You won’t notice this at all in smaller, thinner areas of your design. But a taller, larger piece will often flatten out some if you just shape it and leave it to dry. Peaks on top of your pieces or sharp details can also lose some of their definition, so for certain projects you might have more success by using a mold, or carving in more details once the piece has cured.
Foam clay will air-dry in about 24 hours, depending on the thickness of your piece. So you don’t have to worry about heating it or going through any special curing process. But since it will air-dry, you do have to keep it tightly closed when it’s not in use.
Foam clay is flexible when cured, but it does have a breaking point. It’s reasonably durable, but best used for applications that will not get a lot of wear and tear. You will also want to keep your finished pieces dry and out of the weather. You can seal your work after it is cured, to provide additional durability and protection.
I really hope you give this amazing craft material a try! Check out the different colors it comes in, or get a foam clay kit that includes smoothing and cutting tools.
And most importantly, have fun!
Jessie