
Sometimes my readers ask me to recommend my favorite sewing supplies. I’ve compiled this list of my must-have sewing tools and notions. I’ve included Amazon affiliate links in case you would like to purchase them to use in your own projects. If you use these links to make any purchase from Amazon, I will earn a small commission (at no extra cost to you), which will help keep this site up and running.
I promise you that I will never, ever add a product to this page that I have not personally used and loved! For example, you won’t find my rotary cutter on here, because I’m not completely happy with the one I bought. So I’m not going to link to it here, or mention the brand by name.
My Favorite Sewing Notions:

Dritz 665 Seam-Fix Seam Ripper, Large
- Dritz-Seam Fix Seam Ripper Purple
- A seam ripper that quickly cuts threads and a rubber tip on the end that grabs and removes threads
List Price :
Offer: 5.49 $
Go to AmazonSeam-Fix Seam Rippers
I adore this seam ripper, so it claimed the first spot on the list of my favorite sewing supplies! I own 3 in different colors, and I haven’t used any other kind of seam ripper in a very long time.
The large grippy tip on the end is a thread eraser that removes the little pieces of thread that are left behind after you rip out a seam. You rub the ripped seam with the end, and the rubbery part grabs the little wisps of thread and pulls them out. The large handle makes it very easy to control, and it has a precision tip on the bottom end for erasing thread wisps from finicky spots.

Gutermann Thread Set: Sew-All: 100m: Pack of 20, Assorted
- 20 spools Allesn her 100 m in the most popular basic colours
List Price :
Offer: 27.25
Go to AmazonGutermann Thread
Gutermann has won the spot as my favorite brand of all-purpose sewing thread. I love how smooth and even it is, and it’s trustworthy from spool to spool. The texture is soft and agreeable, and all of my sewing machines get along well with it. I’m sure you’ll be happy with it, too!

Gingher Micro-Serrated Dressmaker’s Shears
These are without a doubt the best sewing scissors I have ever had the pleasure of using. I cut everything from swimwear fabric to leather with them, and they are awesome. They have micro serrations to get a grip on whatever you are cutting. Even slippery fabrics like organza and slinky knits will be cut cleanly instead of being pushed aside by the blades. Mine were a gift from a very dear friend a few years ago.
Sometimes I’m backstage at a fashion show and I’ve left all of my stuff unattended. I’ll be honest, these scissors are the thing I’m most jumpy about leaving alone! If they somehow got lost, I’d kick myself. If you don’t have a good pair of sewing scissors, you really should treat yourself to some nice ones!

Beacon Fabri-Tac Permanent Adhesive, 4 Ounce The Glue Gun in A Bottle !
- Permanent Adhesive: The glue gun in a bottle provides a permanent adhesive that bonds leather, fabric, wood and other materials for long-lasting results.
- Waterproof Formula: The waterproof adhesive formula allows you to apply the glue directly to surfaces without worrying about water damage.
List Price :
Offer: 10.92 $
Go to AmazonFabri-Tac Fabric Glue
I’ve tried many fabric glues, but this is the fabric glue I like best. I don’t just use it for fabric, I also use it to keep knots from coming undone when I’m making jewelry with elastic beading cord (like this Morse Code Bracelet) or when I’m fixing a shirt with a neckline that’s too low.
I’ve had good success using it to glue plastic, so I’ve used it on rhinestones and googly eyes also. (Like when I made this goofy monster pen topper). Your plastic needs to be clean before you glue it, so wipe it with some rubbing alcohol and let it dry first. The glue dries flexible and clear, although if you have bubbles in the glue, it will look white/cloudy when it’s dry.

Chaco Liner
This chalk marker uses a serrated wheel that dispenses a thin line of powdered chalk right where you want it. It also makes a fun noise when you use it! The chalk has always washed out of my projects with no issues whatsoever.

3M Scotch-Blue 2090 Safe-Release Crepe Paper Multi-Surfaces Painters Masking Tape, 27 lbs/in Tensile Strength, 60 yds Length x 3/4" Width, Blue
- Sold as 1 RL.
- Scotch-Blue Painters Masking Tape is designed for many surfaces. Medium adhesion tape is ideal for painted walls and trim, woodwork, glass and metal. Tape removes cleanly without adhesive transfer or surface damage for up to 14 days, even in direct sunlight.
New starting from: 6.91 $
Go to AmazonPainter’s Tape
It bastes oddly-shaped items together, or materials (such as leather) that are damaged by pins. It creates guides on scissors, drill bits, and sewing machines. Painter’s tape allows you to add text to your sewing projects via a technique called couching. It even helps you sew perfect circles! I also use it to label storage containers in my sewing room, and even food containers in the freezer.
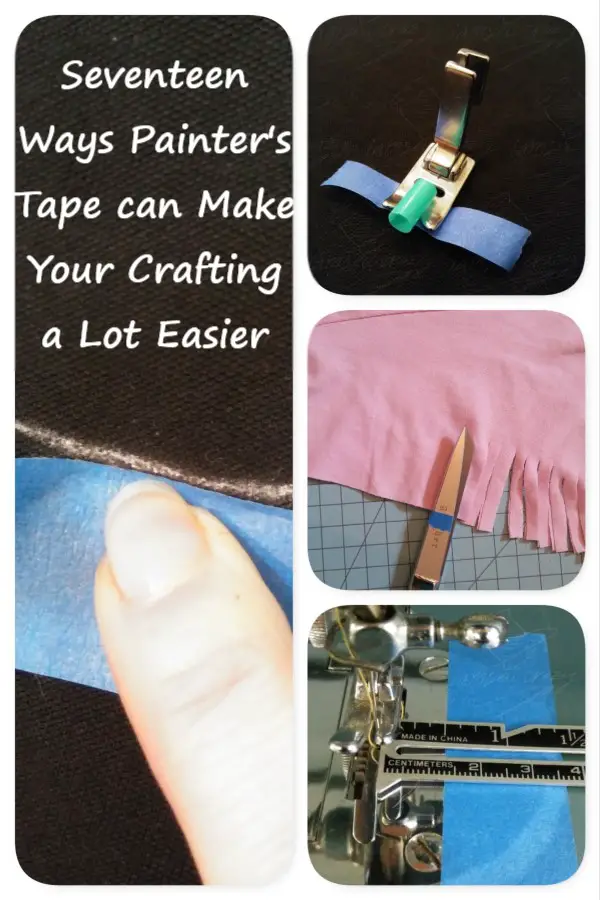
I use painter’s tape for a ton of things in my sewing and crafting. In fact it has so many uses that I wrote a post called 17 Painter’s Tape Hacks for Your Sewing and Crafting!

MABIS Kelly Forceps, Medical Forceps, Locking Forceps, Silver, 5.5"
- Long lasting stainless steel Kelly forceps: Have a dependable locking mechanism that is great for clamping small items.
- Precision tip medical forceps are serrated giving you more accurate control during use.
- Superior performance locking forceps are made of high quality stainless steel and won’t bend when you apply force.
List Price :
Offer: 4.38 $
Go to AmazonHemostats
I use hemostats for so many things! They may have been initially designed as a surgical tool, but they are without a doubt one of my favorite sewing supplies. Imagine if tweezers, pliers, and clamps all had a baby: you’d get a pair of hemostats!
Hemostats (some people call them craft forceps) grab and lock on to whatever you’re gripping. I use them all the time in my sewing and crafting. For example:
- Stuffing soft sculptures
- Turning small shapes and tubes right-side out after I’ve sewn them
- Pinching and clamping small items until the glue dries
- Grabbing tangled threads out of tricky spots in my sewing machine’s bobbin area
- Threading my serger
- Tying finicky knots in thread and small cords
- Getting a grip on small jewelry findings as I’m attaching jump rings
- As a very precise point turner
- Holding scraps of fabric safely away from my fingers as I do a burn test to find out what the fabric is made of.
Whew! No wonder I always have my hemostats close at hand! I just have a plain pair of 5 1/2″ silver hemostats, but you can get them with curved tips, or these with angled jaws, and even pretty ones like these with designs on the handles, or this really fun metallic rainbow-colored pair. I know you’ll find even more uses for them than I have!
SINGER 2131E All Purpose Machine Oil, 4-Fluid Ounces,
- All-Purpose Solution: Tailored for sewists of all levels, this universal sewing machine oil simplifies maintenance so you can focus solely on your creative projects.
- Uninterrupted Creativity: Maintains smooth operation of your sewing machine, eliminating unexpected stops and jams that interrupt your flow.
- Longevity Assured: Guard your machine against friction and extend its lifespan, saving you money on repairs and replacements.
New starting from: 12.99
Go to AmazonSewing Machine Oil
Sewing machine oil is one of those basic things that’s easy to forget about. But it’s so important! Regular machine maintenance can save you a lot of headaches in the future. I use Singer brand sewing machine oil to maintain and restore my vintage sewing machines, as well as my more modern serger. It hasn’t let me down yet!
My Favorite Pattern Drafting Supplies:

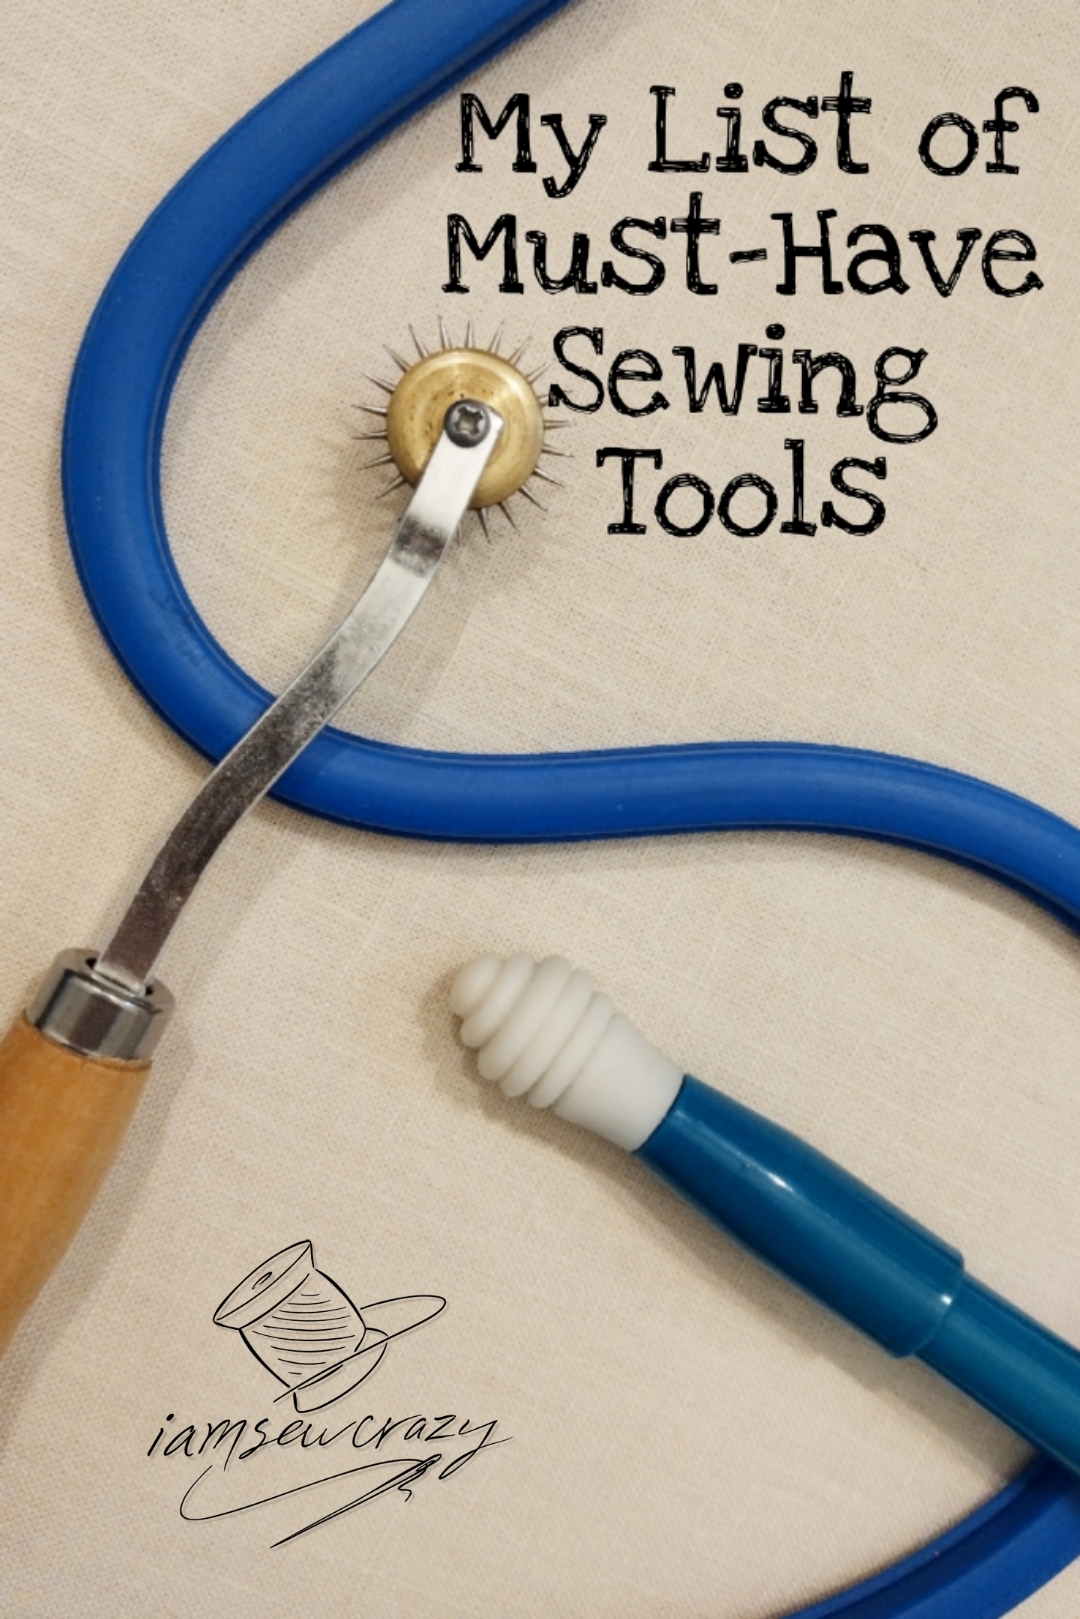
RJWKAZ Perfect 4mm Pattern Wheel Needle Point Tracing Wheel Sewing Wheel Leather Paper Cloth (Yellow)
- Material: Wood Handle and Metal
- Size: Approx.(L*D) 7.3″ X 0.9″, please refer to our picture 4
New starting from: 5.48 $
Go to AmazonNeedlepoint Tracing Wheel
This needlepoint tracing wheel is quite possibly my very favorite sewing tool. When I was taking a trip, I didn’t know if they would allow it in my carry-on bag. So I straight-up MAILED IT TO MYSELF so I wouldn’t have to spend a week without it.
I use it when I’m making sewing patterns out of clothes I already own, and also to transfer markings from one piece of paper to the sheet below. A long time ago, I used a straight pin that I stabbed in and out of the seamlines over and over and OVER AGAIN. But this tracing wheel makes such short work of tracing patterns!
I have also been very happy with the quality, even though it was super inexpensive. It has a real wooden handle, and a metal shaft and wheel. It’s sharp, because it has to be, so (like most sewing equipment) you definitely want to keep it away from kids. (And airport security. lol!)

Flexi-Curve
I really love my flexible curve, and I use it all the time. You can transfer angles from one side of a garment to another, or from paper to fabric. You can bend it into crazy shapes, and it stays that way. Then you can trace against it, or use it as a visual aid for choosing an angle. I also use it to recreate the shape of someone’s head when I’m making a hat for them. Just bend it around their noggin, and voila!
I tried to link to my exact brand of flexible curve. However, the brand name isn’t stamped on it, and I threw the packaging away a long time ago. But this one right here looks just like the one I use.
Reynolds Kitchens Plastic-Coated Freezer Paper, 50 Square Foot Roll
- FREEZER PAPER ROLL: Contains one 50 square foot roll of Reynolds Kitchens Plastic Coated Freezer Paper, measuring 13-1/3 yards x 15 inches
- PLASTIC-COATED NONSTICK INNER SURFACE: Keep freezer burn at bay with the plastic side of this freezer paper to seal in moisture & flavor
- WRITE-ON FREEZER PAPER: Use the outer paper side of this Reynolds freezer paper for easy labeling
New starting from: 6.79 $
Go to AmazonFreezer Paper
It’s kind of funny how so many of my favorite sewing supplies aren’t sewing supplies at all! I use freezer paper for drafting and tracing the patterns I make. So I have an enormous roll of freezer paper in my sewing room instead of the kitchen! I like using it because it’s extremely durable, and it won’t tear or wear out the way a tissue paper pattern will.
Freezer paper has two sides; one shiny and one dull. The dull paper side can be written or printed on. And the shiny plastic side can be ironed directly to fabric. The plastic on the freezer paper will adhere to the fabric when you iron it, and you can peel it off when you’re done. This technique enables you to use it as a template or even a stencil/resist.

Nseamera Heavy Duty Freezer Paper Sheets for Quilting, Applique & Piecing – 8.5×11 Inches, 50 Sheets – Printable, Laser Cuttable Freezer Paper for Quilters
- Perfect for Quilting and Crafting: Nseamera Freezer Paper Sheets are specially designed for quilting, applique, and other crafting projects. Simply iron for 15 seconds to attach. Ideal for creating precise templates, stencils, and patterns, these sheets make piecing and applique easier.
- Heavy Duty and Printable: Made from heavy-duty paper, these sheets lie flat and can be used with inkjet printers. Easily print your designs, whether downloaded or custom-made, and enjoy sharp and durable results every time.
- Laser Cuttable and Reusable: Our freezer paper is laser cuttable, allowing you to create intricate patterns with ease. The sheets are also reusable, letting you enjoy consistent performance across multiple crafting sessions.
New starting from: 8.99 $
Go to AmazonYou can run sheets of it right through your printer, to make iron-on quilting templates. It’s so versatile, and it makes fussy paper-pieced projects a breeze!
Freezer paper also makes a good disposable paint palette in a pinch, or to keep glue off of your work surface.
If you don’t need a huge roll of it like I do, you can get smaller amounts of freezer paper here, or you can check your local grocery store near the plastic wrap. I like working with the 24″ width because it will accommodate any pattern piece I want to draft, but if you mostly want it for applique templates or stencils, you may be happy with a narrower size.

Dritz Styling Design Ruler Rulers & Accessories, Clear, 1Pack
- It’s like having 4 rulers in 1
- Features: French Curve, Hip Curve, Straight Ruler, and Cut-Out Slots
- Helpful tool for any sewing, quilting, or crafting project
New starting from: 27.34
Go to AmazonFrench Curve Ruler
A French curve ruler is extremely useful for drafting patterns, and I definitely can’t be without mine! It’s clear, so you can easily see through it, and it has all of the necessary markings to help you transfer measurements and trace shapes. The ruler is quite thick, so I also use it as a cutting guide with my rotary cutter and mat by cutting against the edge.
My Favorite Miscellaneous Arts and Crafts Supplies:

X-ACTO Precision Utility Knife, Z-Series #1, Sharp, Durable, Includes Safety Cap
- Precision knife with number 11 fine point blade for exact cuts
- Sharp and durable zirconium nitride coated blade
- Lightweight aluminum handle is easy to maneuver
List Price :
Offer: 7.49
Go to AmazonX-Acto Knife
Who doesn’t love a good X-Acto knife? This basic cutting tool has so many uses. I’ve used it with my rotary cutting mat to cut vinyl, paper, cured resin, wood, on and on. It keeps a good edge, and it’s very easy to hold on to. Of course, like many sewing tools, it’s not for kids!

FolkArt Acrylic Paint Set (2-Ounce), PROMOFAI Colors I (18 Colors)
- VERSATILE PAINT KIT – This acrylic paint set includes 18 – 2 oz bottles of acrylic craft paint. The colors in this set include: FolkArt Wicker White, Licorice, Coffee Bean, Pure Orange, True Blue, Lipstick Red, Ultramarine, Lime Green, Bark Brown, Classic Green, Daffodil Yellow, Cardinal Red, Apple Red, Baby Pink, Violet Pansy, Sunny Yellow, Bright Pink, and Perfect Purple
- BEAUTIFUL MATTE FINISH – FolkArt Acrylic Paint has a stunning matte finish – perfect for all your arts and crafts
- USE ON MULTIPLE SURFACES – Use FolkArt Acrylic Paint on a variety of surfaces such as wood, paper, canvas, Styrofoam, paper mache, and so much more
List Price :
Offer: 27.29 $
Go to AmazonFolk Art Acrylic Paint
I have tried many different brands of acrylic craft paint over the years, but I haven’t found any that I love as much as Folk Art acrylic paint. They have a lot of really fabulous finishes to choose from. (Like their color-shifting Flash line, and some really great metallics).
I’ve been very happy with the adhesion and wear. Their Multi-Surface paint is designed to be used indoors or out, and to be dishwasher-safe! They have an amazing array of colors and sheens. I’ve even used some of the Flash paint as color-shifting toenail polish when I needed a fun accent to an outfit that I wore for a kids’ camp.

Preval Spray System Paint Sprayer
- Preval Complete Spray Gun The professional portable sprayer for home, shop or hobby. Patented spray technology delivers comparable performance to other professional airless sprayers. Turns any paint into a spray paint! Completely assembled and ready to use.
- Ready to spray in seconds with no batteries or hoses. Consists of power unit and product container. Power unit sprays up to 16 ounces. Extra power units available with new spray button, dip tube and strainer. Extra product containers available with screw-on caps for storage.
List Price :
Offer: 13.89 $
Go to AmazonPreval Refillable Paint Sprayers
Preval sprayers turn pretty much any paint into a spray paint! Add your paint to the refillable glass jar, mix in a thinner if you’re using one, screw on the top, and spray. I’ve used them with water-based and oil-based paints, and they provide a great finish. They are easy to use, but be careful not to treat them like a normal spray paint can. (Don’t shake them, for example). The box has helpful instructions, as well as guidelines for thinning different kinds of paint.
Gorilla Waterproof Caulk & Seal Silicone Sealant, 2.8oz Squeeze Tube (Pack of 1) – Clear Caulking Sealant for Kitchen, Window, Bath, Marine, Door and More
- Waterproof sealant: This clear caulk seals out air, water, and moisture with 100% silicone as cured
- Speed meets strength: Caulk & Seal’s silicone caulk is ready for water exposure in as little as 30 minutes
- All-purpose: Gorilla caulk works wherever the work is; Indoor and out, rain or shine after fully cured
List Price :
Offer: 6.34 $
Go to AmazonSilicone Caulk
Silicone caulk is, surprisingly, one of the most-used items in my sewing studio. I wrote a post all about the ways you can use silicone in your sewing and crafts. You can use it to add traction to area rugs, keep bra straps from slipping off your shoulders, glue craft projects together, etc.
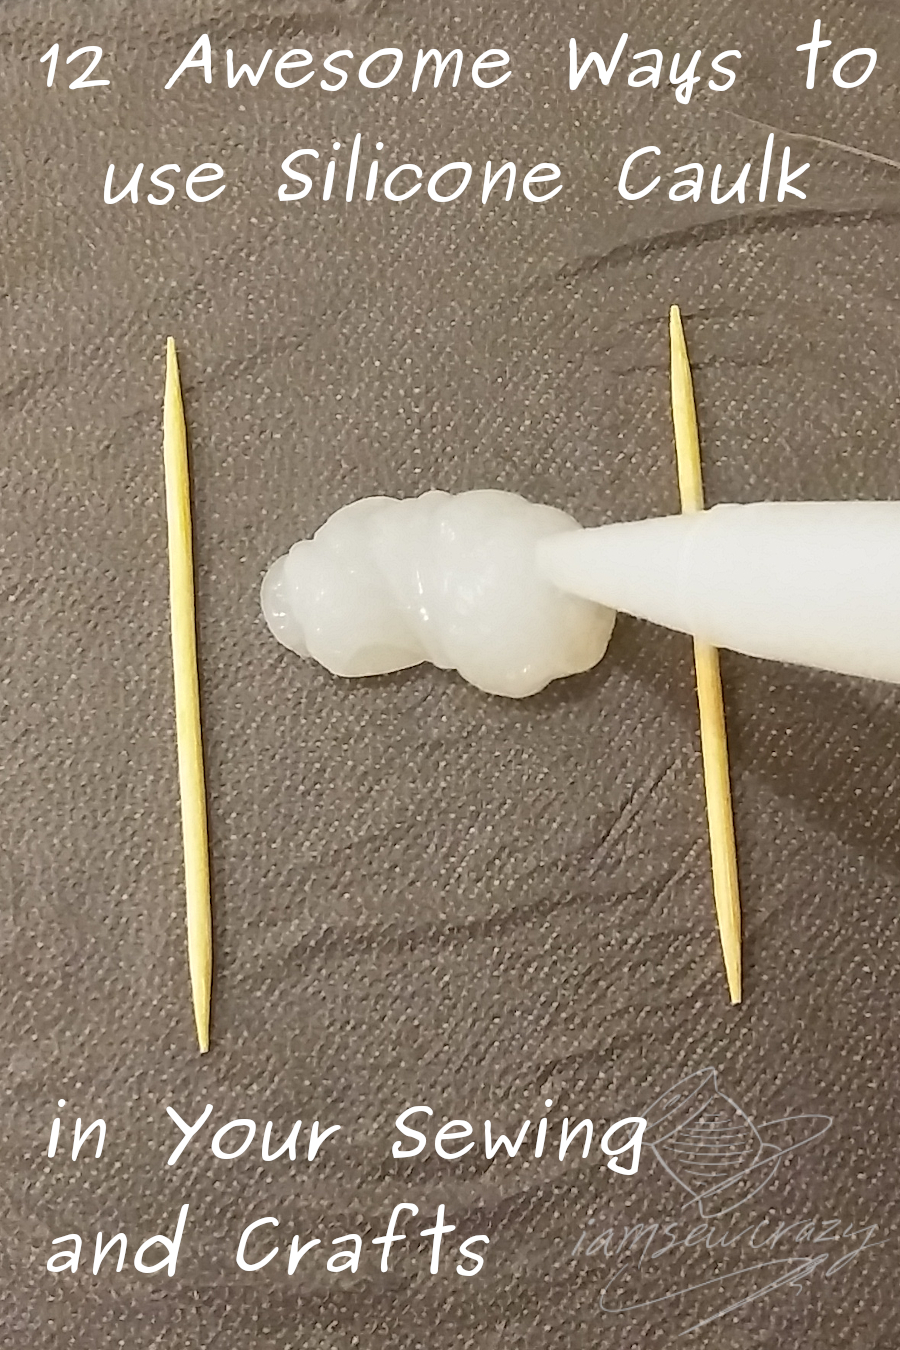
For smaller craft applications, I always recommend the smaller squeeze tubes like this. In my opinion, they are easier to control than the huge tubes that go inside a caulking gun.

Tulip Puff Paint 20-Color Party Pack, Multi-Surface, Premium Quality, Nontoxic & Waterproof Craft Paint, Permanent on Fabric, Rainbow
- 20 VIBRANT COLORS – This set includes 20 different colors of Tulip Puff Fabric Paint, giving you a wide range of options to create unique designs on your fabric projects.
- NON-TOXIC AND PERMANENT – These fabric paints are nontoxic and permanent, making them safe for all ages and ensuring that your creations will last wash after wash.
- VERSATILE – Perfect paint for fabric for both beginners and experienced artists, this fabric paint can be used on various fabrics such as cotton, denim, canvas, and more. It also works well with stencils or freehand designs.
New starting from: 13.99 $
Go to AmazonTulip Fabric Paint
My favorite brand of fabric paint is Tulip. I have it in so many colors! And I don’t just use it for embellishment. I also sometimes use the dimensional (3D) paints to add grip or texture to fabrics, like to keep bra straps from sliding off my shoulders. I’ve also used the 3D paint to replace the rubbery cushion on a set of earbuds!
The paint comes in several textures and finishes, like brush-on vs dimensional, shiny vs matte, squeeze bottles vs spray, even glitter and metallic and glow-in-the-dark! If you’re buying it to add grip or texture, you need to get the dimensional (3D) variety.
I’ve also watered it down and put it in a spray bottle to spray on t-shirts and other fabrics. (It’s water-based, so no fancy additives are needed, just the paint and water.) Even watered down, the color stayed bright and it didn’t seem to fade in the wash at all. (And I’ve had one of those t-shirts for quite a few years)! Tulip’s brush-on paint can be used for brushing on fabric or screen printing.

TULIP I Love to Create 26662 Fabric Markers 12/Pkg-Fine Tip
- Best quality markers for fabric that resist fading from washing to washing
- Rich pigments for intense colors
- Bullet tip for easy decorating and writing
New starting from: 12.48 $
Go to AmazonTulip Fabric Markers
I use Tulip’s Fabric Markers to cover stains on clothing, which is a handy way for you to rescue stained garments and end up with a beautiful display of your creativity! I have also used them to tint fabric patches to match a garment.
That’s the end of my list! I hope you’ve discovered a few new favorite sewing supplies of your own.
Happy sewing!
Jessie