


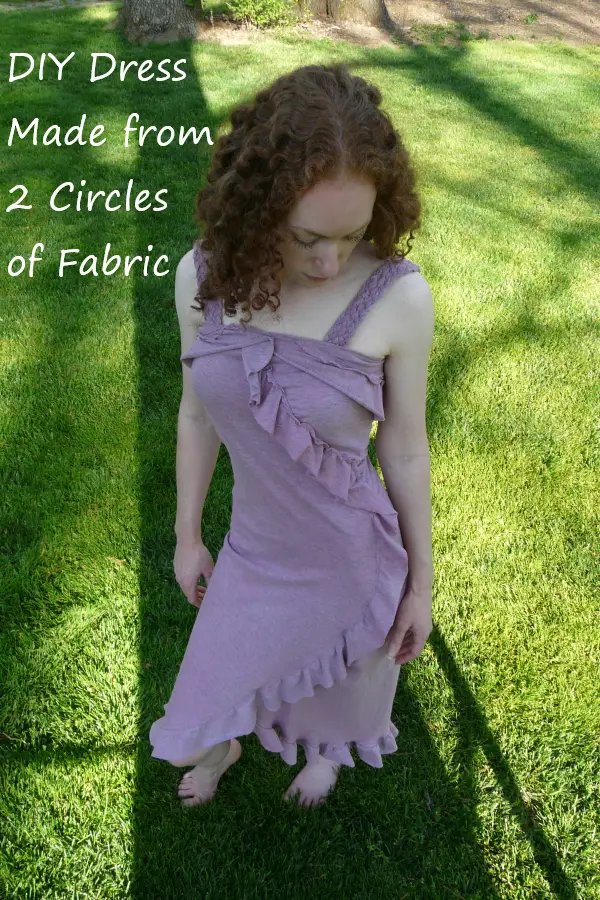
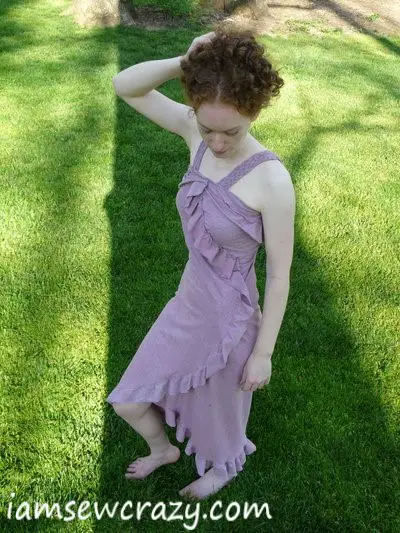
This is one of my favorite dresses. It’s made from just two large circles of fabric: one circle is the main body of the dress, and the other is cut into a spiral shape to make the flounce and straps.

You will need approximately 3 yards of a knit fabric that is 60″ (152 cm) wide. The fabric should be stretchy in at least one direction, and it should also look similar on both sides, because both sides of the fabric will be visible in the finished dress.

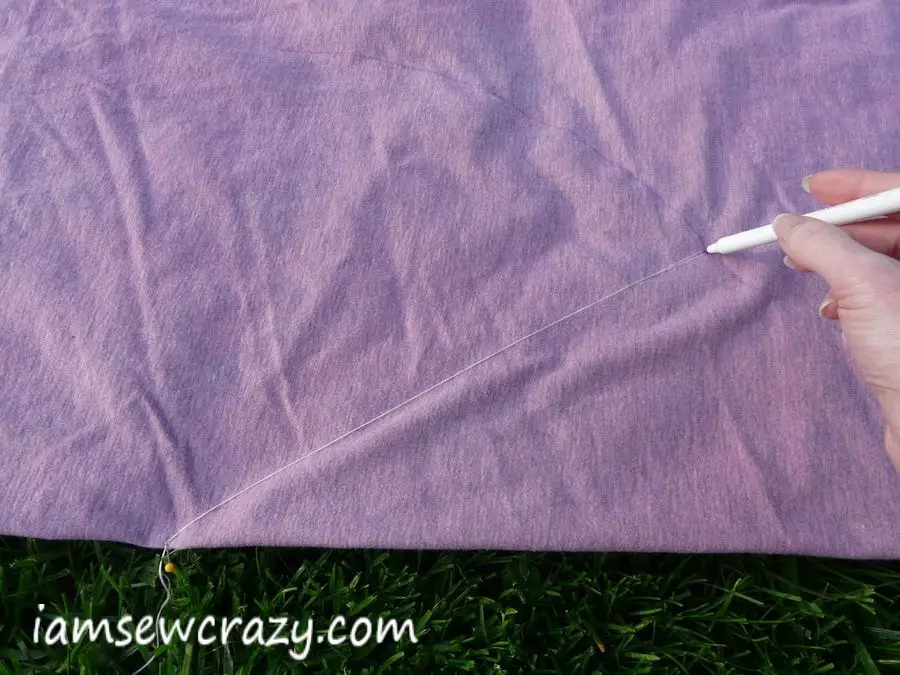

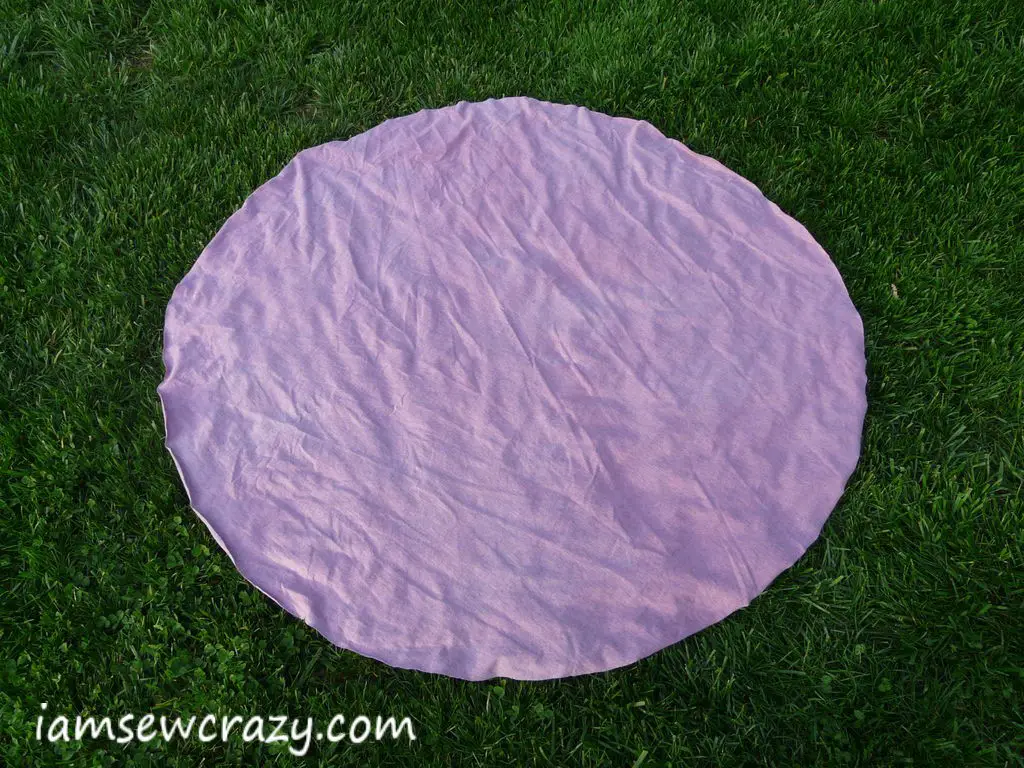
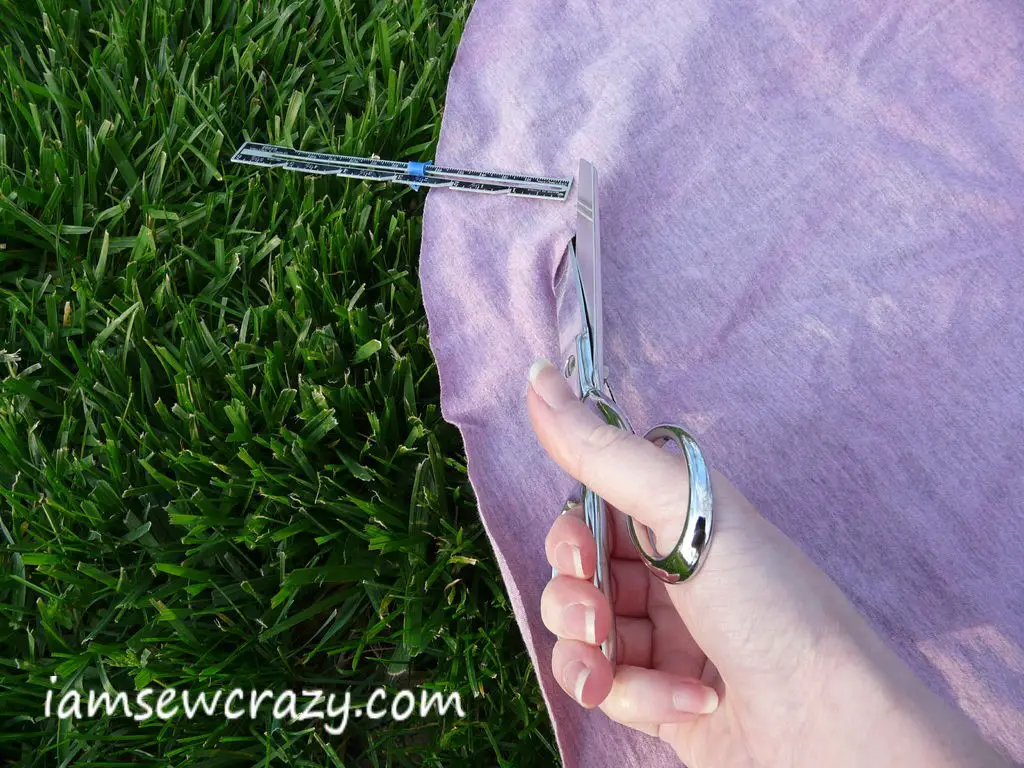
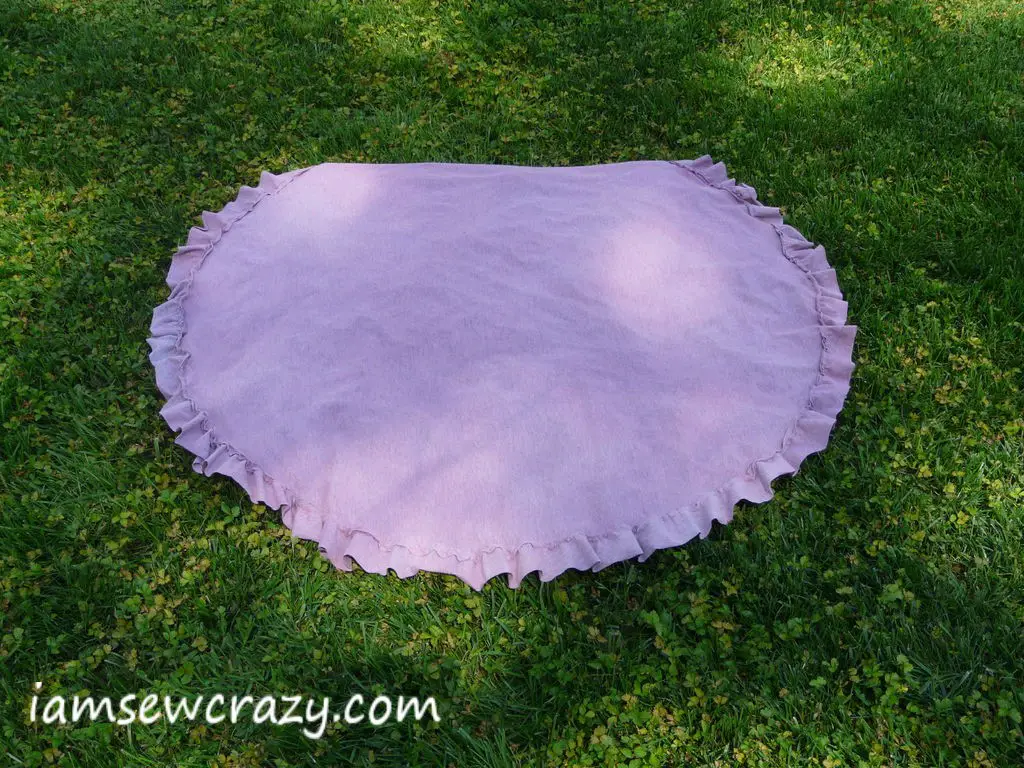
You will need two circles of fabric, one larger than the other. One easy way to cut a perfect circle is to fold the fabric and anchor a piece of string at the folded edge. Then tie the other end of the string to a marker, and draw an arc on the fabric. Cut the fabric on the mark through both layers, and then unfold it.
My larger circle ended up being 48″ across (122 cm), so it was drawn with a 24″ long piece of string. But I recommend starting with a circle larger than that, even as big as the full 60″ width of fabric, and then trying it on briefly the way I describe in the next step to see how it will fit you. You might prefer a larger circle, especially if you are tall, and you can always cut it down later if it’s too large… but it’s rather difficult to make it bigger. 😉
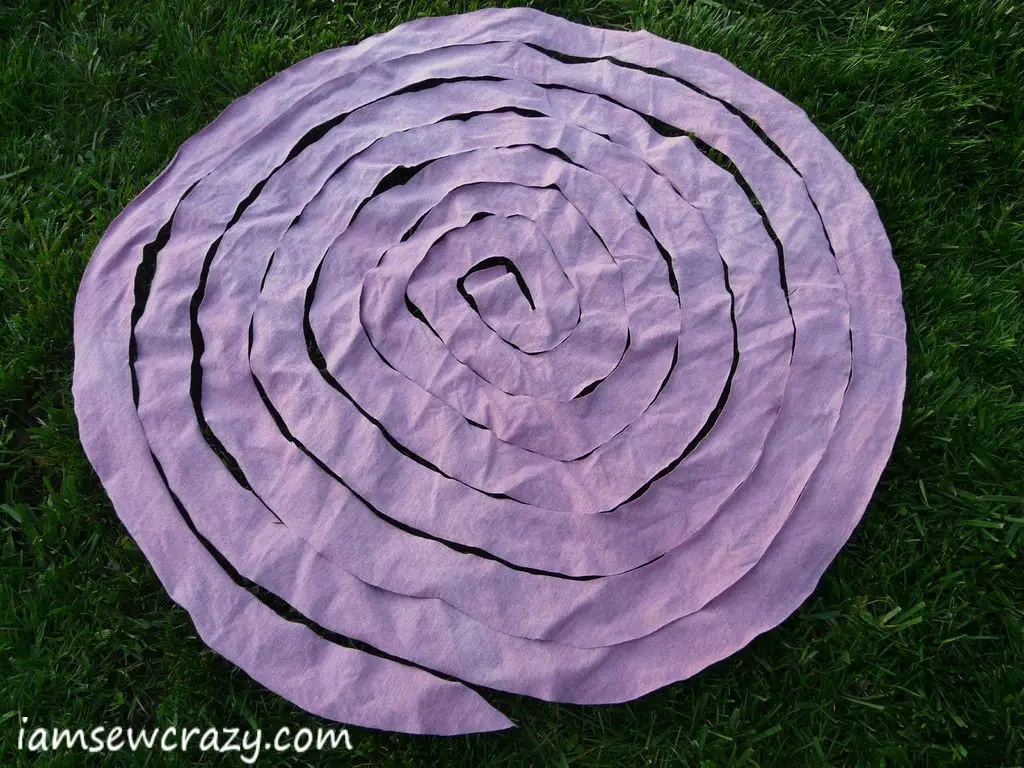
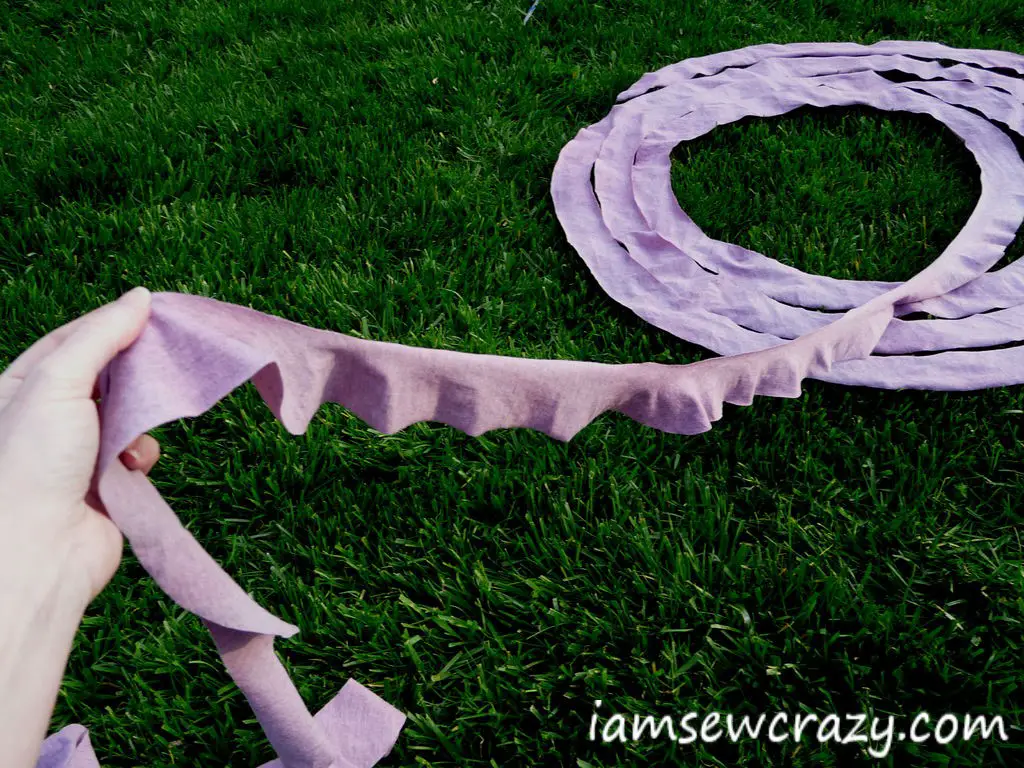
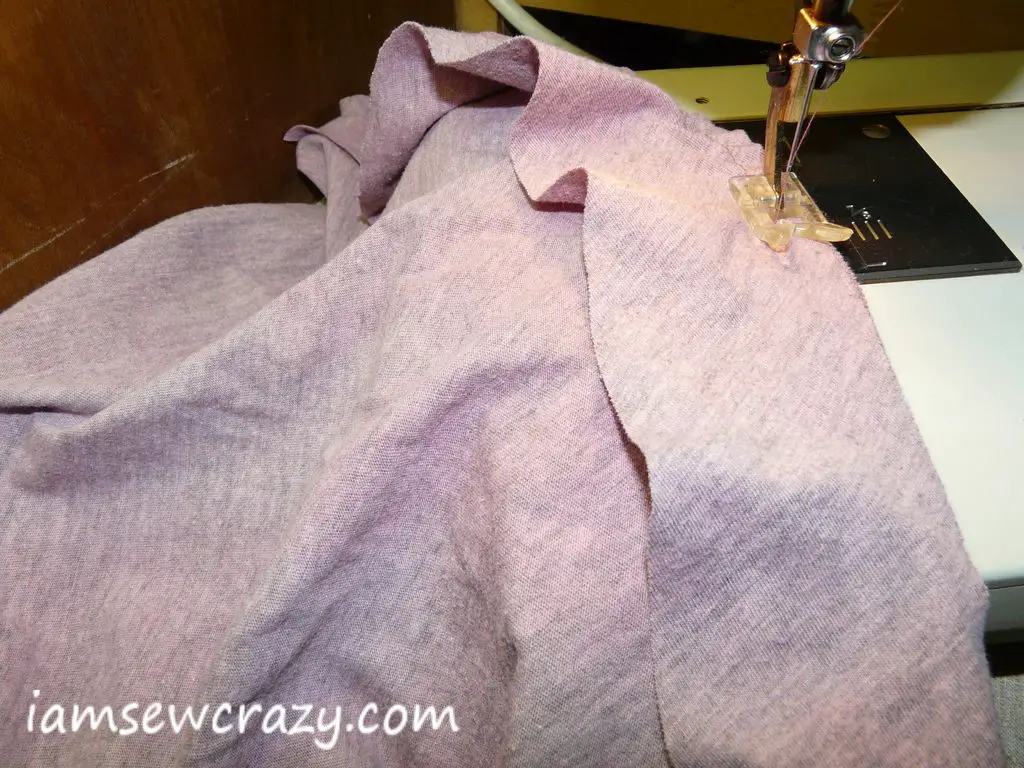
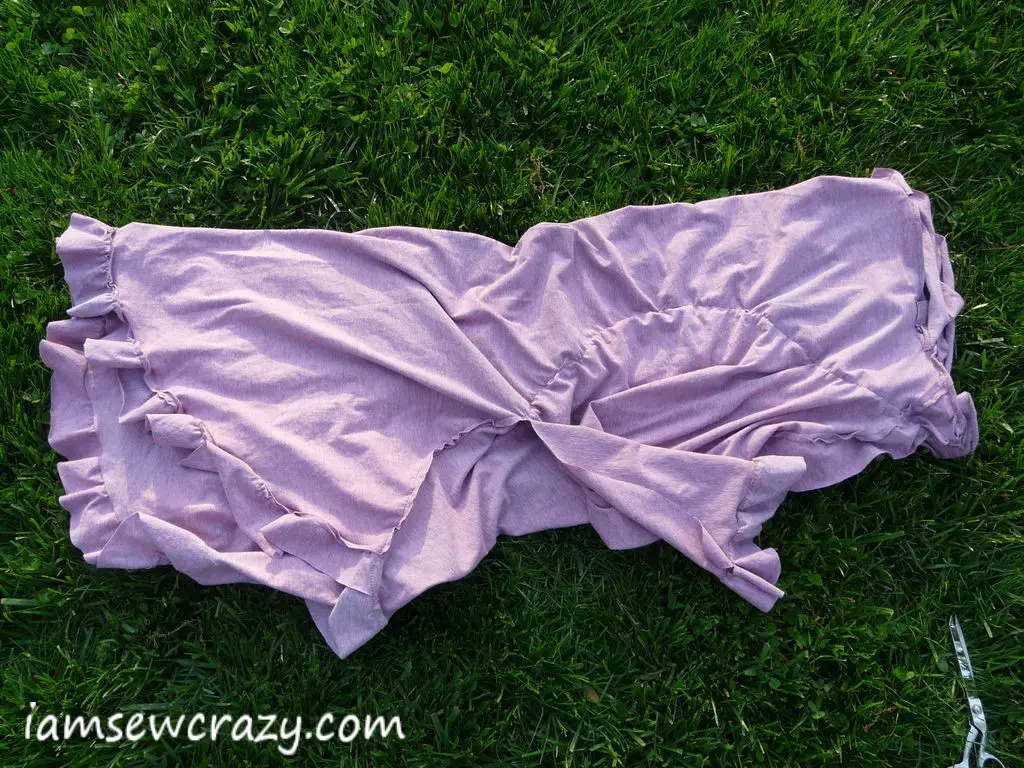
The second circle will be cut into a spiral shape to make the flounce. It doesn’t need to be as large as the other circle, but again, it doesn’t hurt to make it bigger than you think you might need. My flounce was made from a circle 36″ across, and I had plenty left over. I cut it into a spiral, making each pass 2.5″ (about 6.5 cm) from the last cut, until I reached the center. You can see from the pictures that when you stretch the spiral out, it ruffles all by itself.
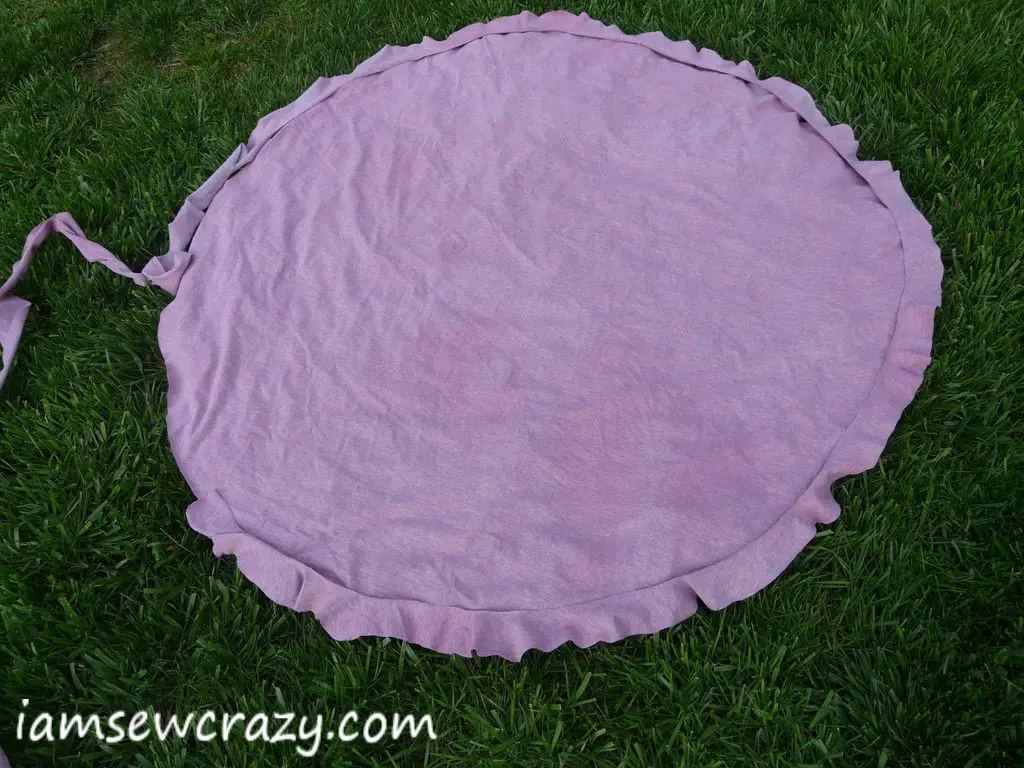
After you do a very basic fitting to check the size of your large circle (see the next step for directions), then sew the flounce to the outside edge of the large circle. Make sure you orient the flounce so that you are sewing the inside curve (the shorter, concave edge) of the flounce to the circle, and not the outer, longer edge of the flounce. It should ruffle like I’m showing in the pictures.
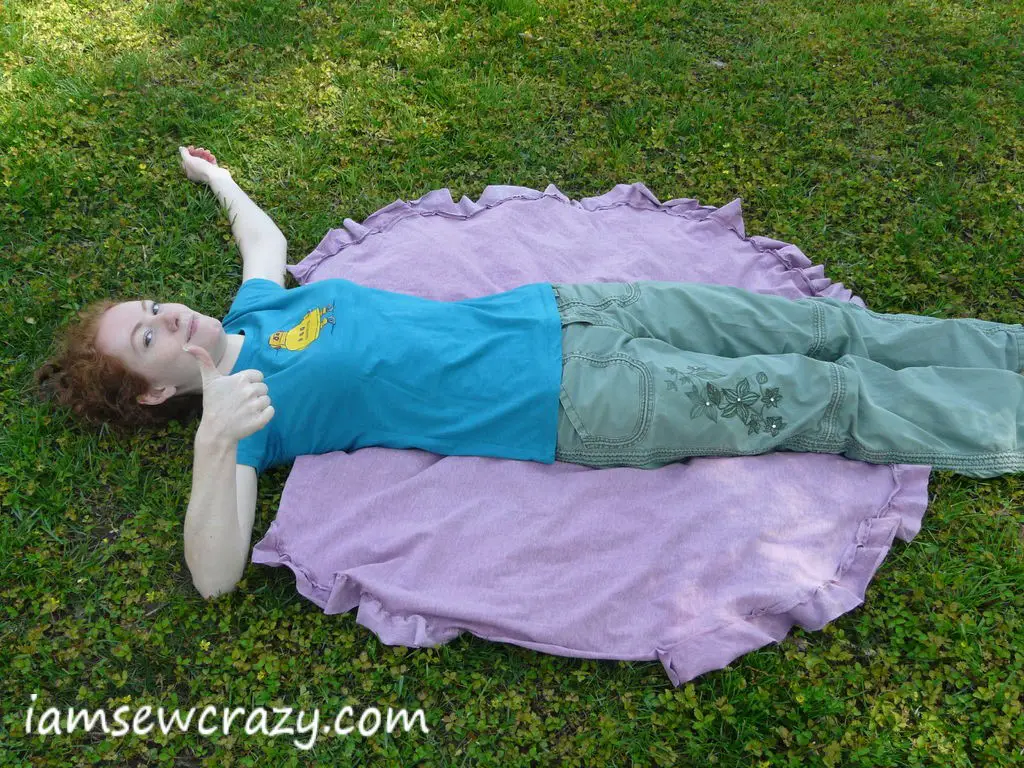
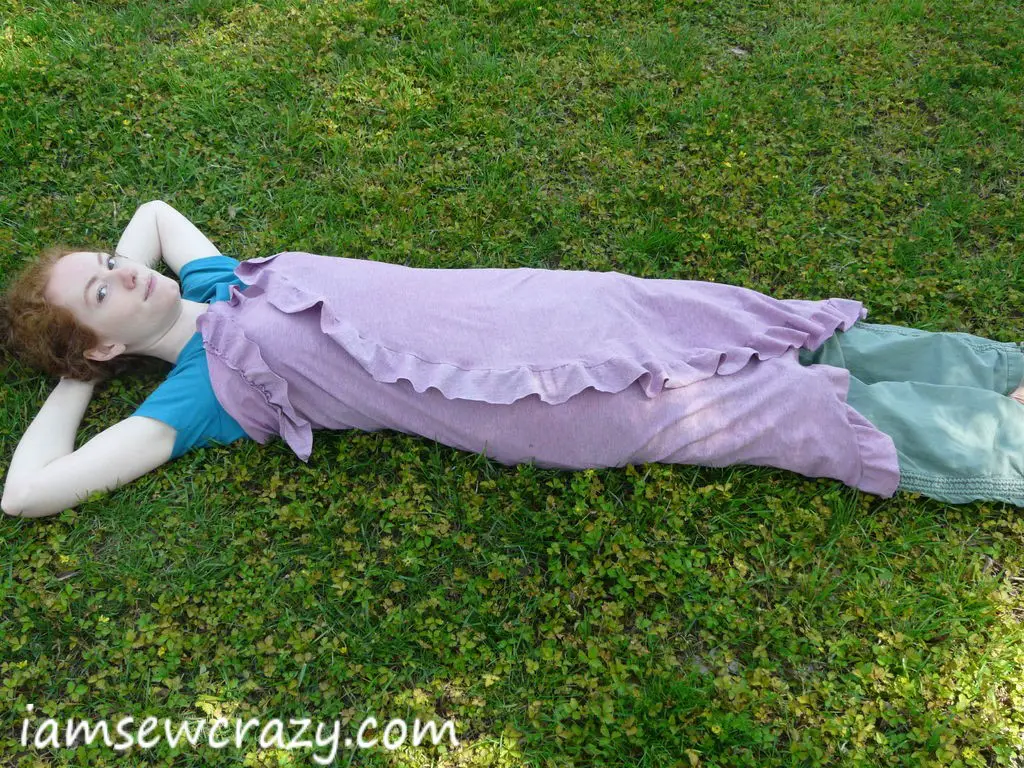


Note: This step should be done without clothes on, but I’m wearing clothes for the pictures, because this is not THAT kind of blog. 😉 If you will be wearing a bra with the dress, then wear a bra for the fitting. If you want the dress to be a swimsuit coverup, then drape the dress over your swimsuit. But you will probably not be wearing the dress over a t-shirt and pants, so please don’t drape it over a t-shirt and pants. It just won’t fit the same way once you wear it on its own.
If you’ve got long hair, it helps to tie it up. If your fabric only stretches in one direction, make sure that the stretchy direction is going around your body, or else it will be less comfortable to wear and you won’t be able to get in and out of the dress very easily.
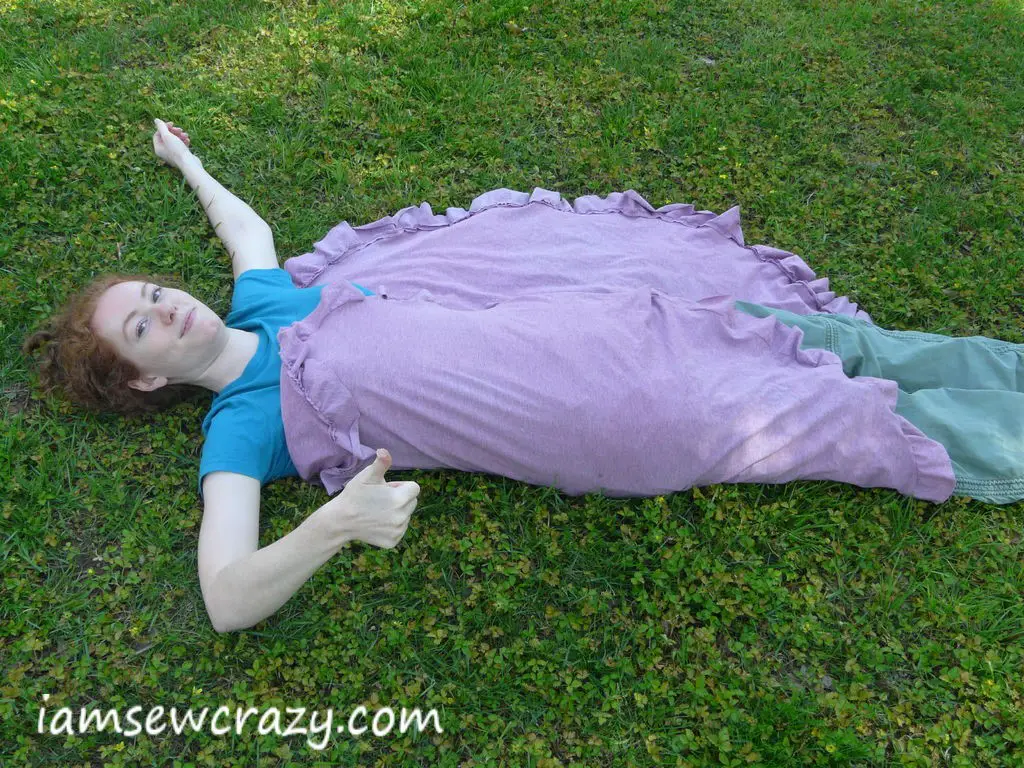
Lay the fabric on the floor and fold the top of the circle under about 4 inches (10 cm) or so. Lie on top of the fabric with your arms just above the fold. Now wrap one side over your body, and then the other, as though you were a giant human burrito.
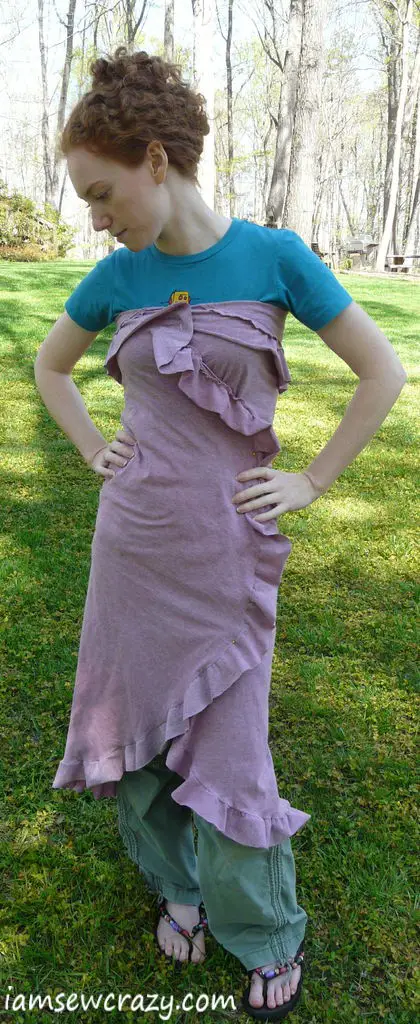
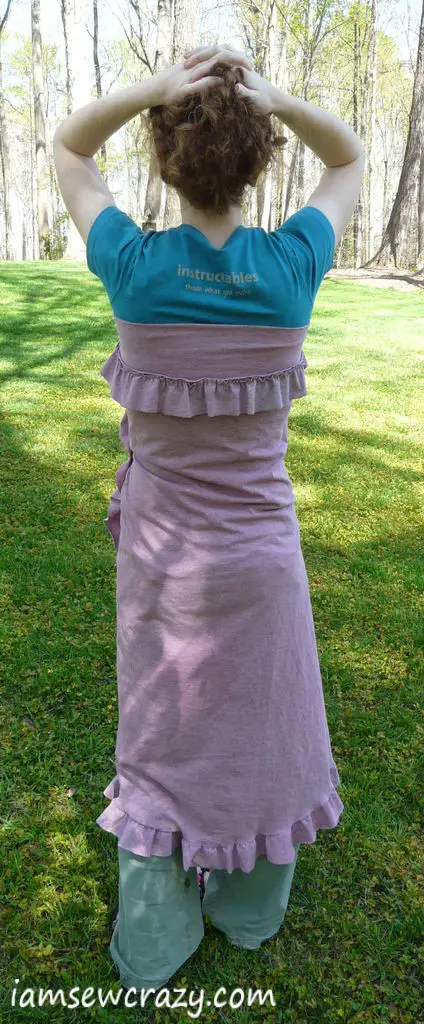
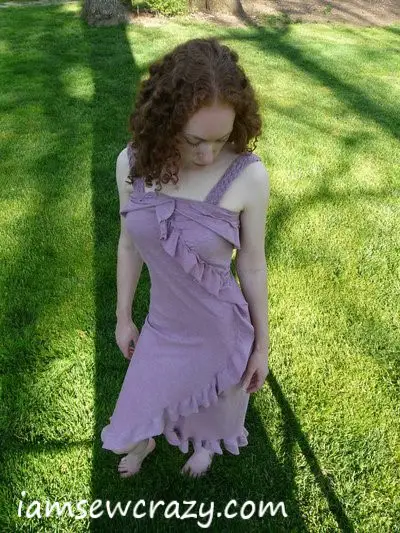
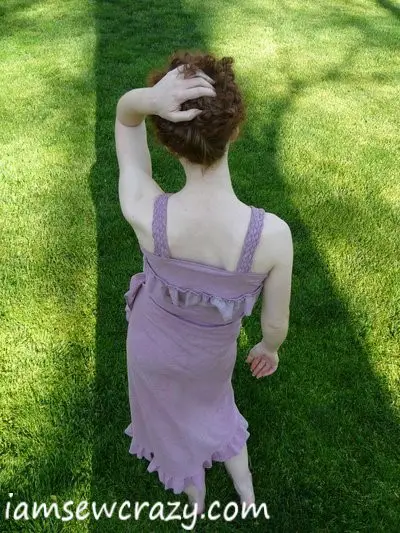
Make sure everything is snug and straight. Hold the fabric where it crosses in the front (or use a few pins), and then stand up to check to fit. You may want to snap photos of how you have it draped so that you can see all of the looks side-by-side and pick your favorite one, once you’ve tried a few out.
Keep experimenting by folding under different amounts of fabric and find the look that works best for you. You can also spin the dress around so that the first fold is going across your chest and the fabric wraps around behind you, or make the fabric wrap across itself at your side.

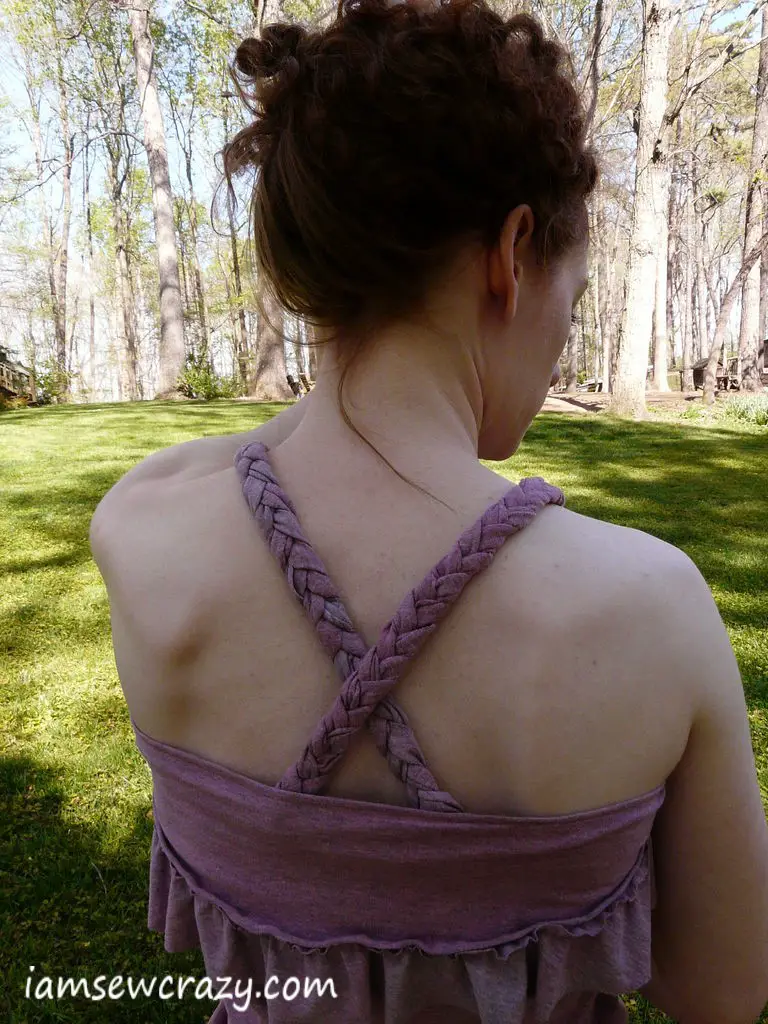

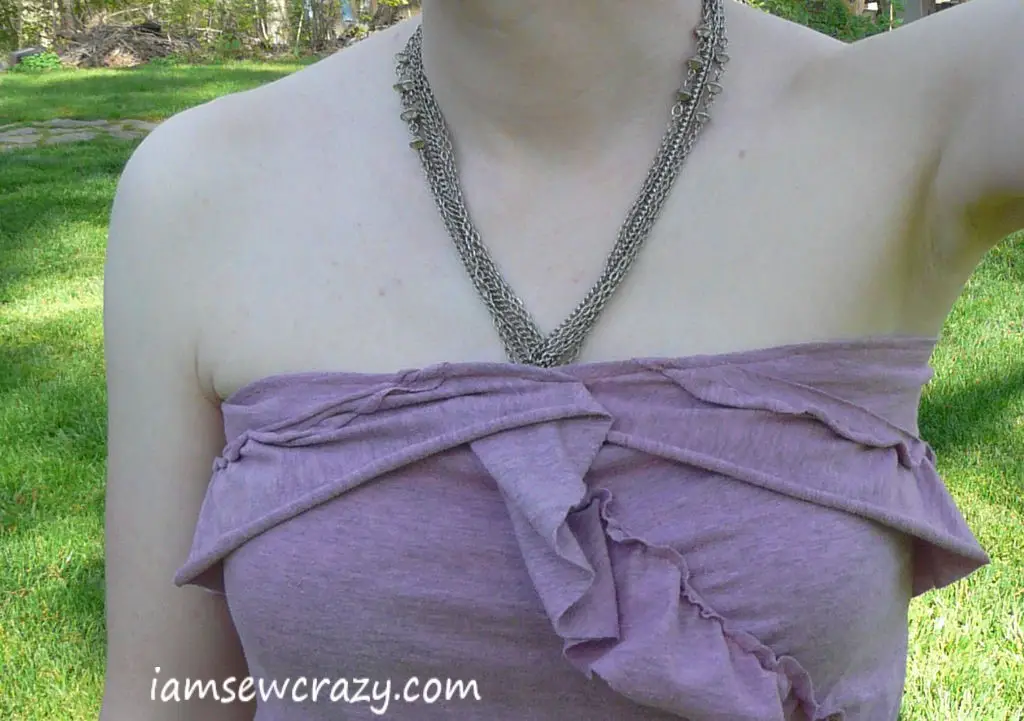

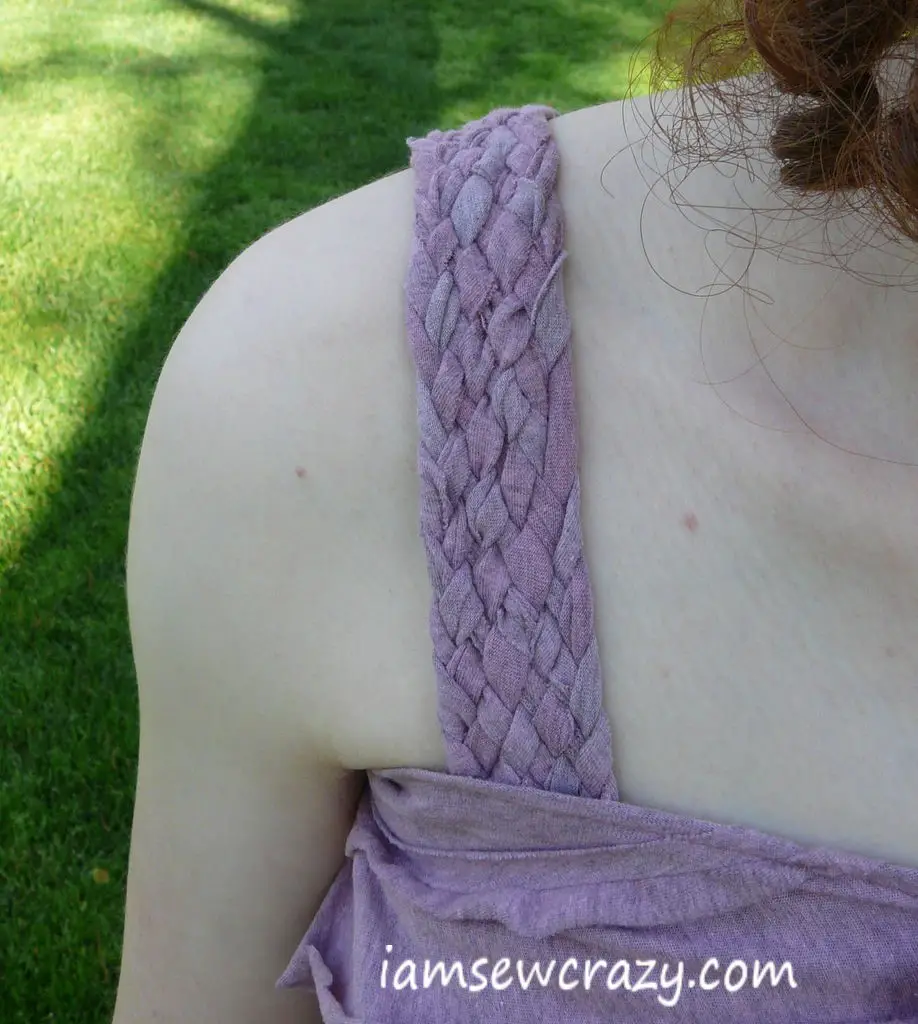

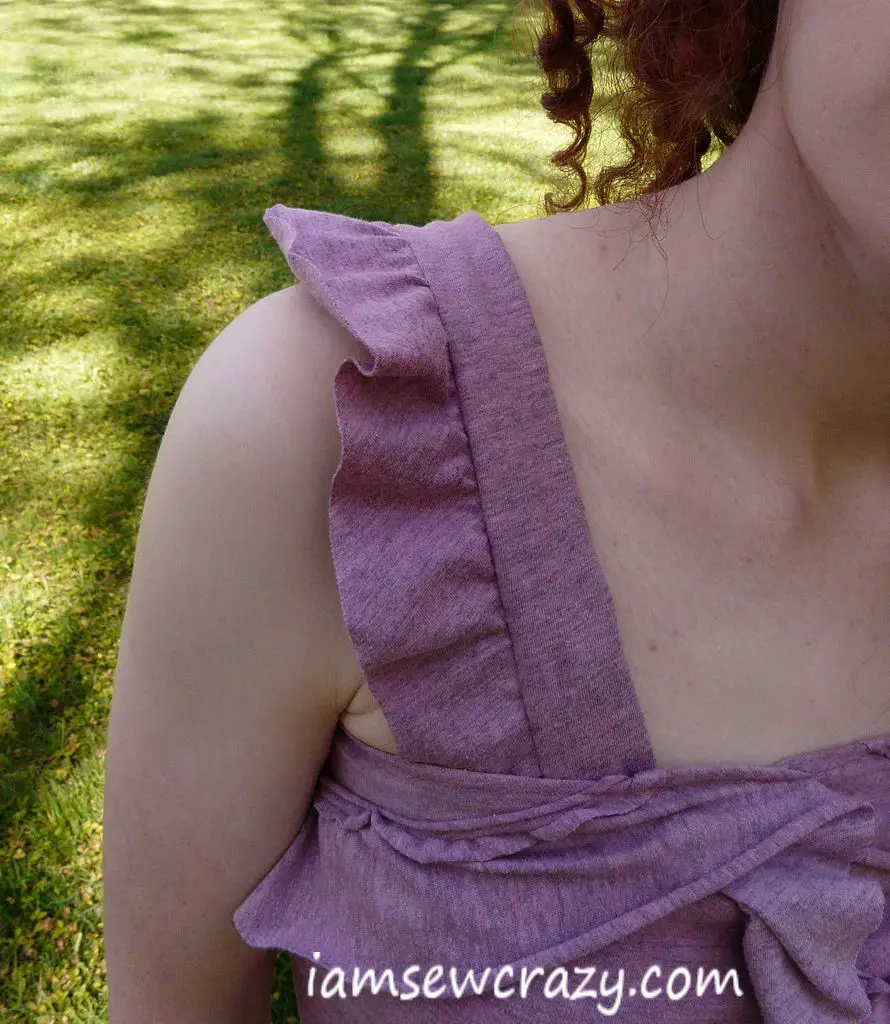

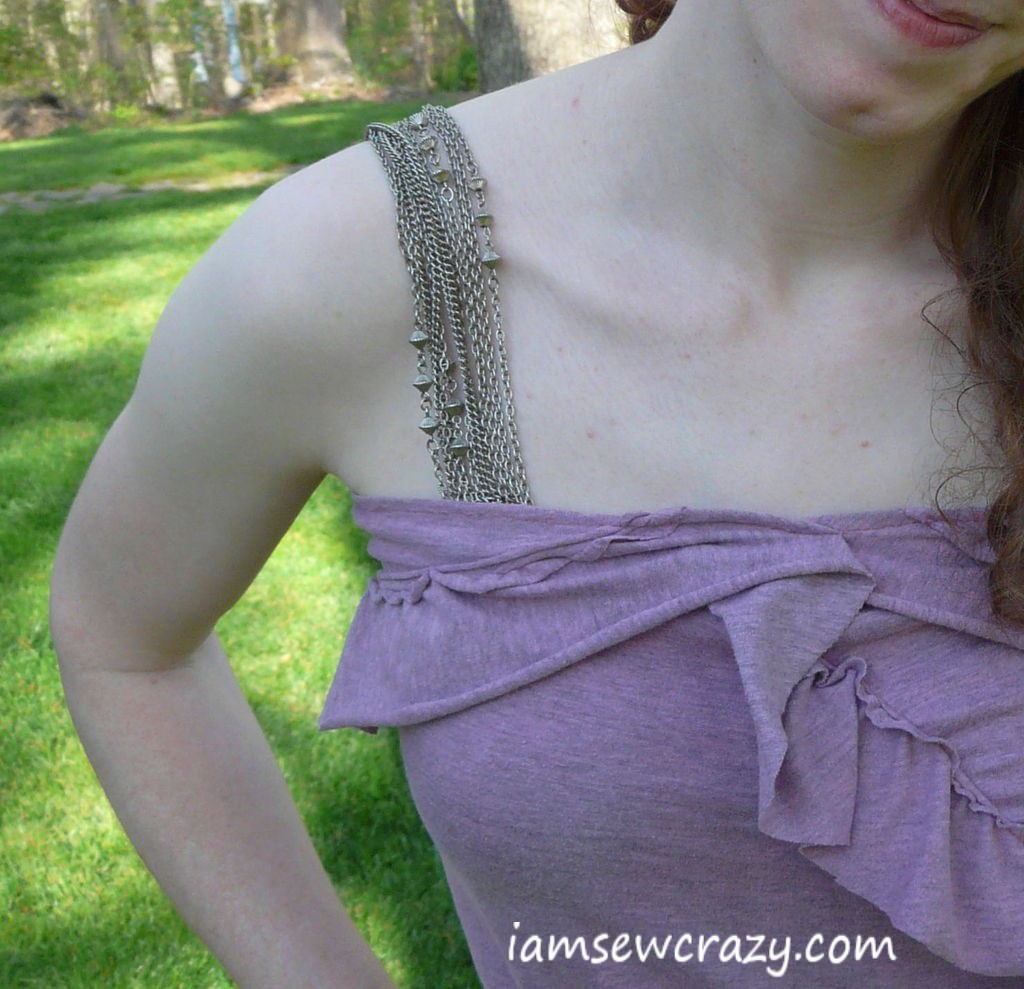


Once you have settled on your favorite way to drape the dress, go ahead and pin in some straps. I ended up using straps I made by braiding together leftover pieces of the flounce. You could also use the scraps of fabric to make straps, or use ribbons, or chains, or make it a halter top… whatever you like. I took pictures of various different straps to give you some ideas. You could even go strapless if you want to, but it’s harder to make a strapless dress fit properly… so if you are a beginning sewer, I would recommend using some kind of strap.
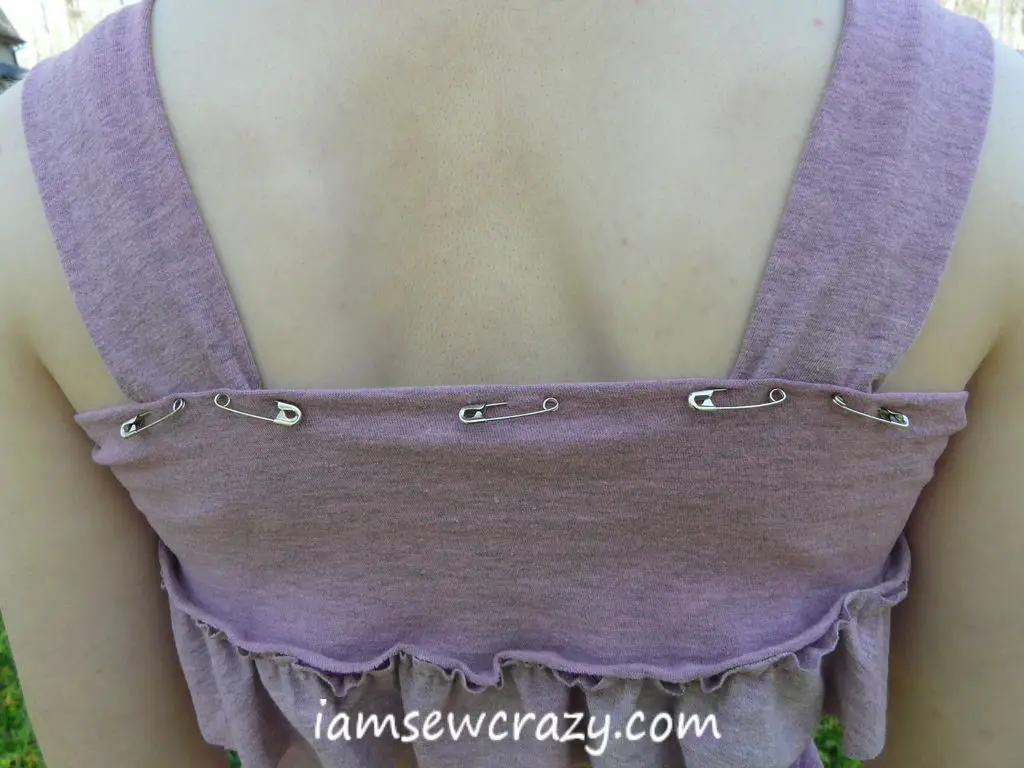
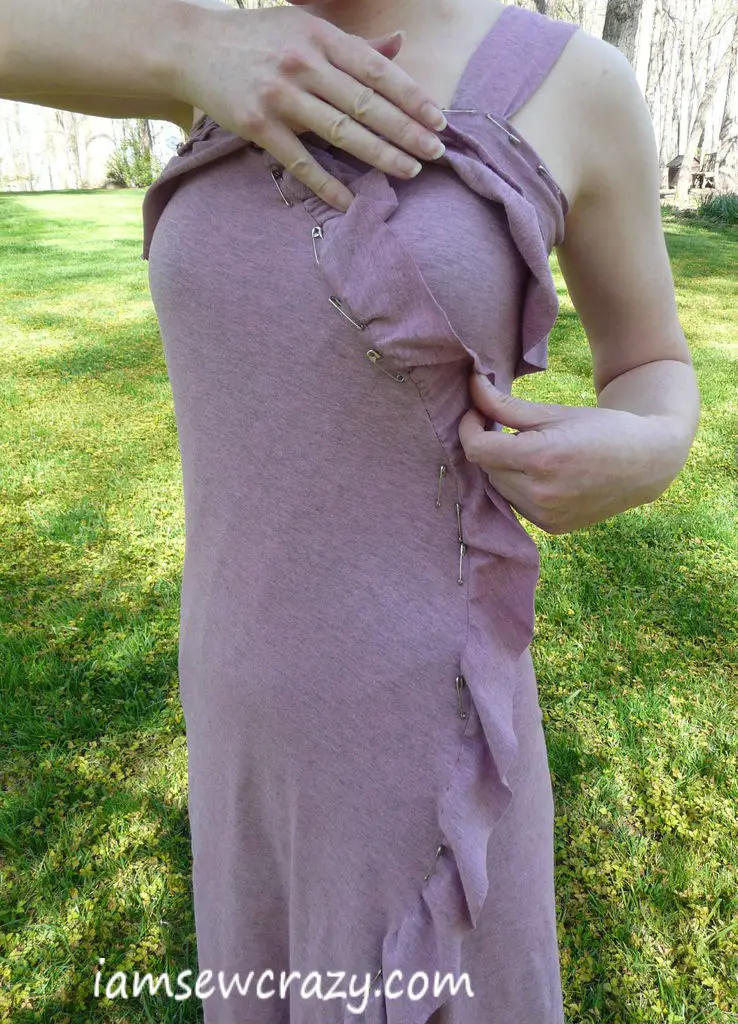
When you are sure you have found your favorite way to drape the dress and the right length for the straps, go ahead and pin everything with safety pins. Pin all along the top edge where the circle is folded, securing the straps as you get to them. Then pin the front through both layers, right beside the flounce, where the dress wraps over itself at the front of your body. You can see in the last three pictures where I have placed the lines of pins, which is where you will be stitching the fabric in the next step. Make sure that the dress is as snug as you want it, but that you can still get in and out of it easily. Do a final twirl to make sure everything is as you want it to be. The dress will still be a little bit lumpy where the circle crosses over itself and there are 2 layers of fabric and flounce, but you will trim that away in the next step.
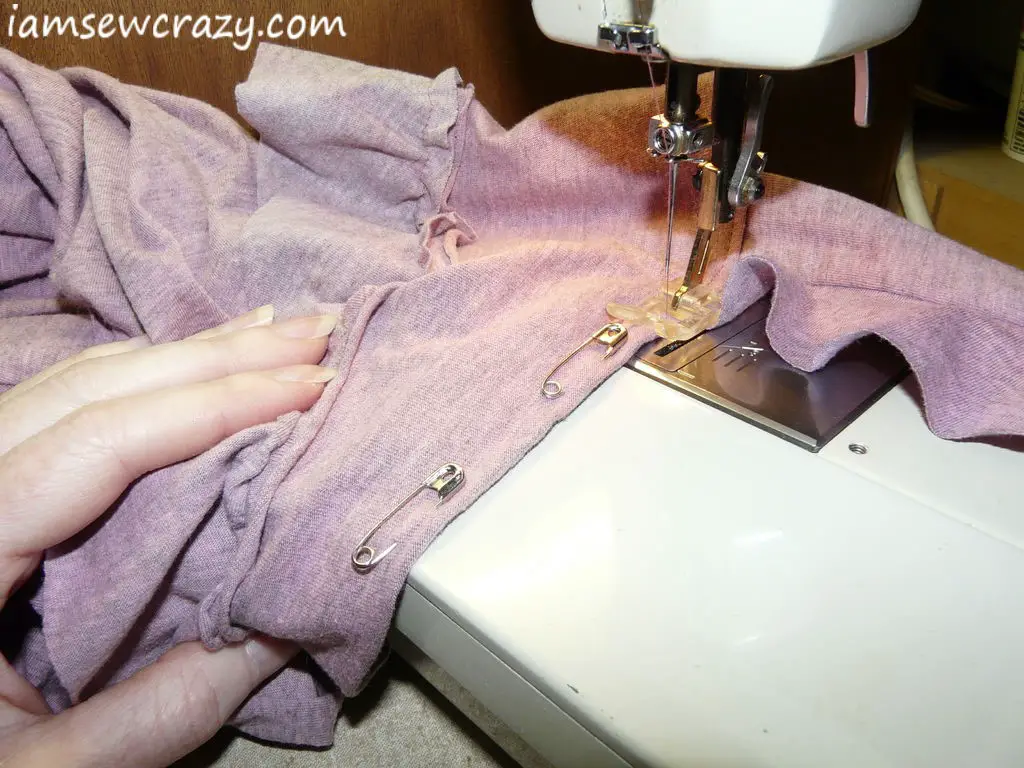
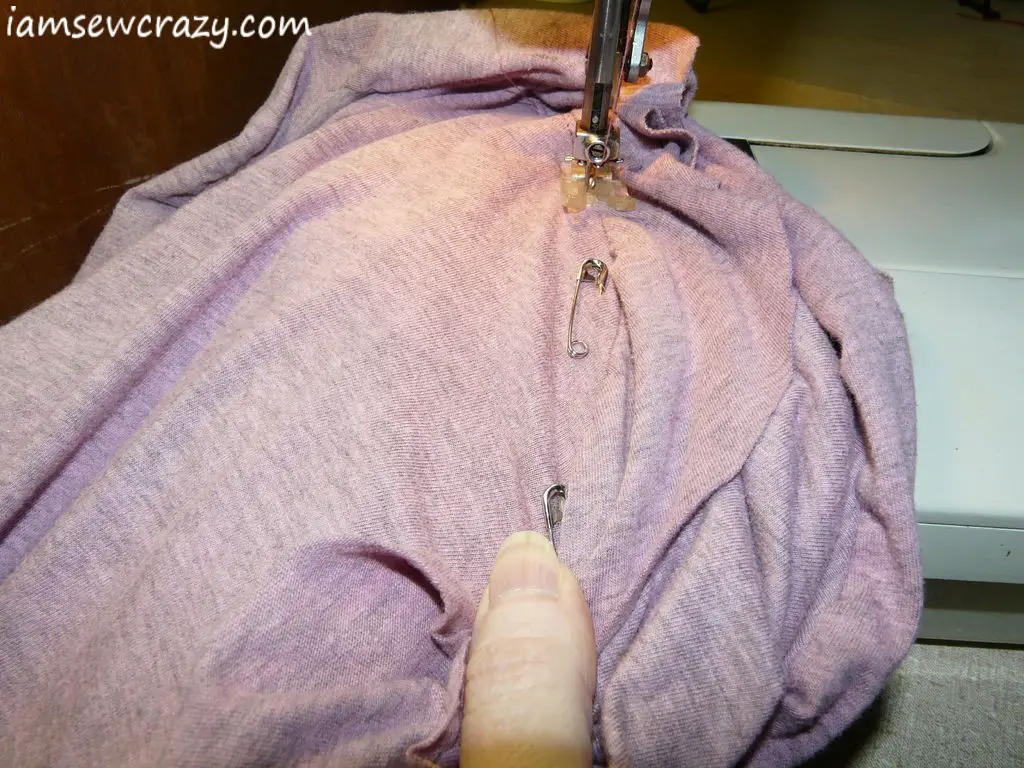
Stitch all along the lines where you have pinned the dress, removing the pins as you get to them. Backstitch over the straps to secure them well. You will be sewing all around the neckline and then down the front along the curve where one side of the circle wraps over the other side. Stitch just beside the flounce, but do not catch the flounce in your stitching line. Also make sure you don’t sew the back of the dress to the front! You should just be going through two layers of cloth, right where the safety pins were placed. Go slowly and keep an eye on the other layers of cloth so that they don’t get caught under the needle.
Now turn the dress inside-out. There should be a curved flap of fabric that is just hanging free, where one side of the circle was lapped over the other. Trim off the flap of fabric about 3/8″ (1 cm) from the stitching line, as shown in the picture.
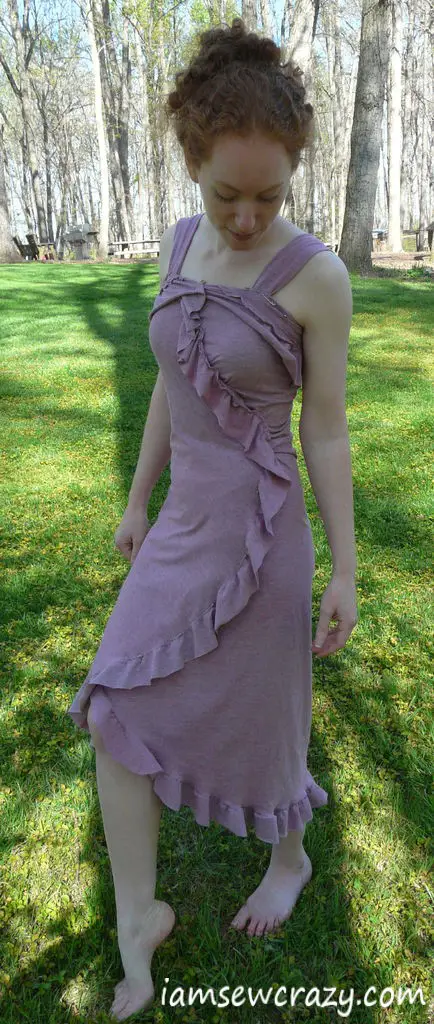
You’re done! Flip the dress right-side out and put it on. What a transformation from a couple of circles! Geometry has never been so awesome. 😉

