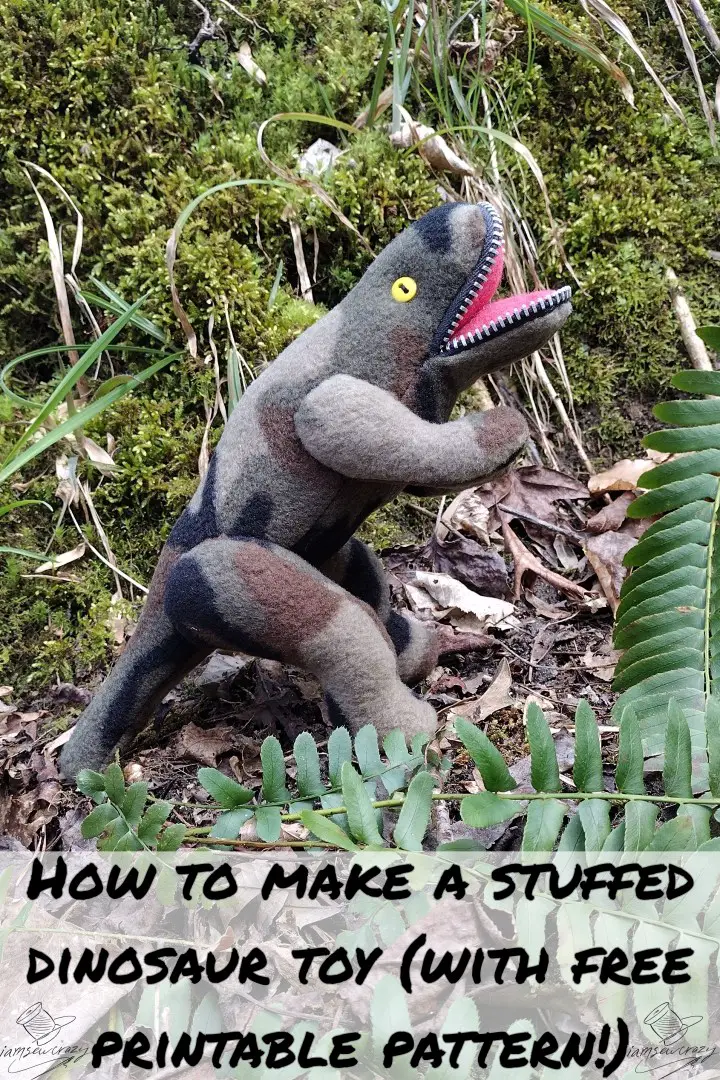
Every kid needs a stuffed dinosaur to vanquish their enemies. I’ll show you how to make a t-rex toy for a special tiny person in your life! The dinosaurs also make good toys for pets. I designed a free printable PDF sewing pattern and instructions to show you how to make a stuffed dinosaur to vanquish your enemies, too.
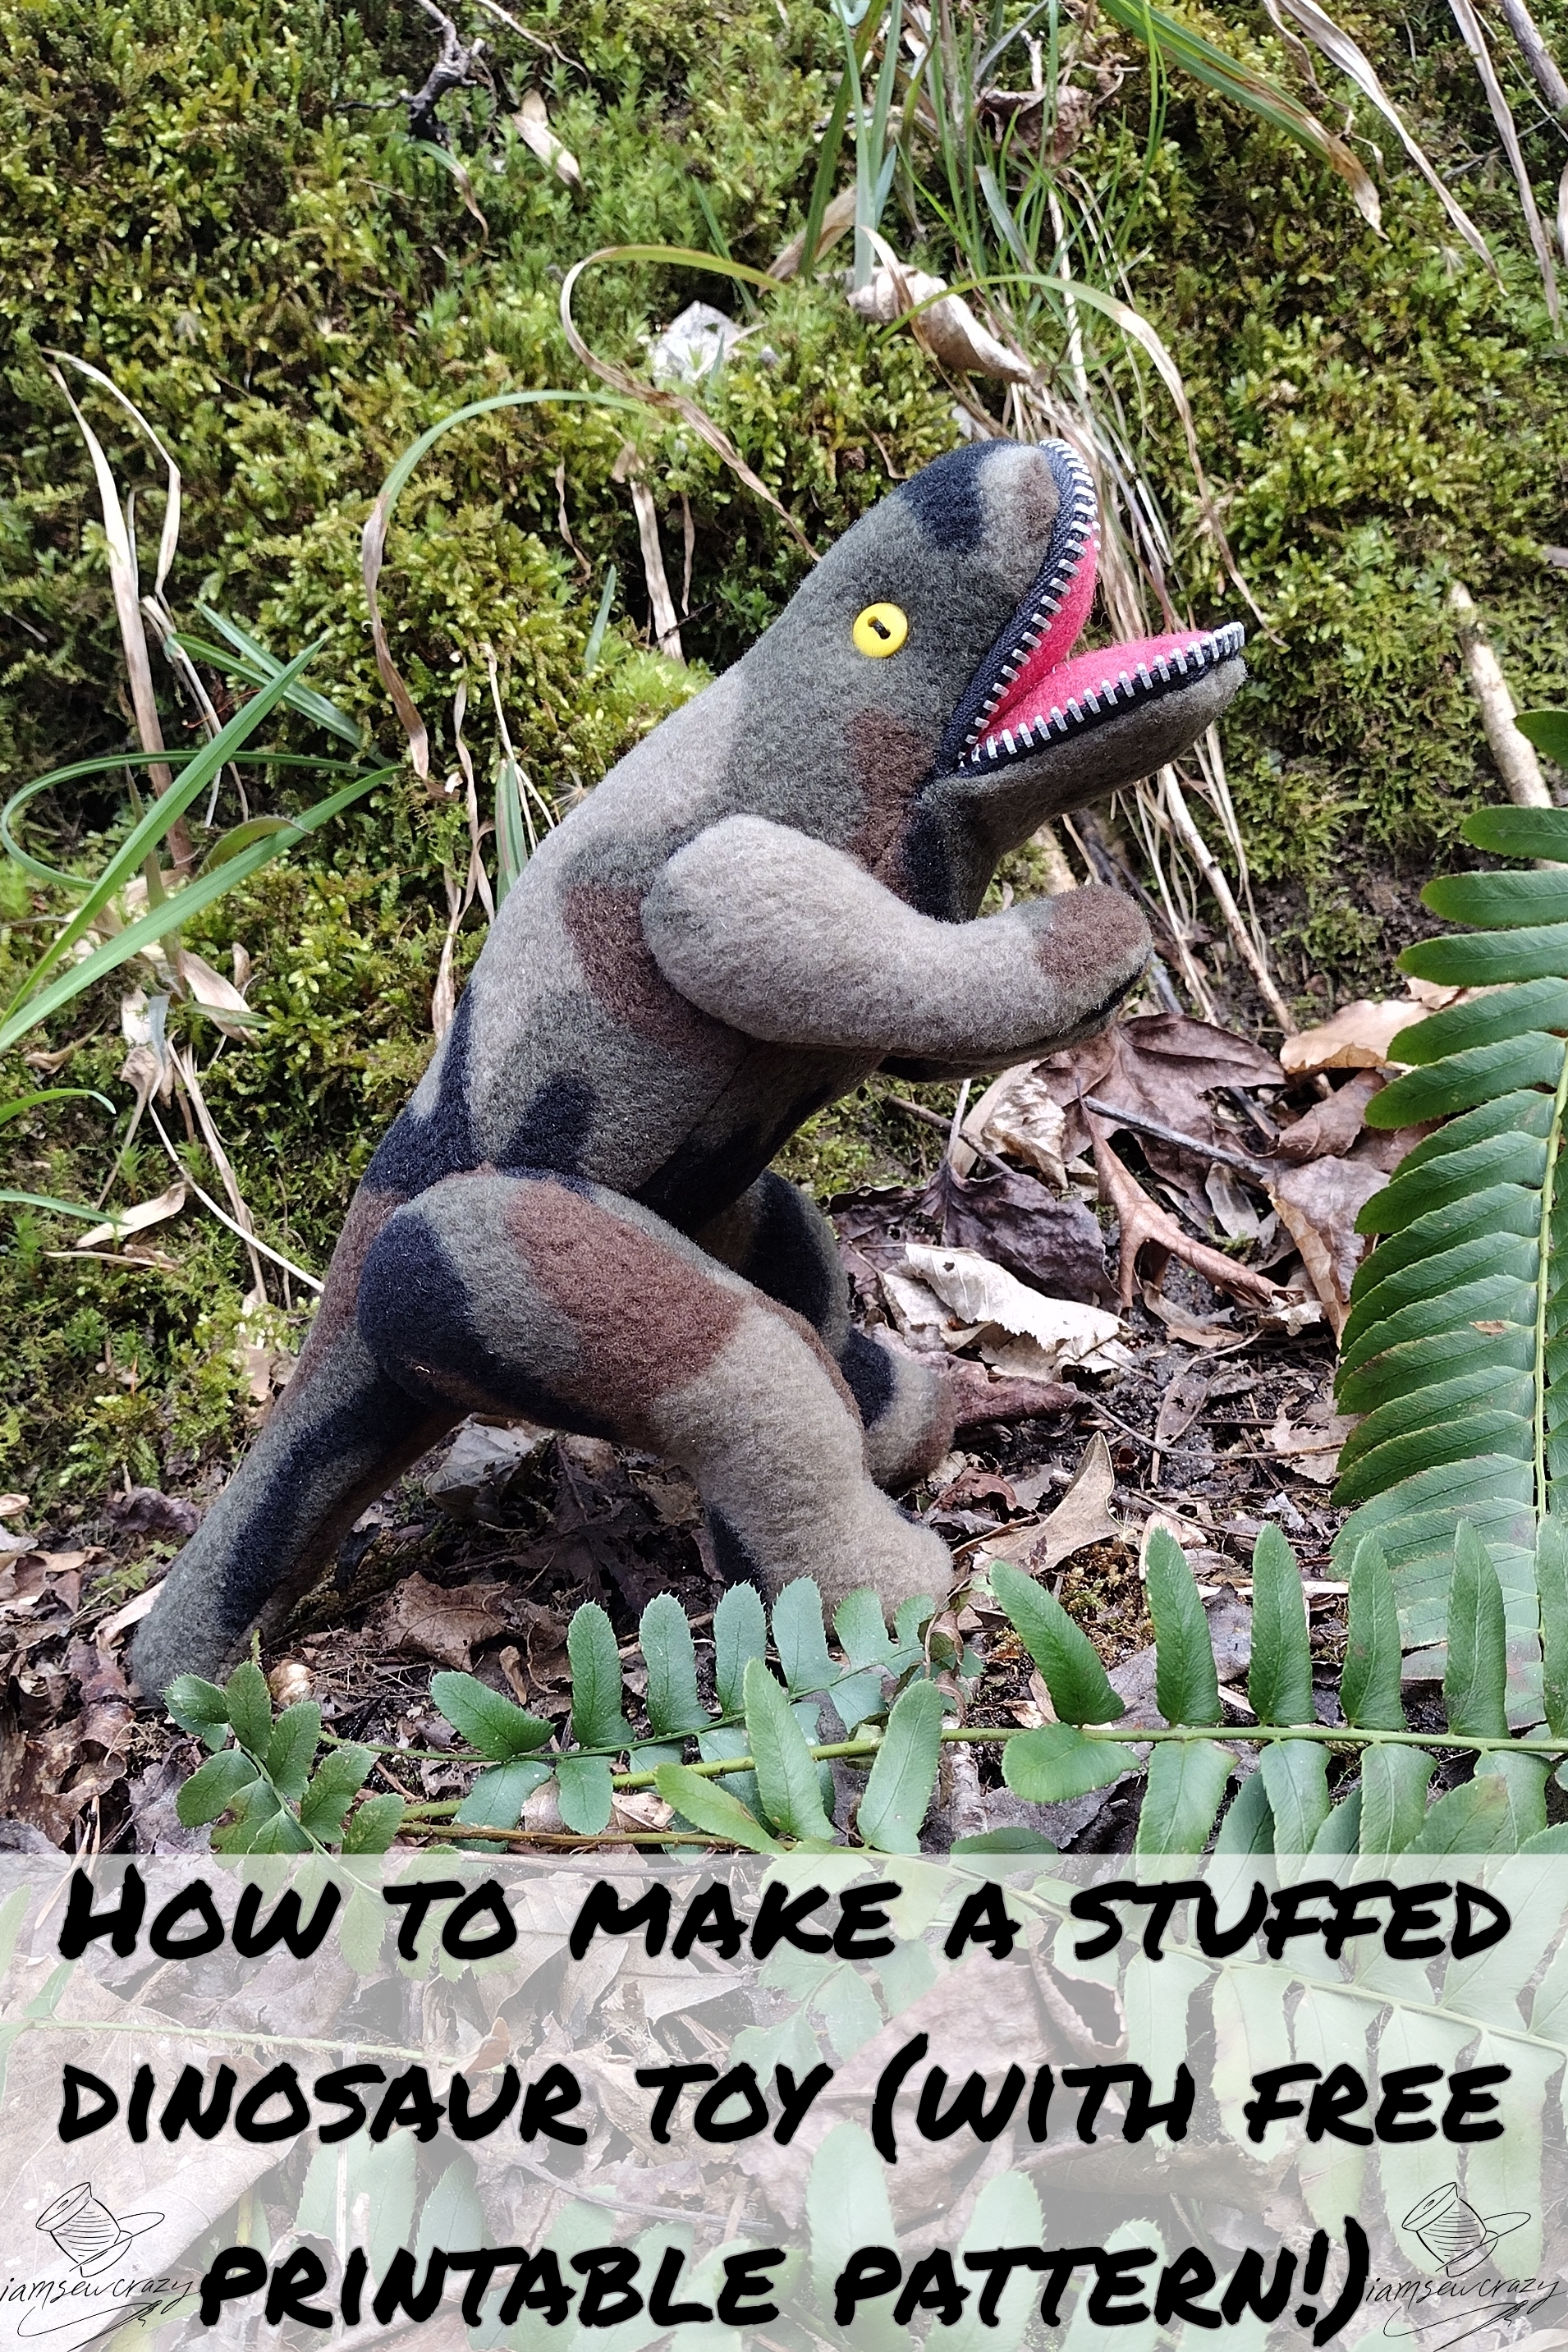
This DIY stuffed t-rex is lots of fun, and it’s easy to customize. If you don’t have a sewing machine, it can be hand-sewn without too much trouble. And since it doesn’t require much fabric, you can use up scraps or upcycle an old hoodie to make it. You can add a monogram to the belly, or some spikes going down the spine. The teeth can be made out of a piece of zipper tape, or a zigzag piece of fabric cut with pinking shears.
If you want to make a ferocious t-rex toy of your own, print the free pattern and follow along. I’ll show you how to make a stuffed dinosaur!
Print the free stuffed dinosaur sewing pattern
Download the free PDF pattern by clicking the download button below. Print the file at 100% (no scaling), and cut the pattern pieces out of the paper.
If you’d like to support my free printables, you can always use my affiliate links. (Such as this link to the Amazon homepage.) If you shop on Amazon anyway, it’s a great way to support my site at no extra cost to you. I use the small commission from purchases made through the links to produce more free content.
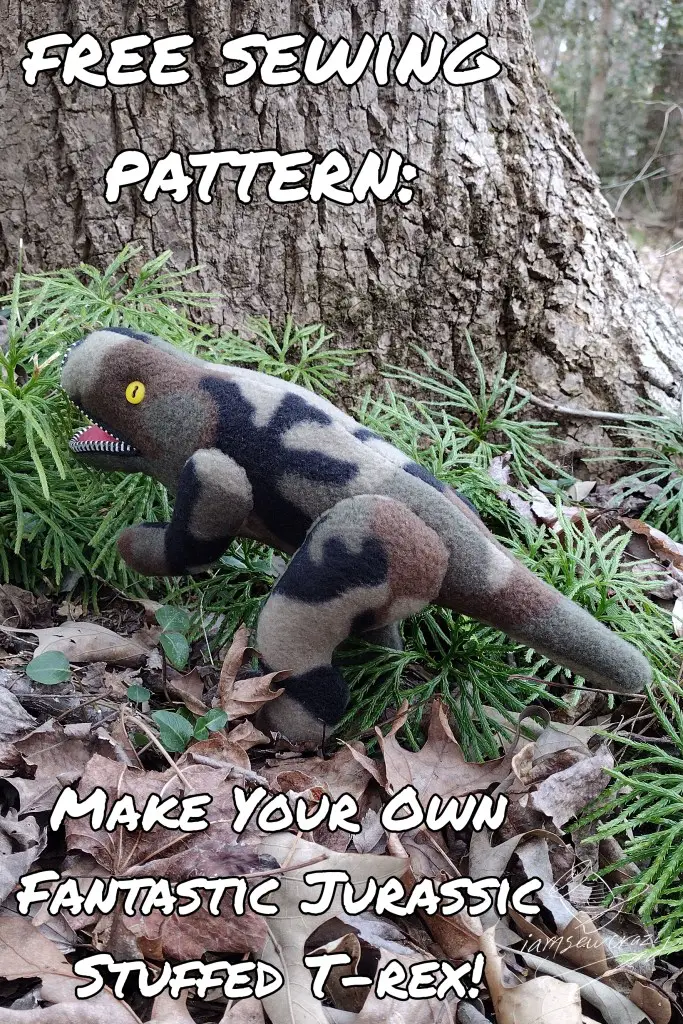
Choose your fabric to make the stuffed dinosaur
I designed this pattern to work with fleece fabrics. I recommend using fleece yardage or upcycling a worn-out hoodie to make your stuffed dinosaur. However, you can choose a different knit fabric if you’d like. A thinner t-shirt type of knit would be okay, although not as durable.
The seam allowances will need to be cut very narrow, since a lot of the pieces are small and curved. Therefore I do not recommend making the stuffed dinosaur with woven fabrics.
You will need:
- A small piece of fleece (I’m using a fun camouflage pattern) OR a worn-out hoodie for the body of the dinosaur
- A small piece of pink felt for the mouth
- A strip of non-fraying fabric OR two 8″ pieces of zipper tape for the teeth
- Poly fiberfill OR tiny fabric scraps to stuff the dinosaur (if you are making lots of stuffed items, consider using beanbag chair pellets as stuffing!)
- Optional but extremely helpful: Hemostats (also called “craft forceps” by people who don’t want to admit that they use surgical tools in their hobby)
- Optional but helpful: Curved hand-sewing needles
- Optional, but very useful for adding zipper teeth: zipper foot that fits your sewing machine
- Optional, only useful to make a monogrammed dinosaur: tear-away stabilizer
Set up your sewing machine
Set up your sewing machine with a needle and thread that’s appropriate to your fabric. I’m using polar fleece, so I have a size 14 ball point needle installed.
For every seam in this project, we will be using a narrow zigzag stitch that is 1 mm wide, and 2 mm long. (About 12 stitches per inch.) Using a zigzag instead of a straight stitch will allow the stitches to stretch along with the fleece fabric, and hold up to rough play instead of breaking under tension.
We will be sewing the dinosaur toy using 1/4″ seam allowances.
Cut the t-rex body pieces out of fabric
Cut two sides of the body out of fleece, making sure that the pieces are mirror-image from each other. (You need a right and a left!)
Cut one piece out of fleece for the dinosaur’s belly.
Using the pink felt, cut out one of each of the two mouth pieces.
Do not cut out the legs. (We are going to sew them before we cut them out.)
How to monogram the dinosaur (optional)
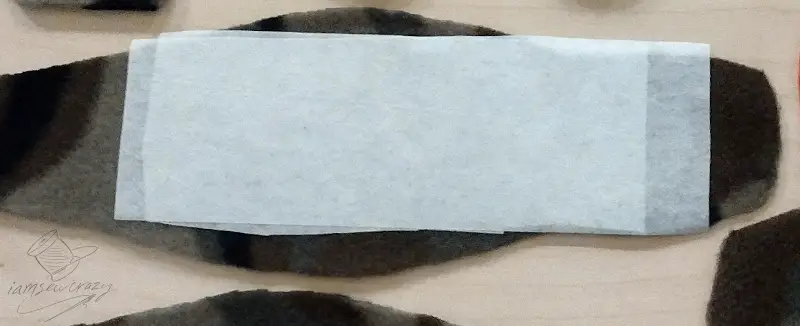
Now would be the time to add an embroidered name or monogram to the dinosaur’s belly. Use a stabilizer, so that your stitches don’t stretch the fabric or sink into the fleece. Peel the paper backing off, and apply the stabilizer to the wrong side of the fabric. I’m using 2 layers of tear-away stabilizer, which is a great choice for knits like fleece. Don’t monogram too close to the edges of the belly, since we will be sewing the dinosaur together and attaching legs. You need some room for the seam allowances without covering up your monogram!
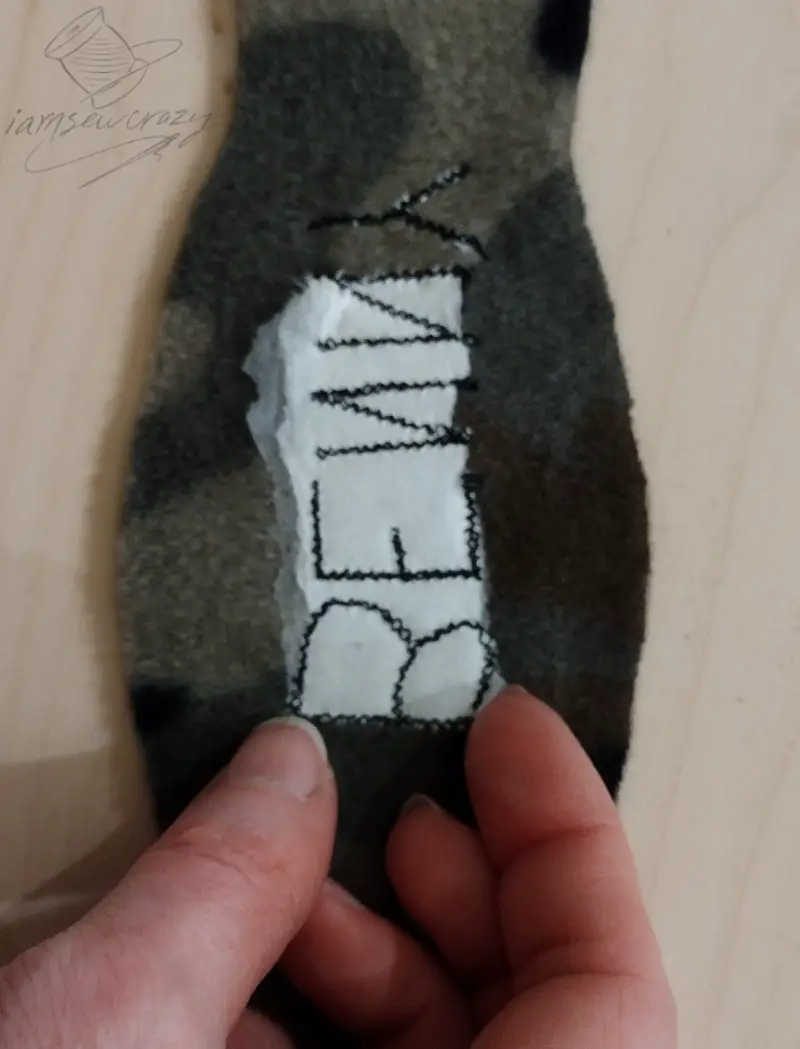
I stitched “BENNY” onto the belly with a very simple narrow zigzag stitch. This is because the dinosaur toy is for a little boy named Charles, and I wanted to confuse him. (I’m kidding, y’all. Of course his name isn’t Charles. It’s Brent.)
I stitched from the right side, which means that the letters are backwards on the wrong side. This is normal and correct.
Tear away the stabilizer. Next I will show you how to sew the stuffed dinosaur together.
Sew the center back seam, adding spikes if desired
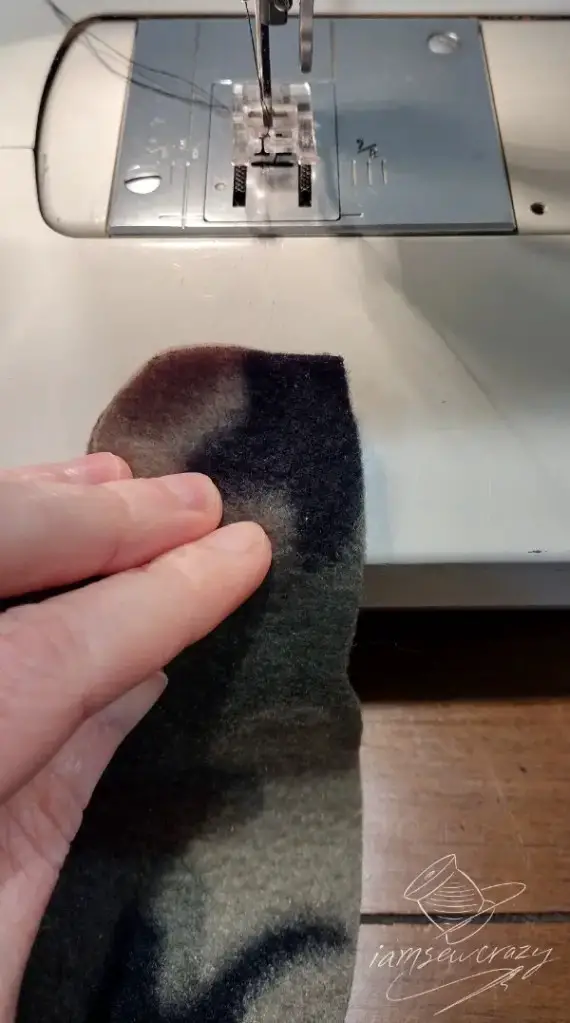
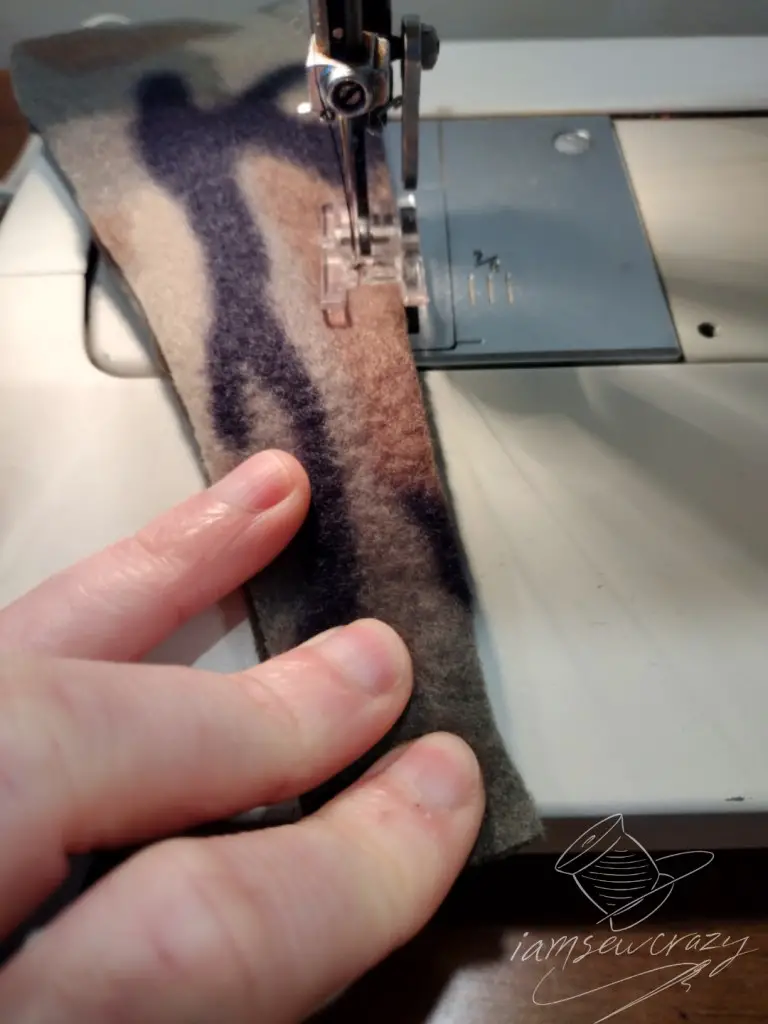
Place the two matching body pieces with their right sides together. You are going to sew from the square corner at the nose, to the tip of the tail.
If you want spikes going up your stuffed dinosaur’s back, now is the time to add them. Place the spikes between the two body pieces. The the flat edge of the spike piece should be lined up with the edge of the body pieces. The pointy edge of the spikes should face towards the middle of the body pieces.
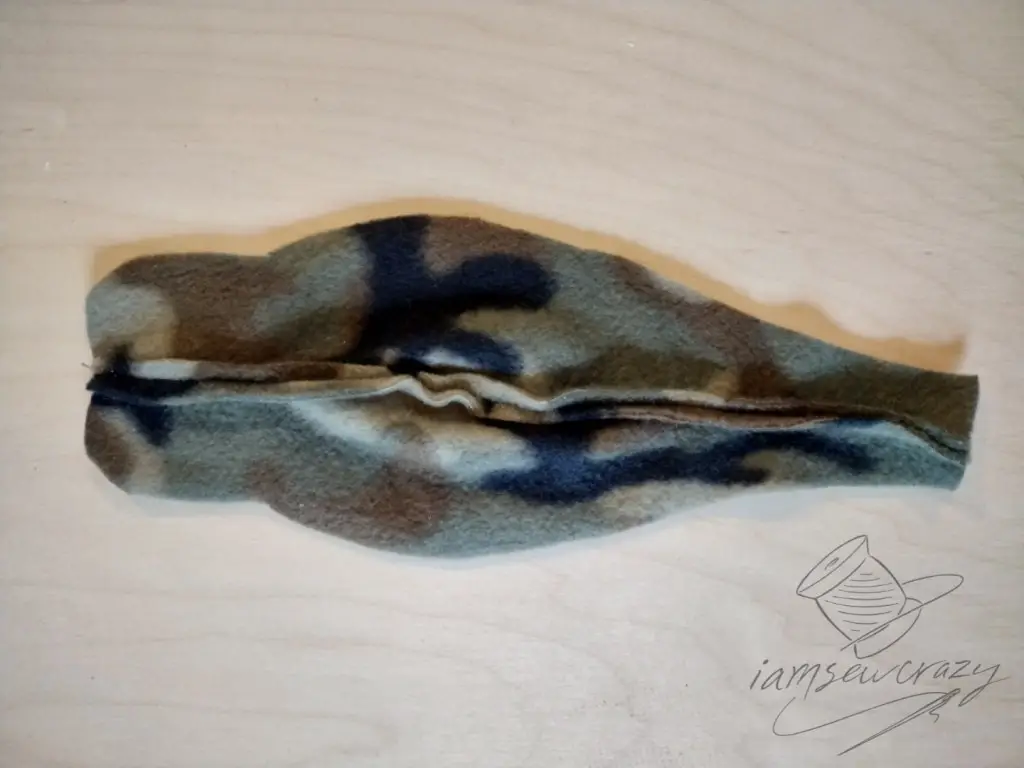
Using a 1/4″ seam allowance, sew from the square corner at the nose to the tip of the tail. When you open out the resulting piece, it will pucker and not lay flat on the table. This is correct! It won’t look puckered after it’s stuffed, I promise.
Add the dinosaur’s teeth
I am using a piece of zipper tape to make the dinosaur’s teeth. I think this is a really cute and fun way to make the dinosaur. But if the toy is for a very young child or a pet, you will want to make the teeth out of a softer material. I’m going to demonstrate both methods here.
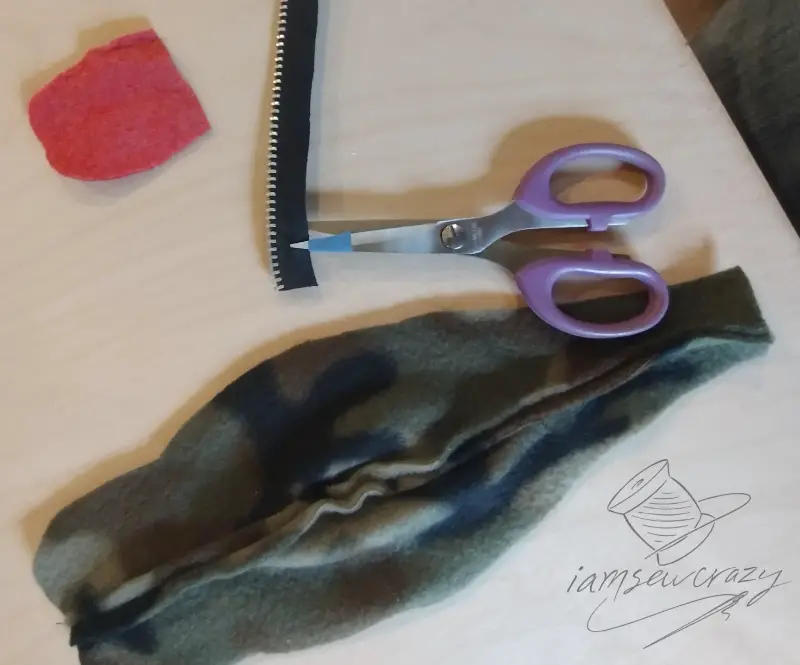
Clip halfway through the zipper tape to help it curve around the dinosaur’s mouth. Make the snips about 1/2″ apart. I usually add a piece of painter’s tape to my scissors so that I make all of my cuts the same depth. (That’s one of my 17 painter’s tape hacks to make your sewing and crafting easier!)
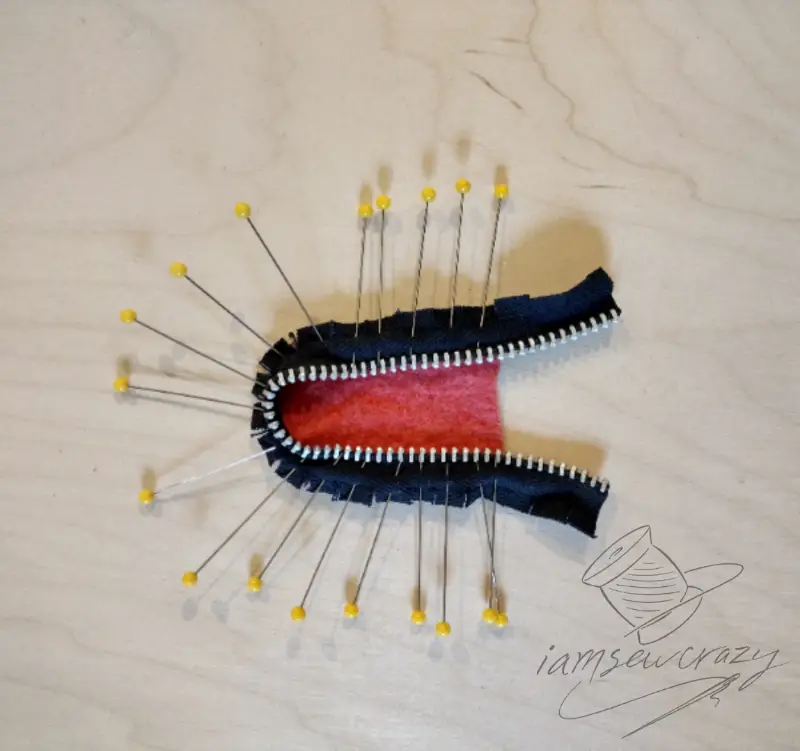
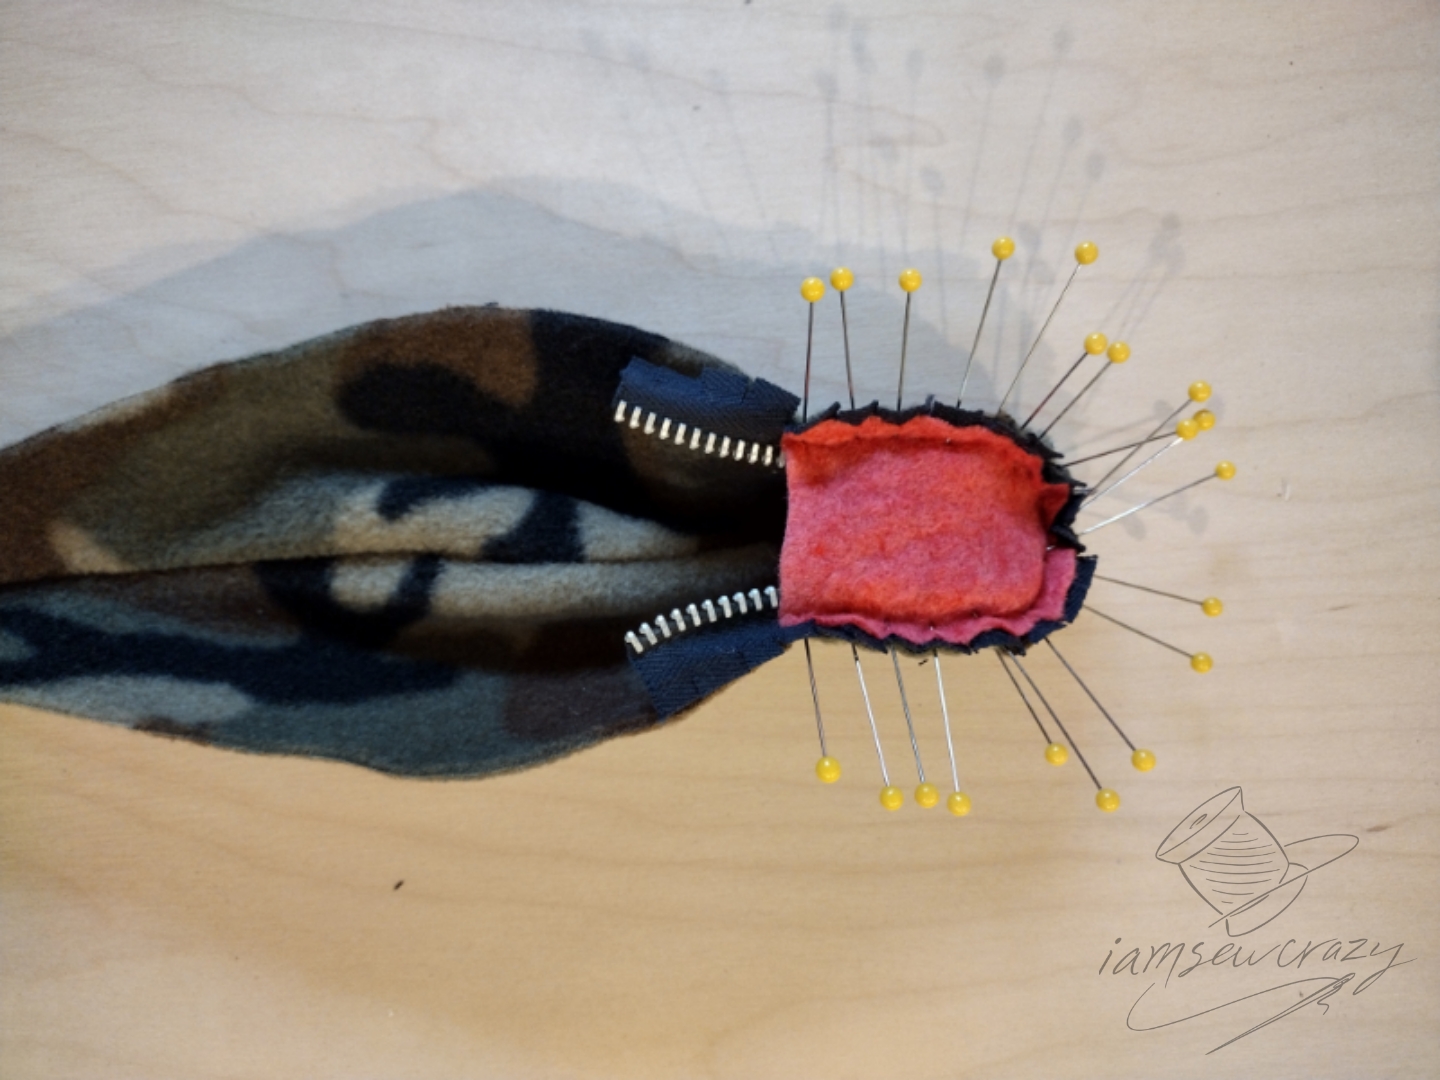
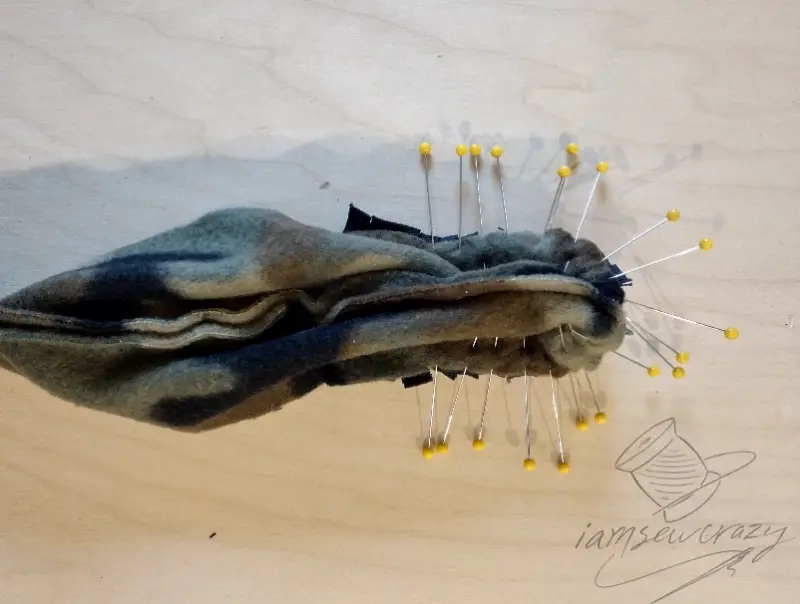
Place the zipper tape along the curved edge of the upper mouth piece. Pin well. Add the body piece you sewed together, with the right side facing the zipper tape. The body piece will be slightly wider than the felt, but this is correct. Match up the center of the snout on both pieces, and the corners of the mouth. Ease in the extra width to form the dinosaur’s snout and nostril area. Line up the edges and pin.
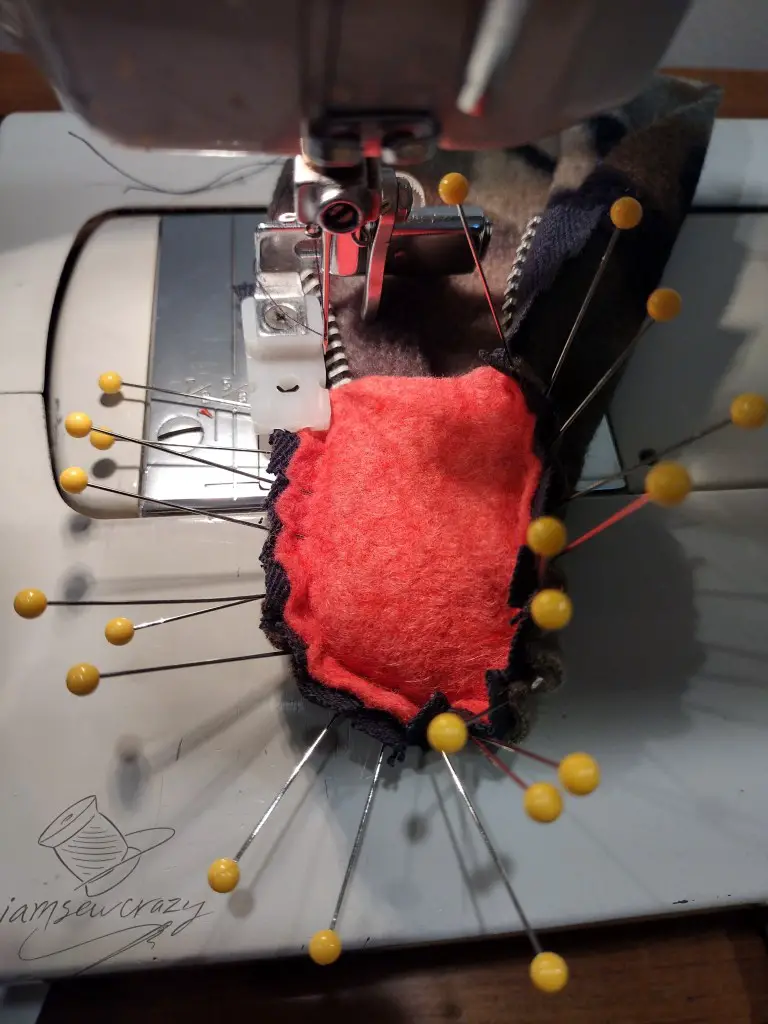
Using a zipper foot if you have one, carefully sew beside the zipper teeth from one end of the felt to the other. Remove pins as you come to them, and stop to pivot whenever necessary.
Repeat the process with the other piece of zipper tape, the lower mouth piece, and the belly piece.
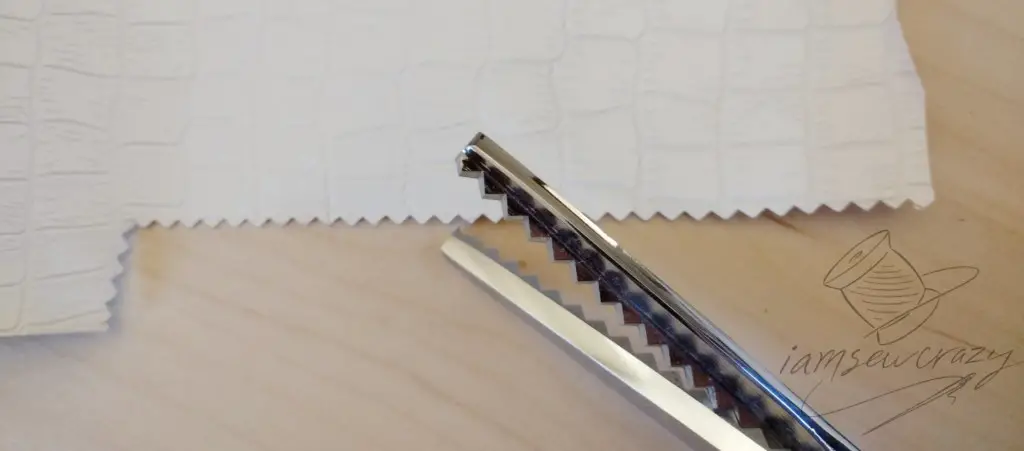
Since Benny wasn’t even born yet when I made his dinosaur, he obviously didn’t know any better than to chew on things. So I made the teeth for his dinosaur toy out of fake leather that I cut with pinking shears. The pinking shears provided a toothy, ferocious appearance to the faux leather, without the danger of Benny scratching himself or biting into a zipper tooth.
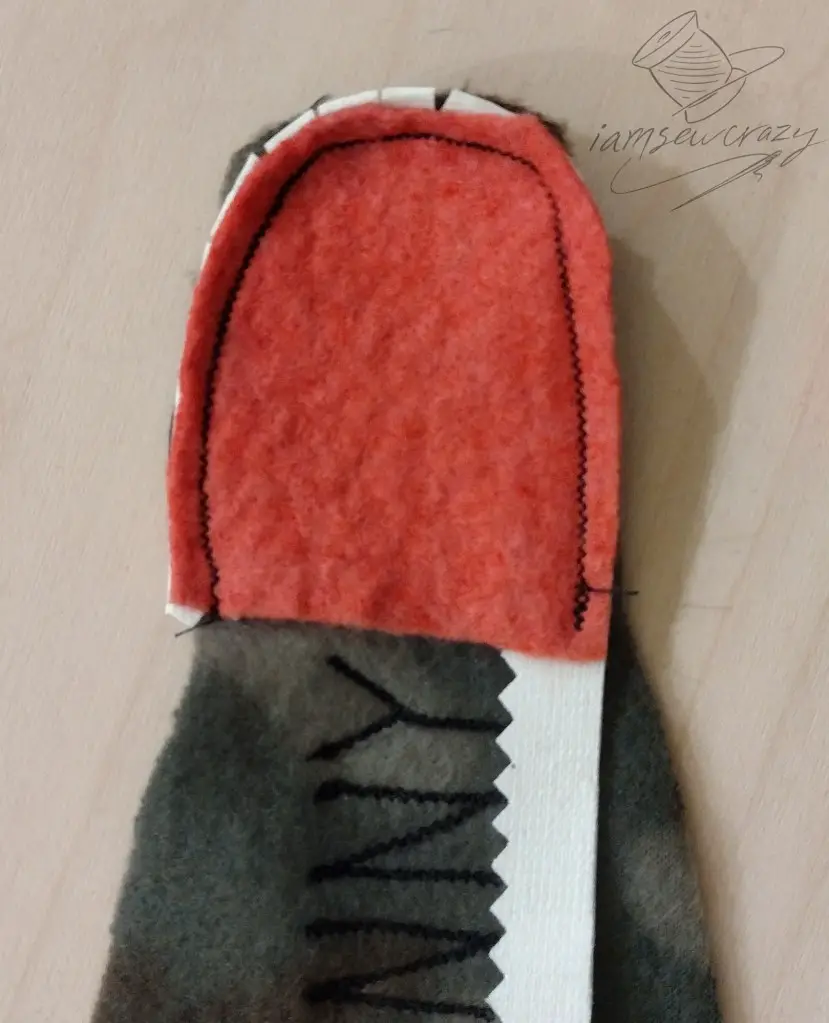
Using a pinked strip of fabric is easier than using zipper teeth, since you don’t have to worry about the thickness and bulk of the zipper teeth while you are sewing. Choose a material that will not fray, such as the white faux leather I’m using here. Add the faux leather into the mouth seams in exactly the same way you would add the zipper tape, with the pinked edge facing inwards and the straight edge towards the outer edge.
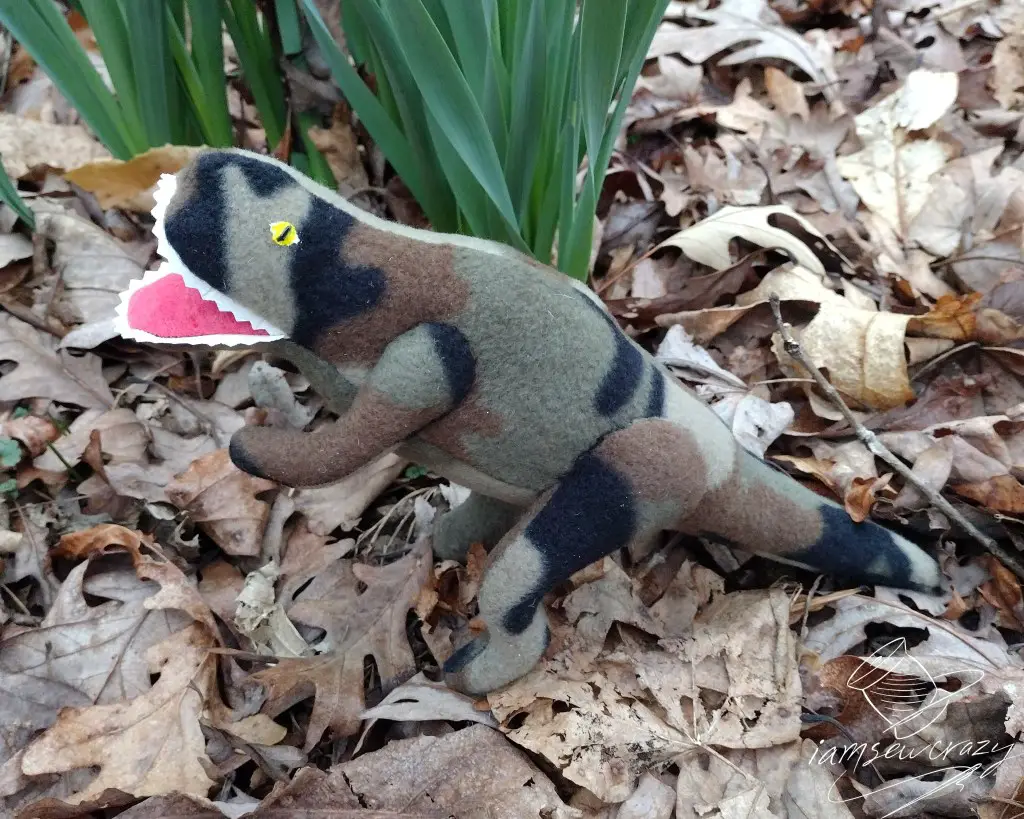
This is how the soft teeth look when the dinosaur is completed! Still ferocious enough to vanquish even the toughest enemy, but soft enough that Benny can chew on them to his heart’s content. Note that I also used soft eyes on Benny’s dinosaur, for the same reasons. I’ll go over that when I show you how to add the eyes.
How to sew the dinosaur’s body together
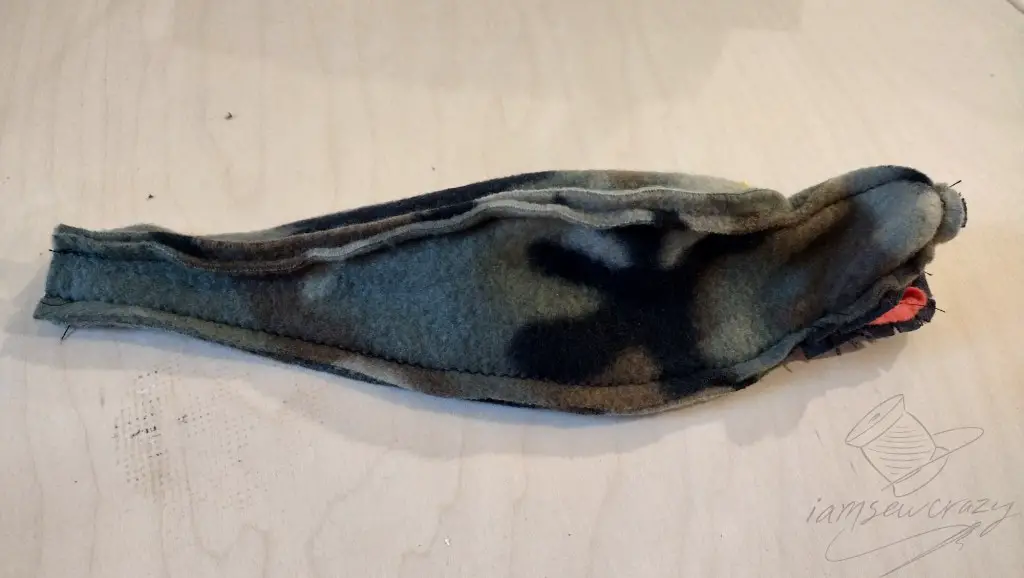
Trim the zipper tape (or pinked fabric strip) that extends past the ends of the felt. Line up the upper body piece and the belly piece, matching them at the corners of the felt and the tip of the tail. The body pieces should be right sides together, as shown in the picture.
Sew from the corners of the felt down to the tip of the tail on each side. Do not sew into the felt; start your line of stitching just past where the felt is attached.
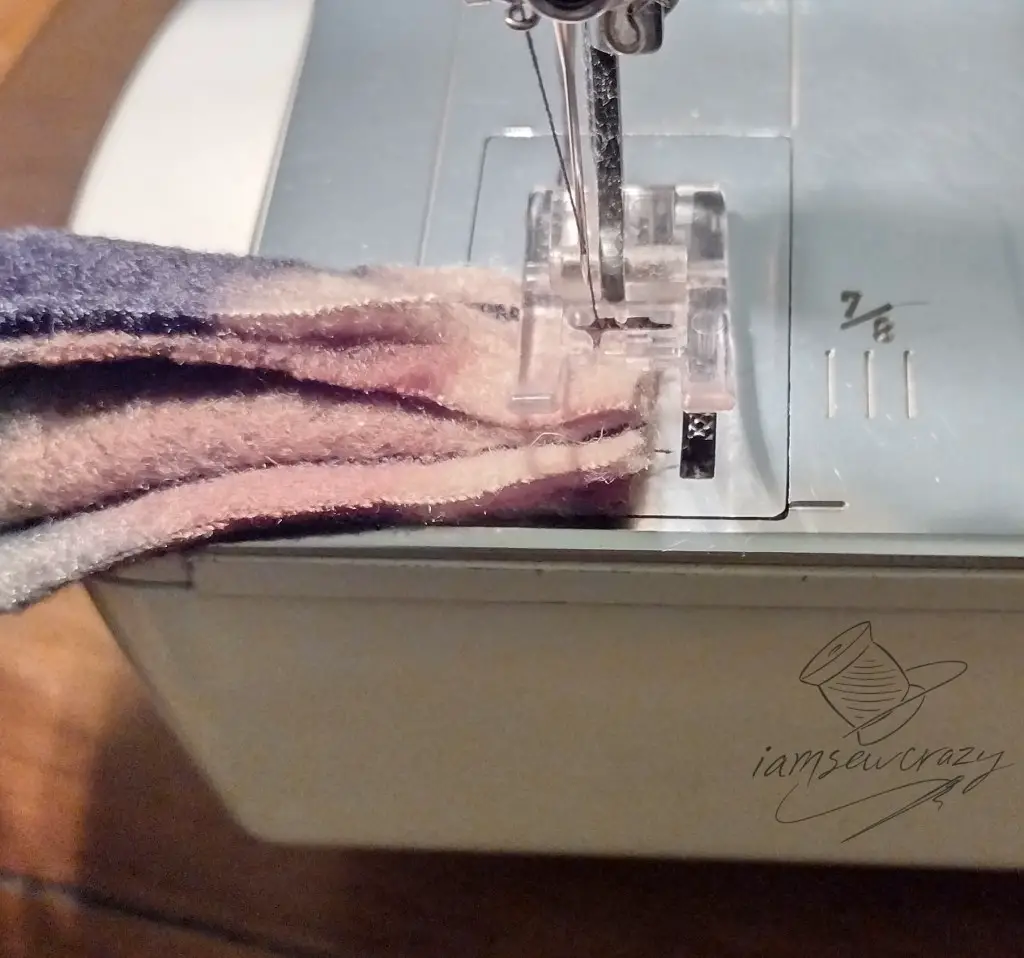
Flatten the tip of the dinosaur’s tail, and sew across the end. Trim the very corners of the tail fabric, being careful not to cut through the stitches.
How to stuff the dinosaur’s body
Now we will turn the dinosaur right-side out… through his own mouth. Yes folks, he’s going to barf himself into existence.
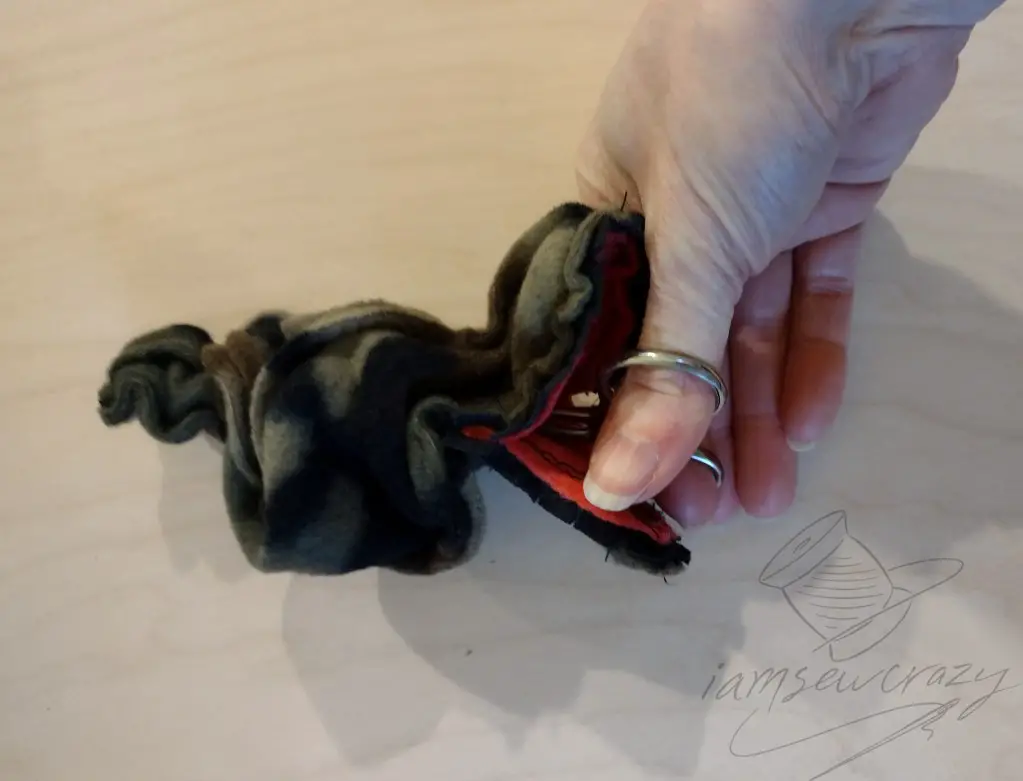
Poke your hemostats into the dinosaur’s mouth and clamp on to the tip of his tail. Pull the body right-side out. Flip each felt piece to the inside so that the teeth are showing.
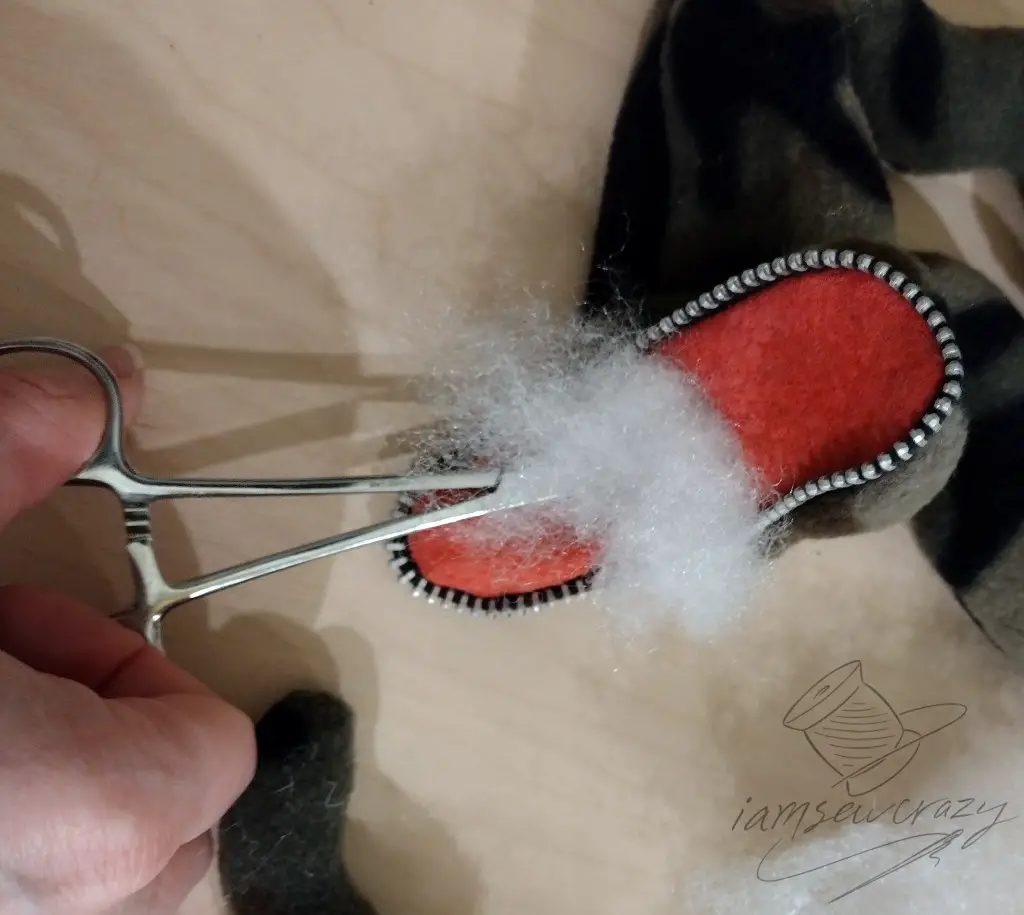
Use some poly fiberfill to stuff the T-Rex’s body through the opening in his mouth. I always use hemostats to grab bits of stuffing and push them into the tail first, then work the stuffing into the whole dinosaur body. You don’t want a lumpy dinosaur, so make sure it’s stuffed evenly all over.
Push some stuffing down into the jaw and nose areas.
If you add less stuffing, the dinosaur will be very soft and cuddly, but won’t be able to stand up on his own. A dinosaur with more stuffing will stand up by itself but will feel more firm and less mooshy. So if a dinosaur with good posture is important to you, make sure you pack the fiberfill in a bit more. If a squooshy, huggable dino is what you’re after, then add less filling for a softer toy.
How to make the stuffed dinosaur’s legs
Fold some of the fabric with right sides together. Trace the leg shapes twice each on the folded fabric. I’m using an ultra fine point sharpie to mark my fabric. For some reason, whenever I use chalk to mark fleece, I have an insane amount of skipped stitches. So use a marker or pen of some kind.
Place some pins beside the traced shapes to hold the 2 layers of fabric in place. You will sew the legs before you cut them out, because that’s easier when you’re working with little pieces like this.
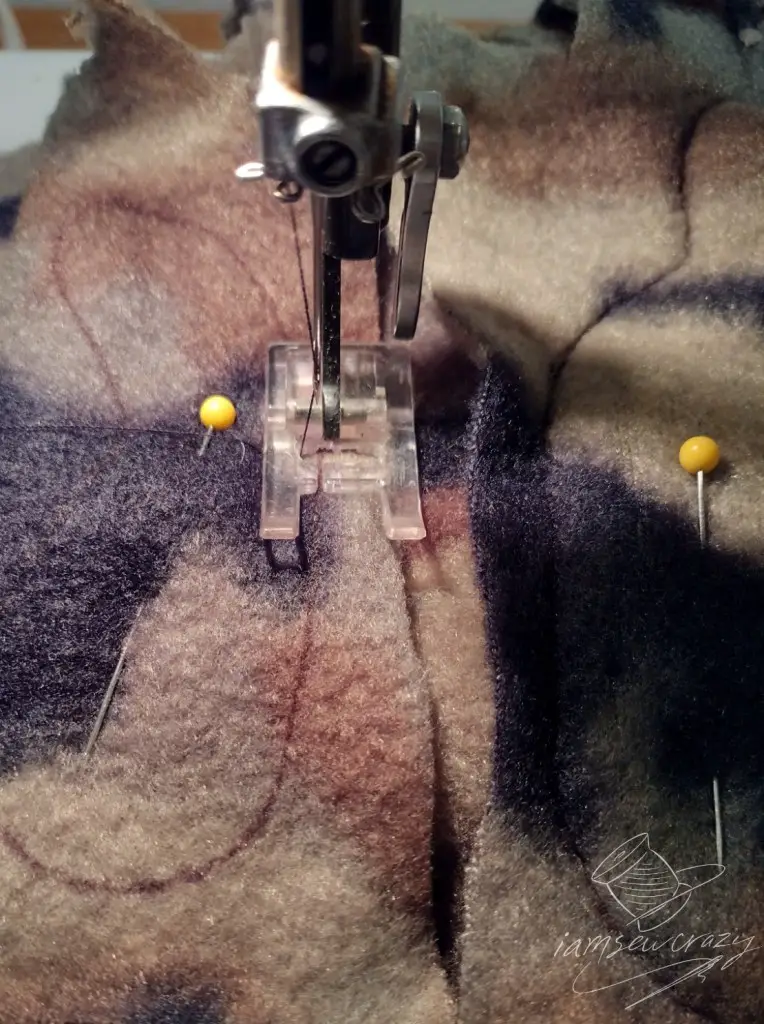
Sew on the traced line, all the way around the legs. Then cut the dinosaur legs out, leaving a small seam allowance of 1/4″ or so. It’s a good idea to cut the legs out with pinking shears, so that your curves are notched and can lay flatter.
Stuff the dino’s legs
Now make a slit in the wide part of the leg, through one layer only. It should be about 1/2″ long, and stop a bit short of the stitching line.
Make sure you cut your slit on opposite sides for each set of legs, because you want to cover up the slit when you attach the leg to the body. So make sure that each set of legs is mirror-reverse.
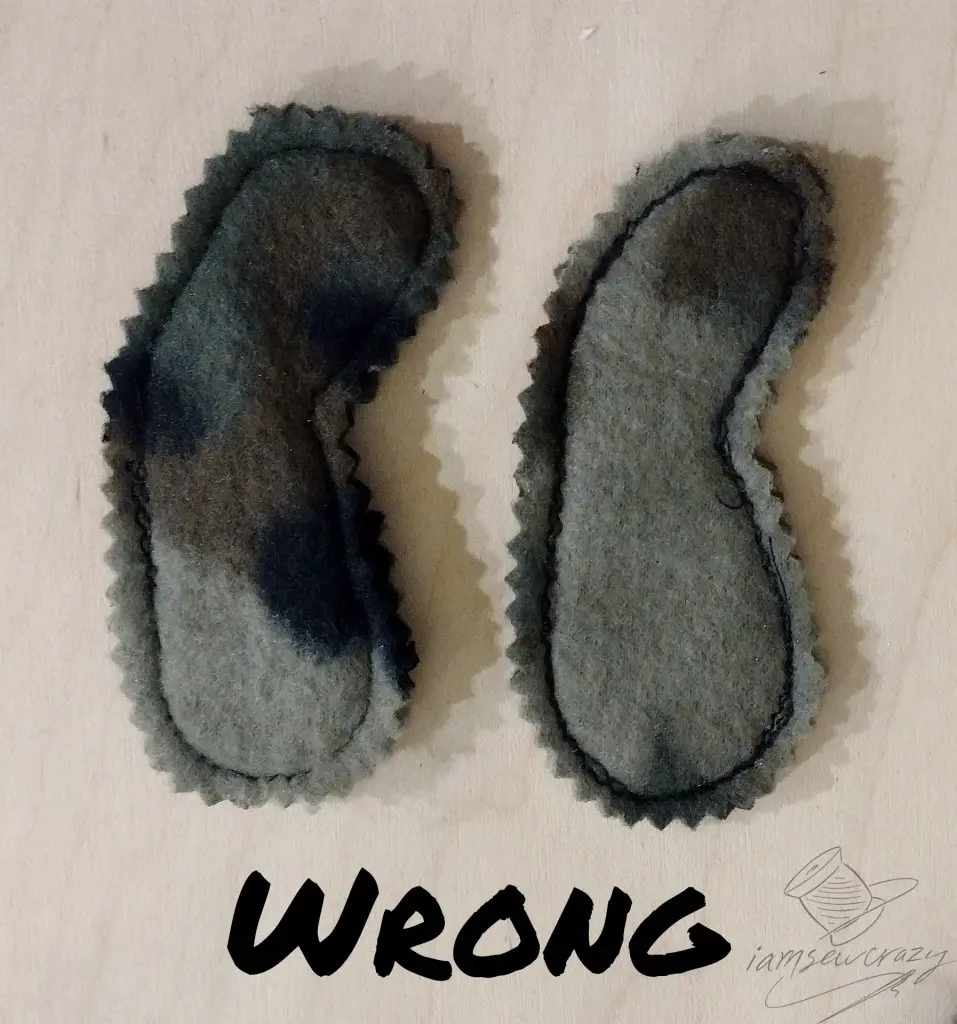
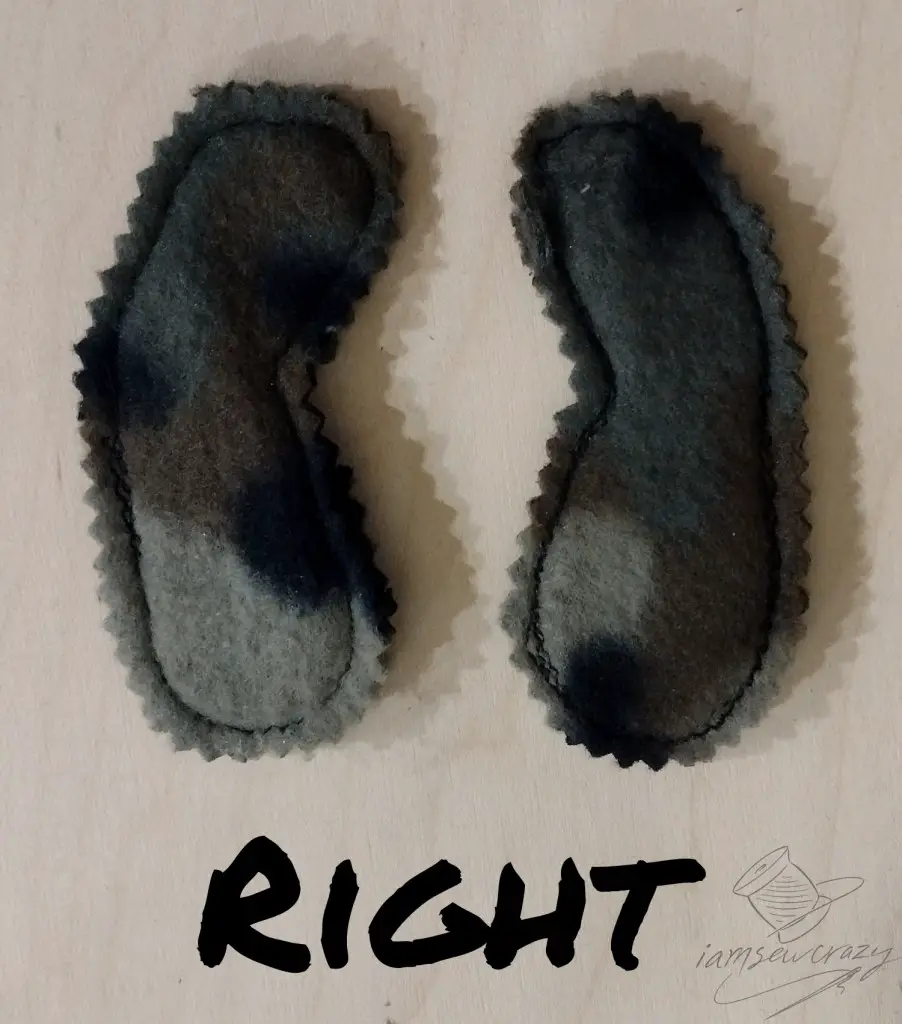
If both legs are facing the same way, like I’m showing in the first picture, this is wrong. Flip one leg around so that they face opposite sides, like I’m showing in the second picture.
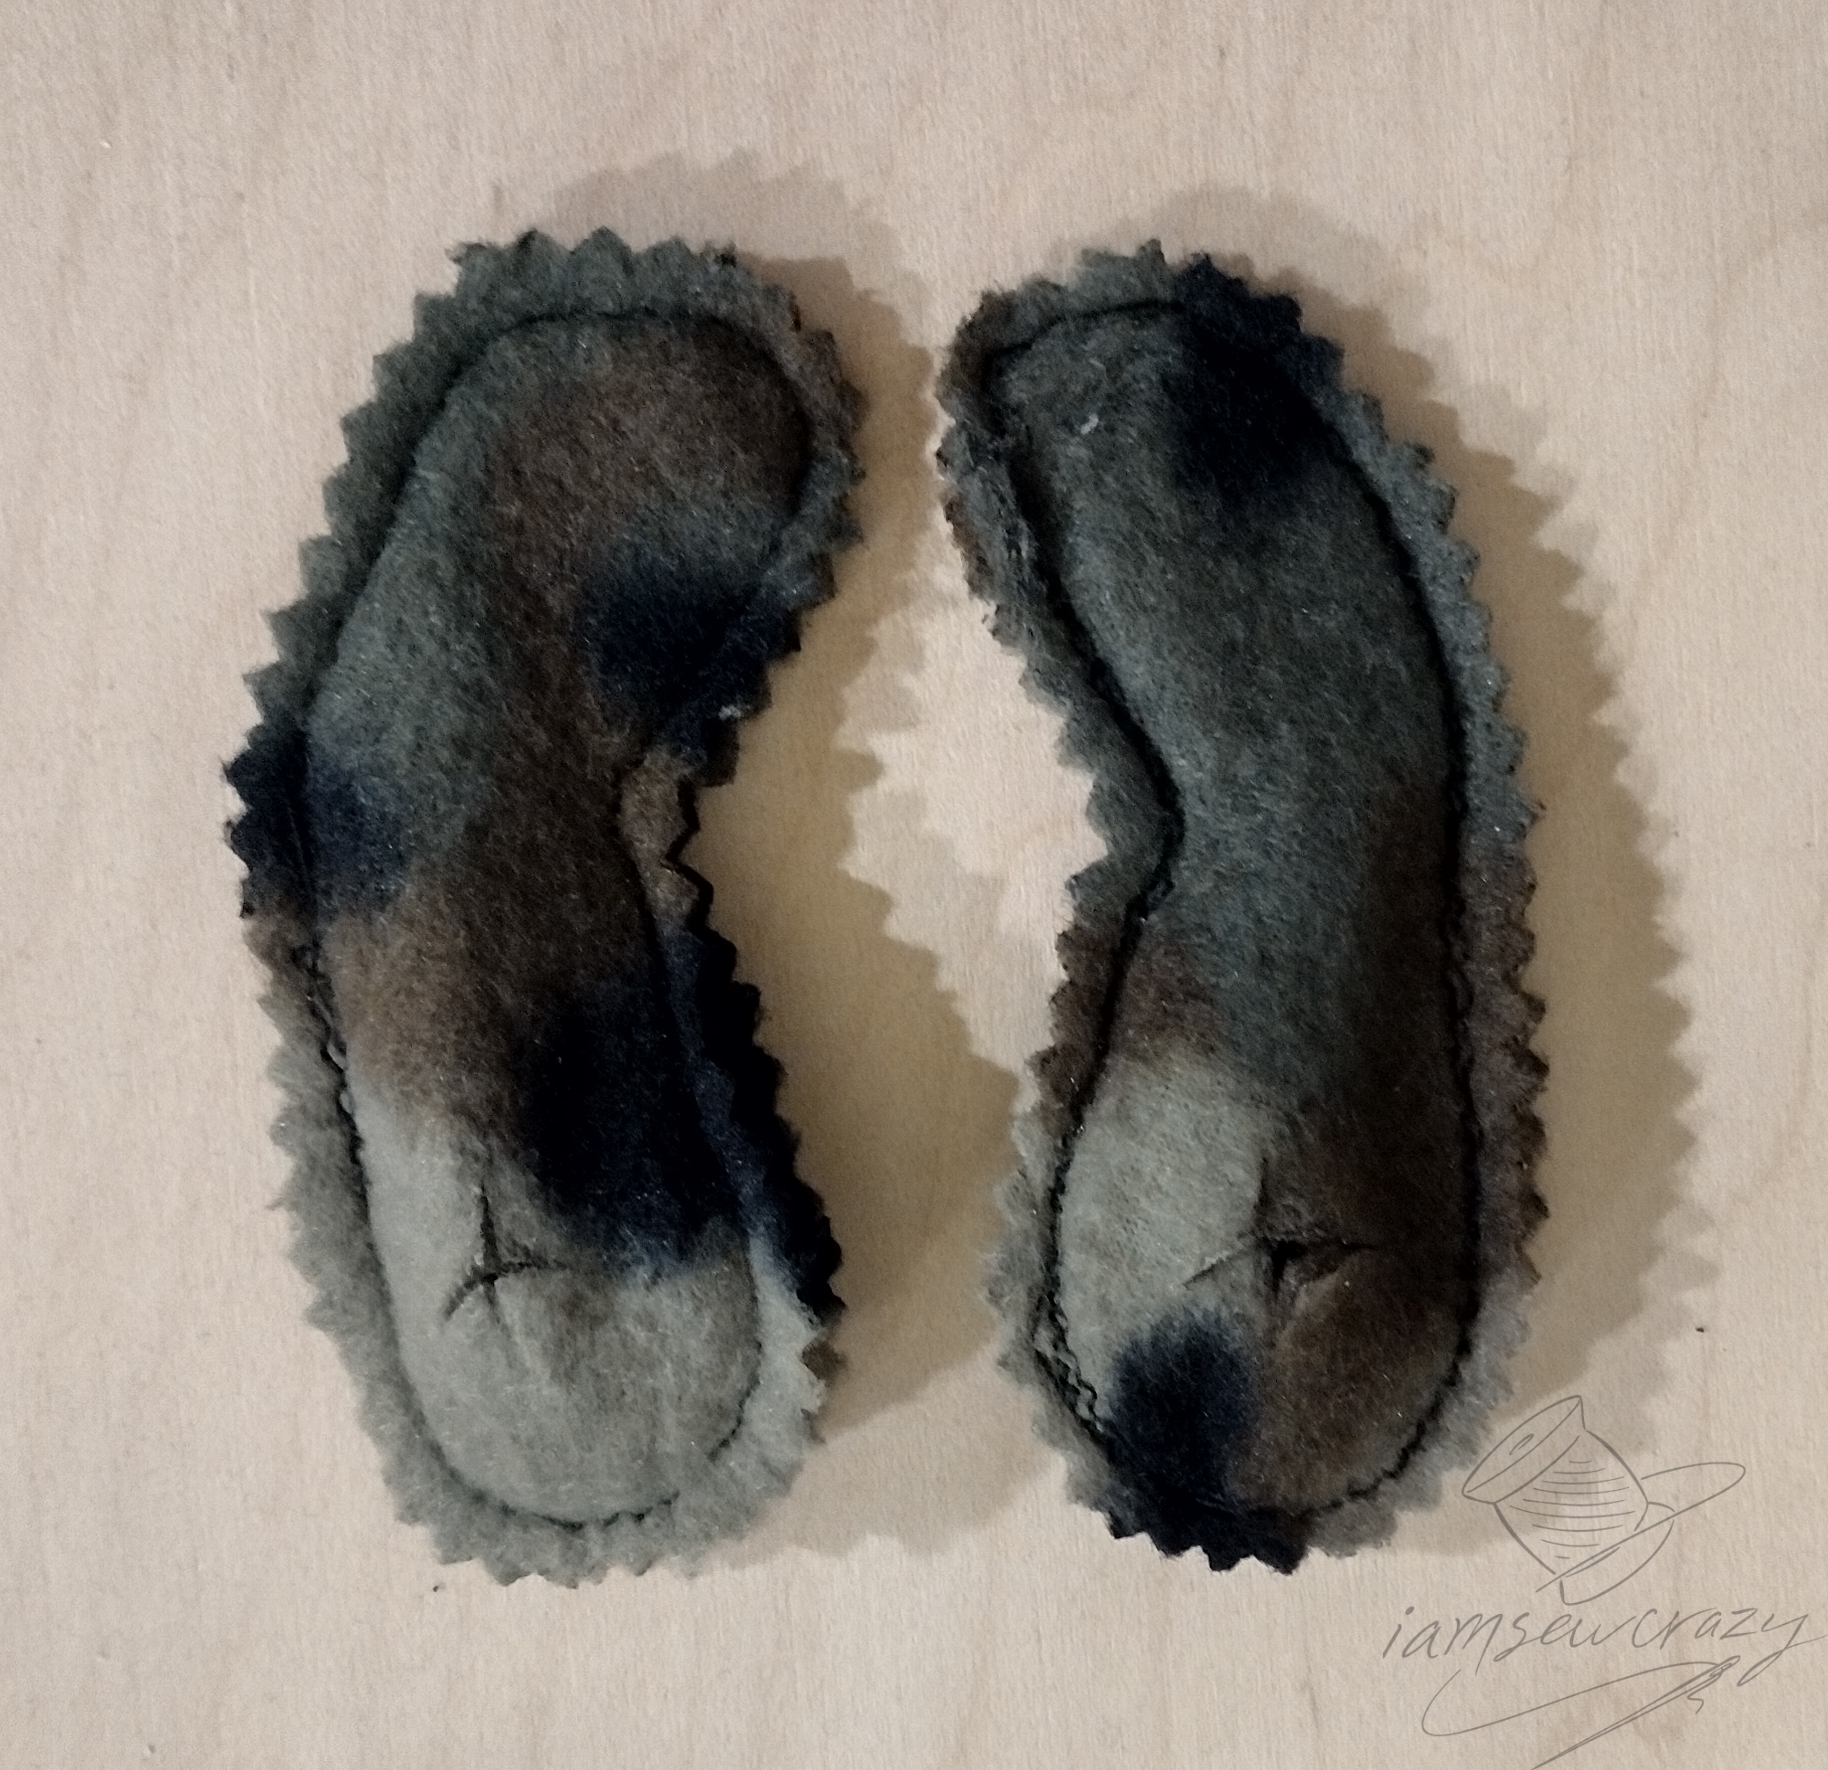
Now you can slit the top sides of each leg.
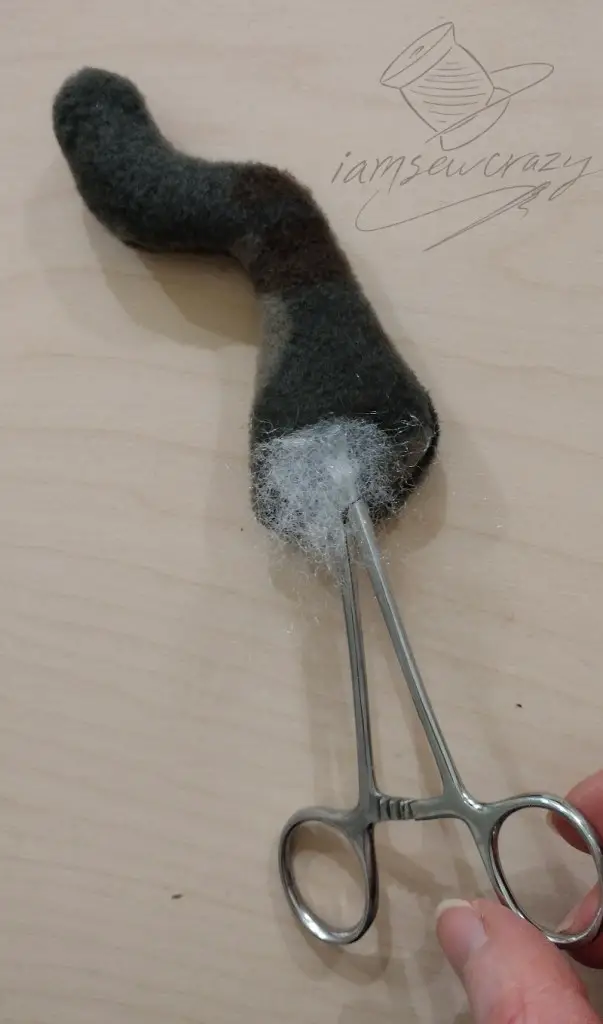
Turn the legs right-side out through the opening. I used the hemostats again to grab the toes and pull the leg right-side out through the slit. Now you can stuff the legs with poly fiberfill, fabric scraps, or whatever you’d like to use. Stuff them pretty full if you want your dinosaur to be able to stand upright.
Sew the t-rex legs to the body
Hand-sew the dinosaur’s legs to the body. The slit where you turned the legs right-side out should be facing the body, and will be sealed up in the process of sewing the leg to the body. So make sure that the right legs are on the right, and the left legs are on the left, or else you’ll have stuffing leaking out!
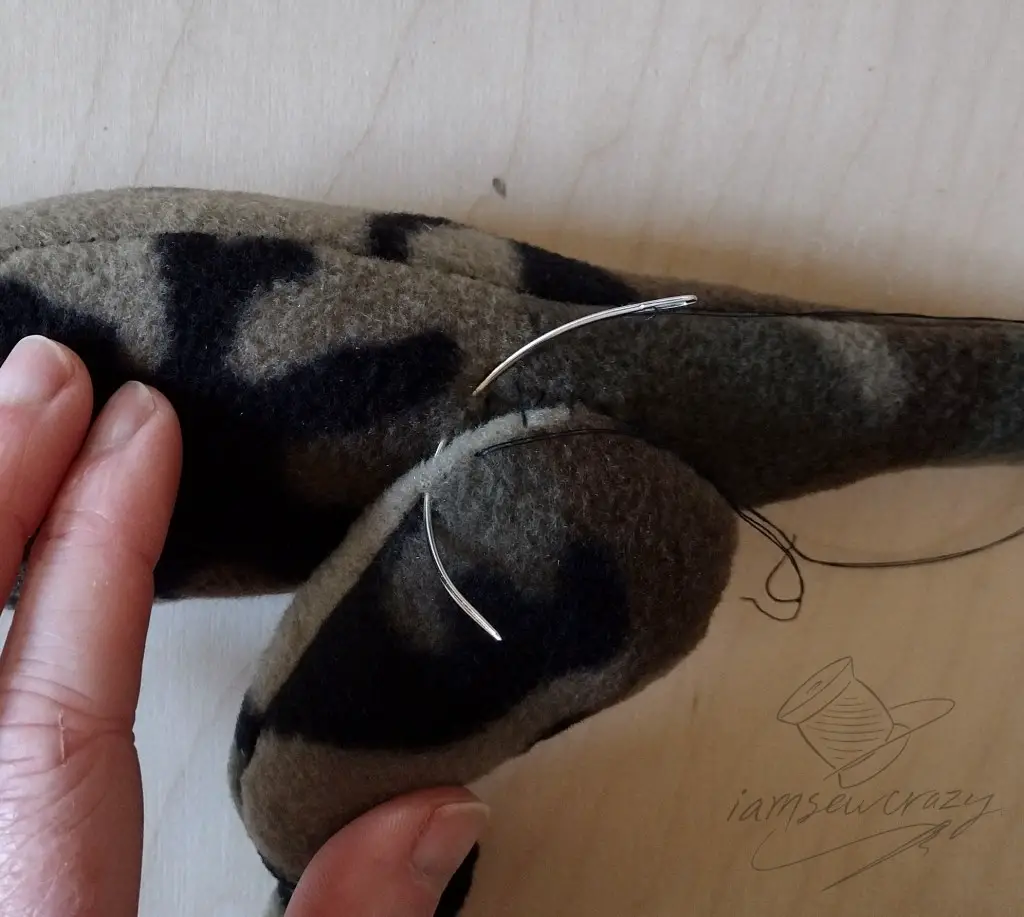
I prefer using a curved needle, which is often used for sewing projects where the wrong side is not easily accessible. You will see large curved needles sold for sewing up mattresses, and smaller ones used for tying quilts. I should note that I can sew this project with a straight needle, and you might prefer this. But give a curved needle a try if you’re having trouble getting your needle to come out in the right spot.
Using a doubled length of thread, sew along the seams of the shoulders and thighs, making several loose stitches at a time. Take one stitch through the leg, and then one stitch through the body… and so on. Periodically pull your thread tight to attach the leg firmly to the dinosaur’s body. Sew across the lower edge of the thigh to seal the entire leg slit closed.
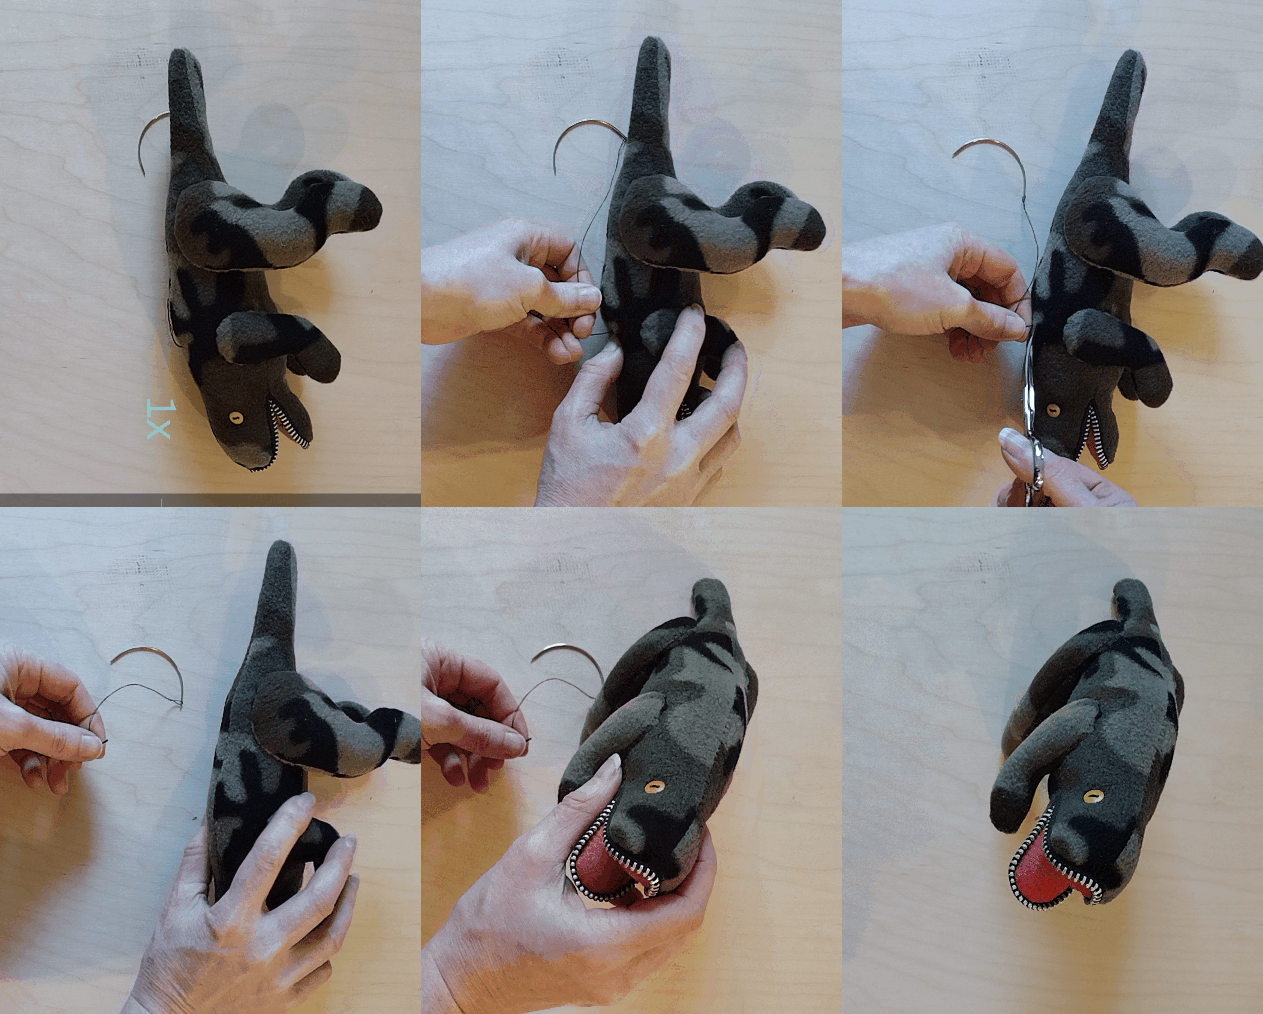
When you’re done with each leg, tie the thread off and then “bury” the thread tails. This means to run the needle through the dinosaur, right beside the knot. Pop the needle out somewhere in the middle of the body or leg. Pull on the thread tails so that there is some tension on them, and then cut them off close to the dinosaur. The remaining thread tails should disappear inside the dinosaur’s stuffing, never to be seen again.
Add the t-rex’s eyes and close up the mouth
You can use buttons for the eyes, embroider them on, or draw eyes on with fabric paint. I like the look of two-hole buttons, because the buttons add a fun texture, and the thread in the middle looks like a reptile’s pupil.
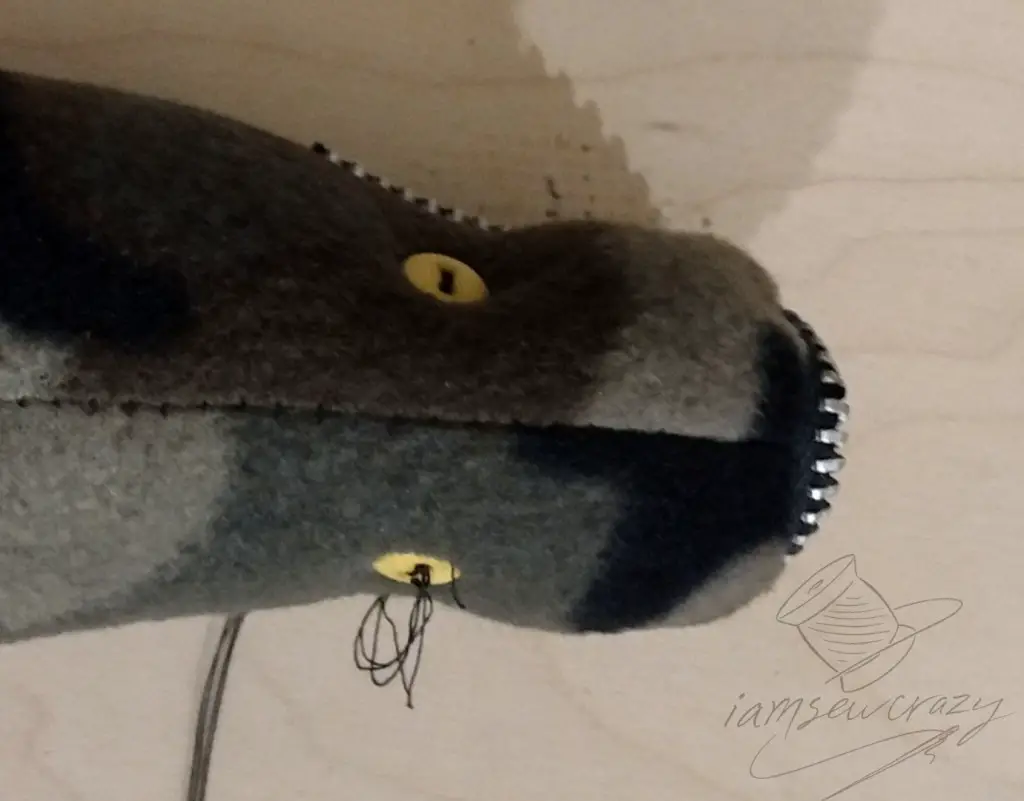
If you are sewing the eyes on, attach one button and then run the thread through the head to the other side. As you sew on the second button, pull the thread tight to indent the eyes and create an eye socket. Run the thread through the head a few times and through the opposite button so that the dinosaur’s head has a nice shape to it. You can shape nostrils the same way, if you’d like.

If the t-rex toy is for a very young child or a pet, I recommend using fabric paint to draw the eyes on, or embroidering them on with thread. You definitely don’t want a determined baby or pet to chew off the button eyes and swallow them. So for Benny’s dinosaur, I added eyes using fabric paint, which is good because Benny chews on a lot of things. It’s a bad habit that I think he learned from his dad.
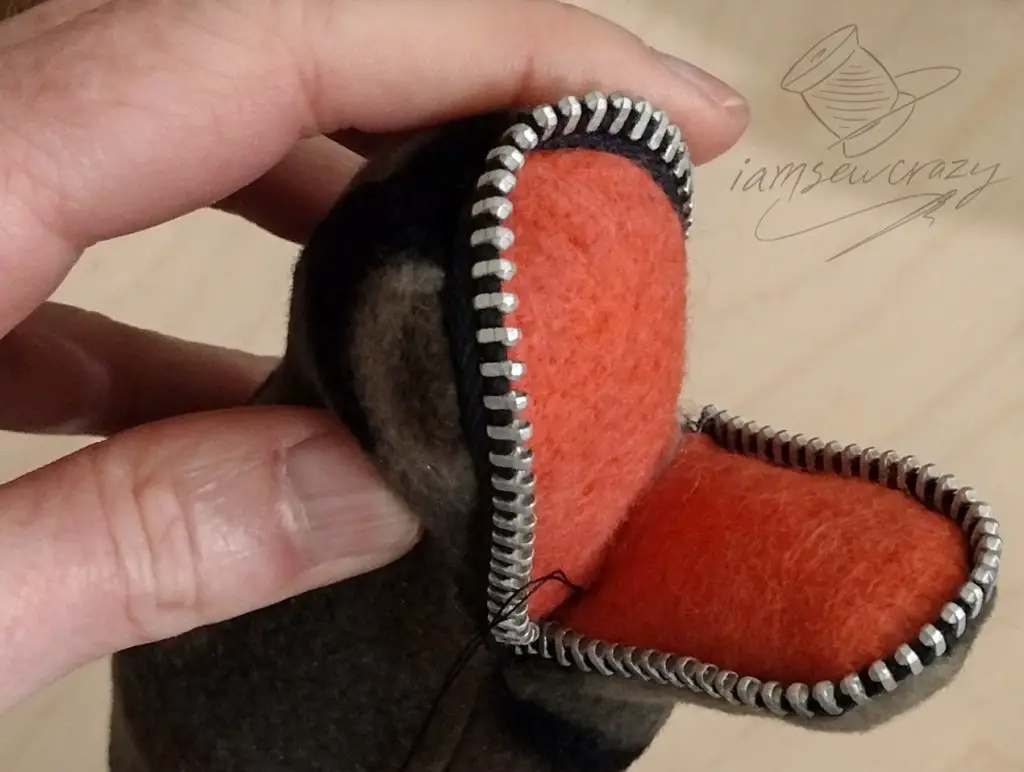
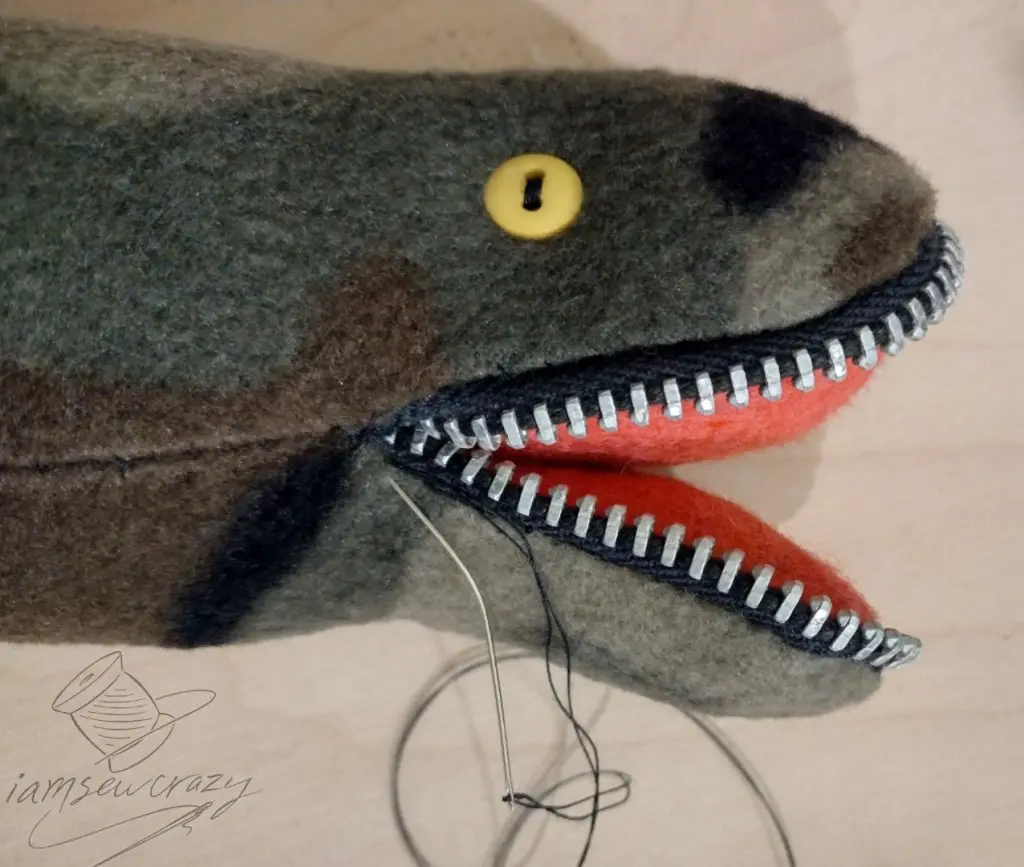
Now you can hand-stitch from one corner of the mouth to the other, sealing the throat shut as you sew. Tack the zipper tape together at the corners of the mouth to make the teeth nice and tidy.
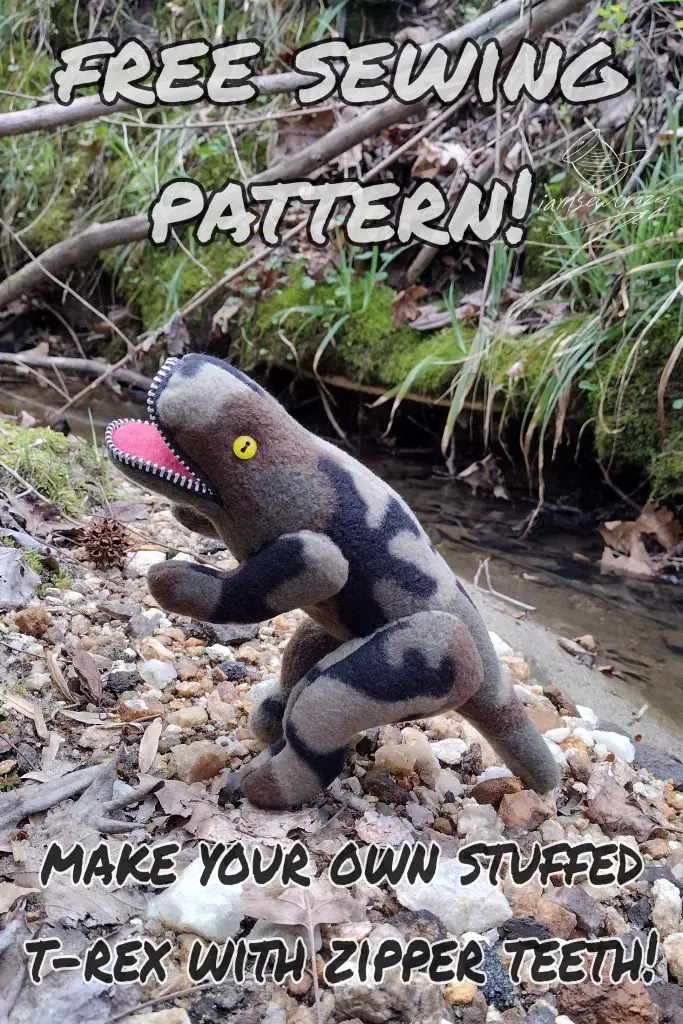
That’s it! Present the stuffed t-rex to a kiddo so they can run around with it shouting ROARRRRRRR and vanquishing all of their invisible enemies. Now that you know how to make a stuffed dinosaur, be sure to check out some of my other crafts for kids if you’re looking for more projects to make for (and with!) the tiny people in your life.
Happy crafting!
Jessie

