


Death, taxes, and ripped pants. They happen to the best of us. Here I’m demonstrating how to patch a hole in a pair of jeans, and cover it with a sparkly butterfly patch. If you don’t want to end up with a cute patch over the tear, you can just follow the first couple of steps, which will give you a perfectly sturdy, functional repair.


You will need a piece of cloth that is similar to what the original garment is made out of. For example, if you are repairing stretch jeans, I think it works better to use a piece of stretch denim to patch the hole. You probably can’t find a perfect match, so just get as close as you can. You could even go to a thrift store to get a garment to use for a patch.
While you’re at the thrift store, you can look for some fabric to use for a decorative patch, if you want to add one. My butterfly patches actually came from a thrift store t-shirt.
I’m also using:
- this temporary spray adhesive,
- a jeans needle (size 16 sharp, also called 100 regular),
- regular all-purpose thread that matches the torn garment,
- and clear “invisible” monofilament nylon thread to attach the patch (I love this brand).


You can see in the picture above that the first thing I did was use a safety pin to hold the front pocket out of the way, so that I wouldn’t accidentally sew it to the pants leg. It also helps to turn the pair of pants inside-out, so that you can make sure you aren’t sewing the back of the pants leg to the front.
Cut a piece of the patch fabric that is quite a bit larger than you need to cover the hole, and pin it in place on the wrong side of the fabric. You will be stitching from the right side, using thread that matches the color of the garment. (I’m not matching my thread perfectly here, because that makes it easier to see for the demo, and I will be covering it all up afterwards.)
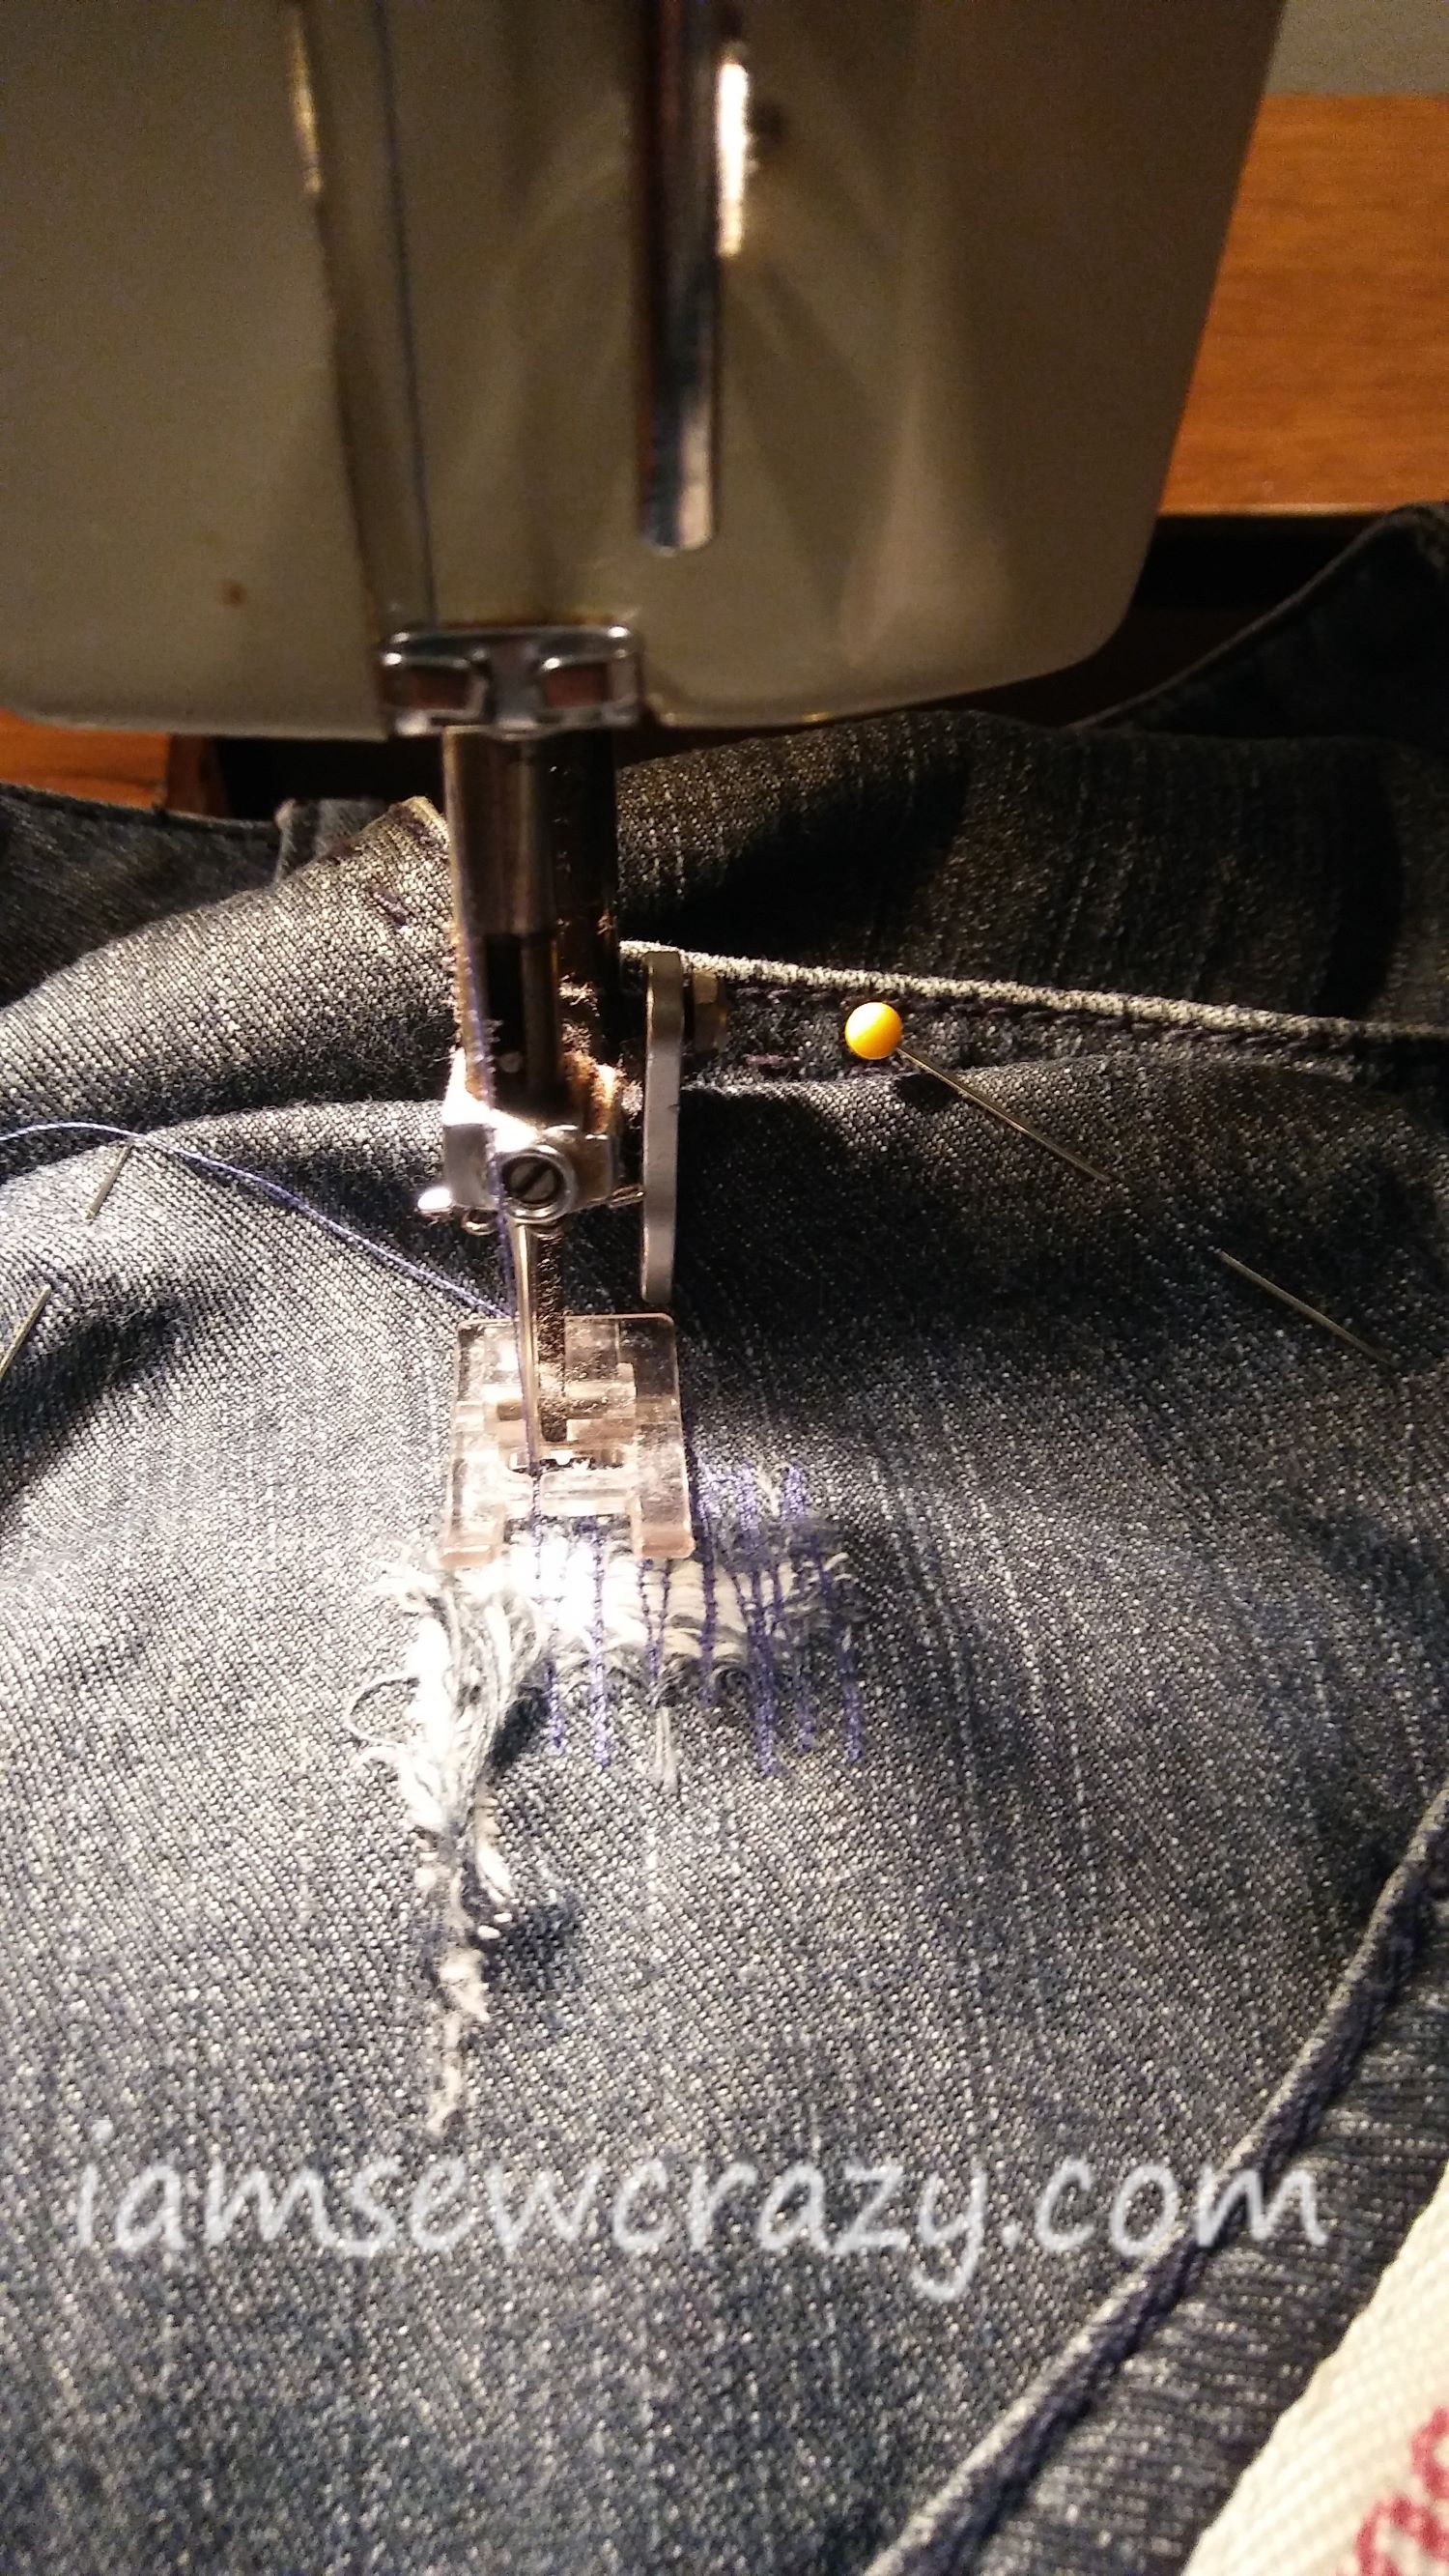
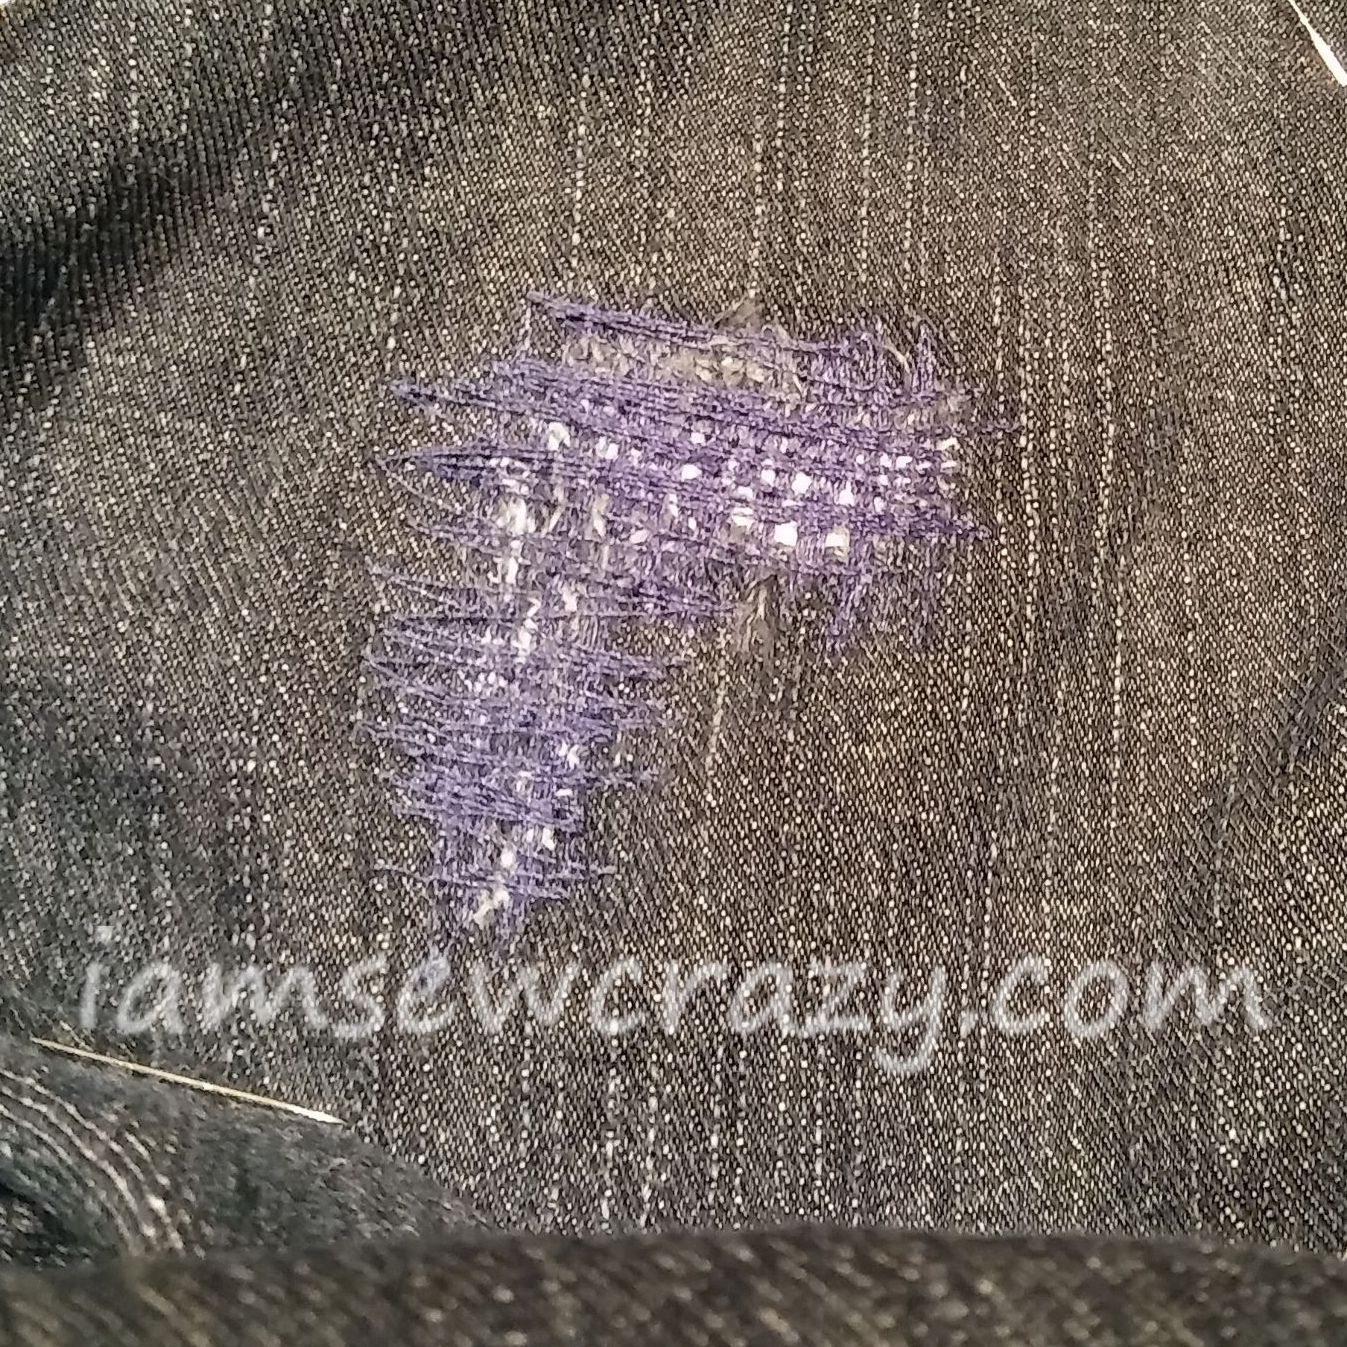
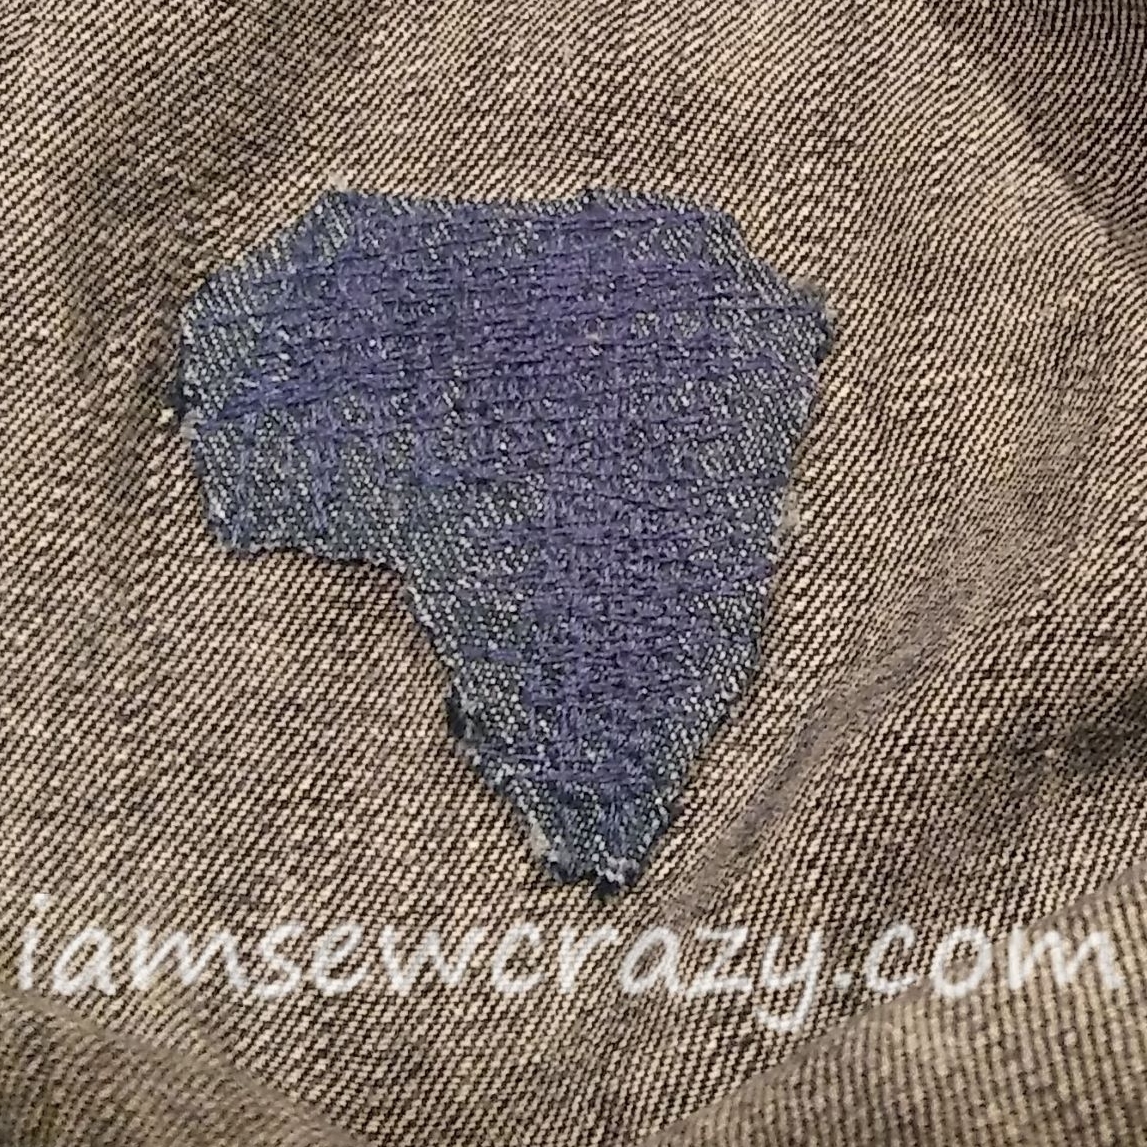
Make sure that the edges of the tear aren’t folded back or under, and start making lines of stitching next to each other in an up-and-down pattern. Then turn the fabric and stitch more rows of stitching that go the opposite way, so that you have lines of thread going north-south and east-west. Make sure that you cover the entire ripped area, and sew each line a little ways beyond the tear to make everything secure. Now trim away all of the excess patch fabric on the back, close to your lines of stitching.
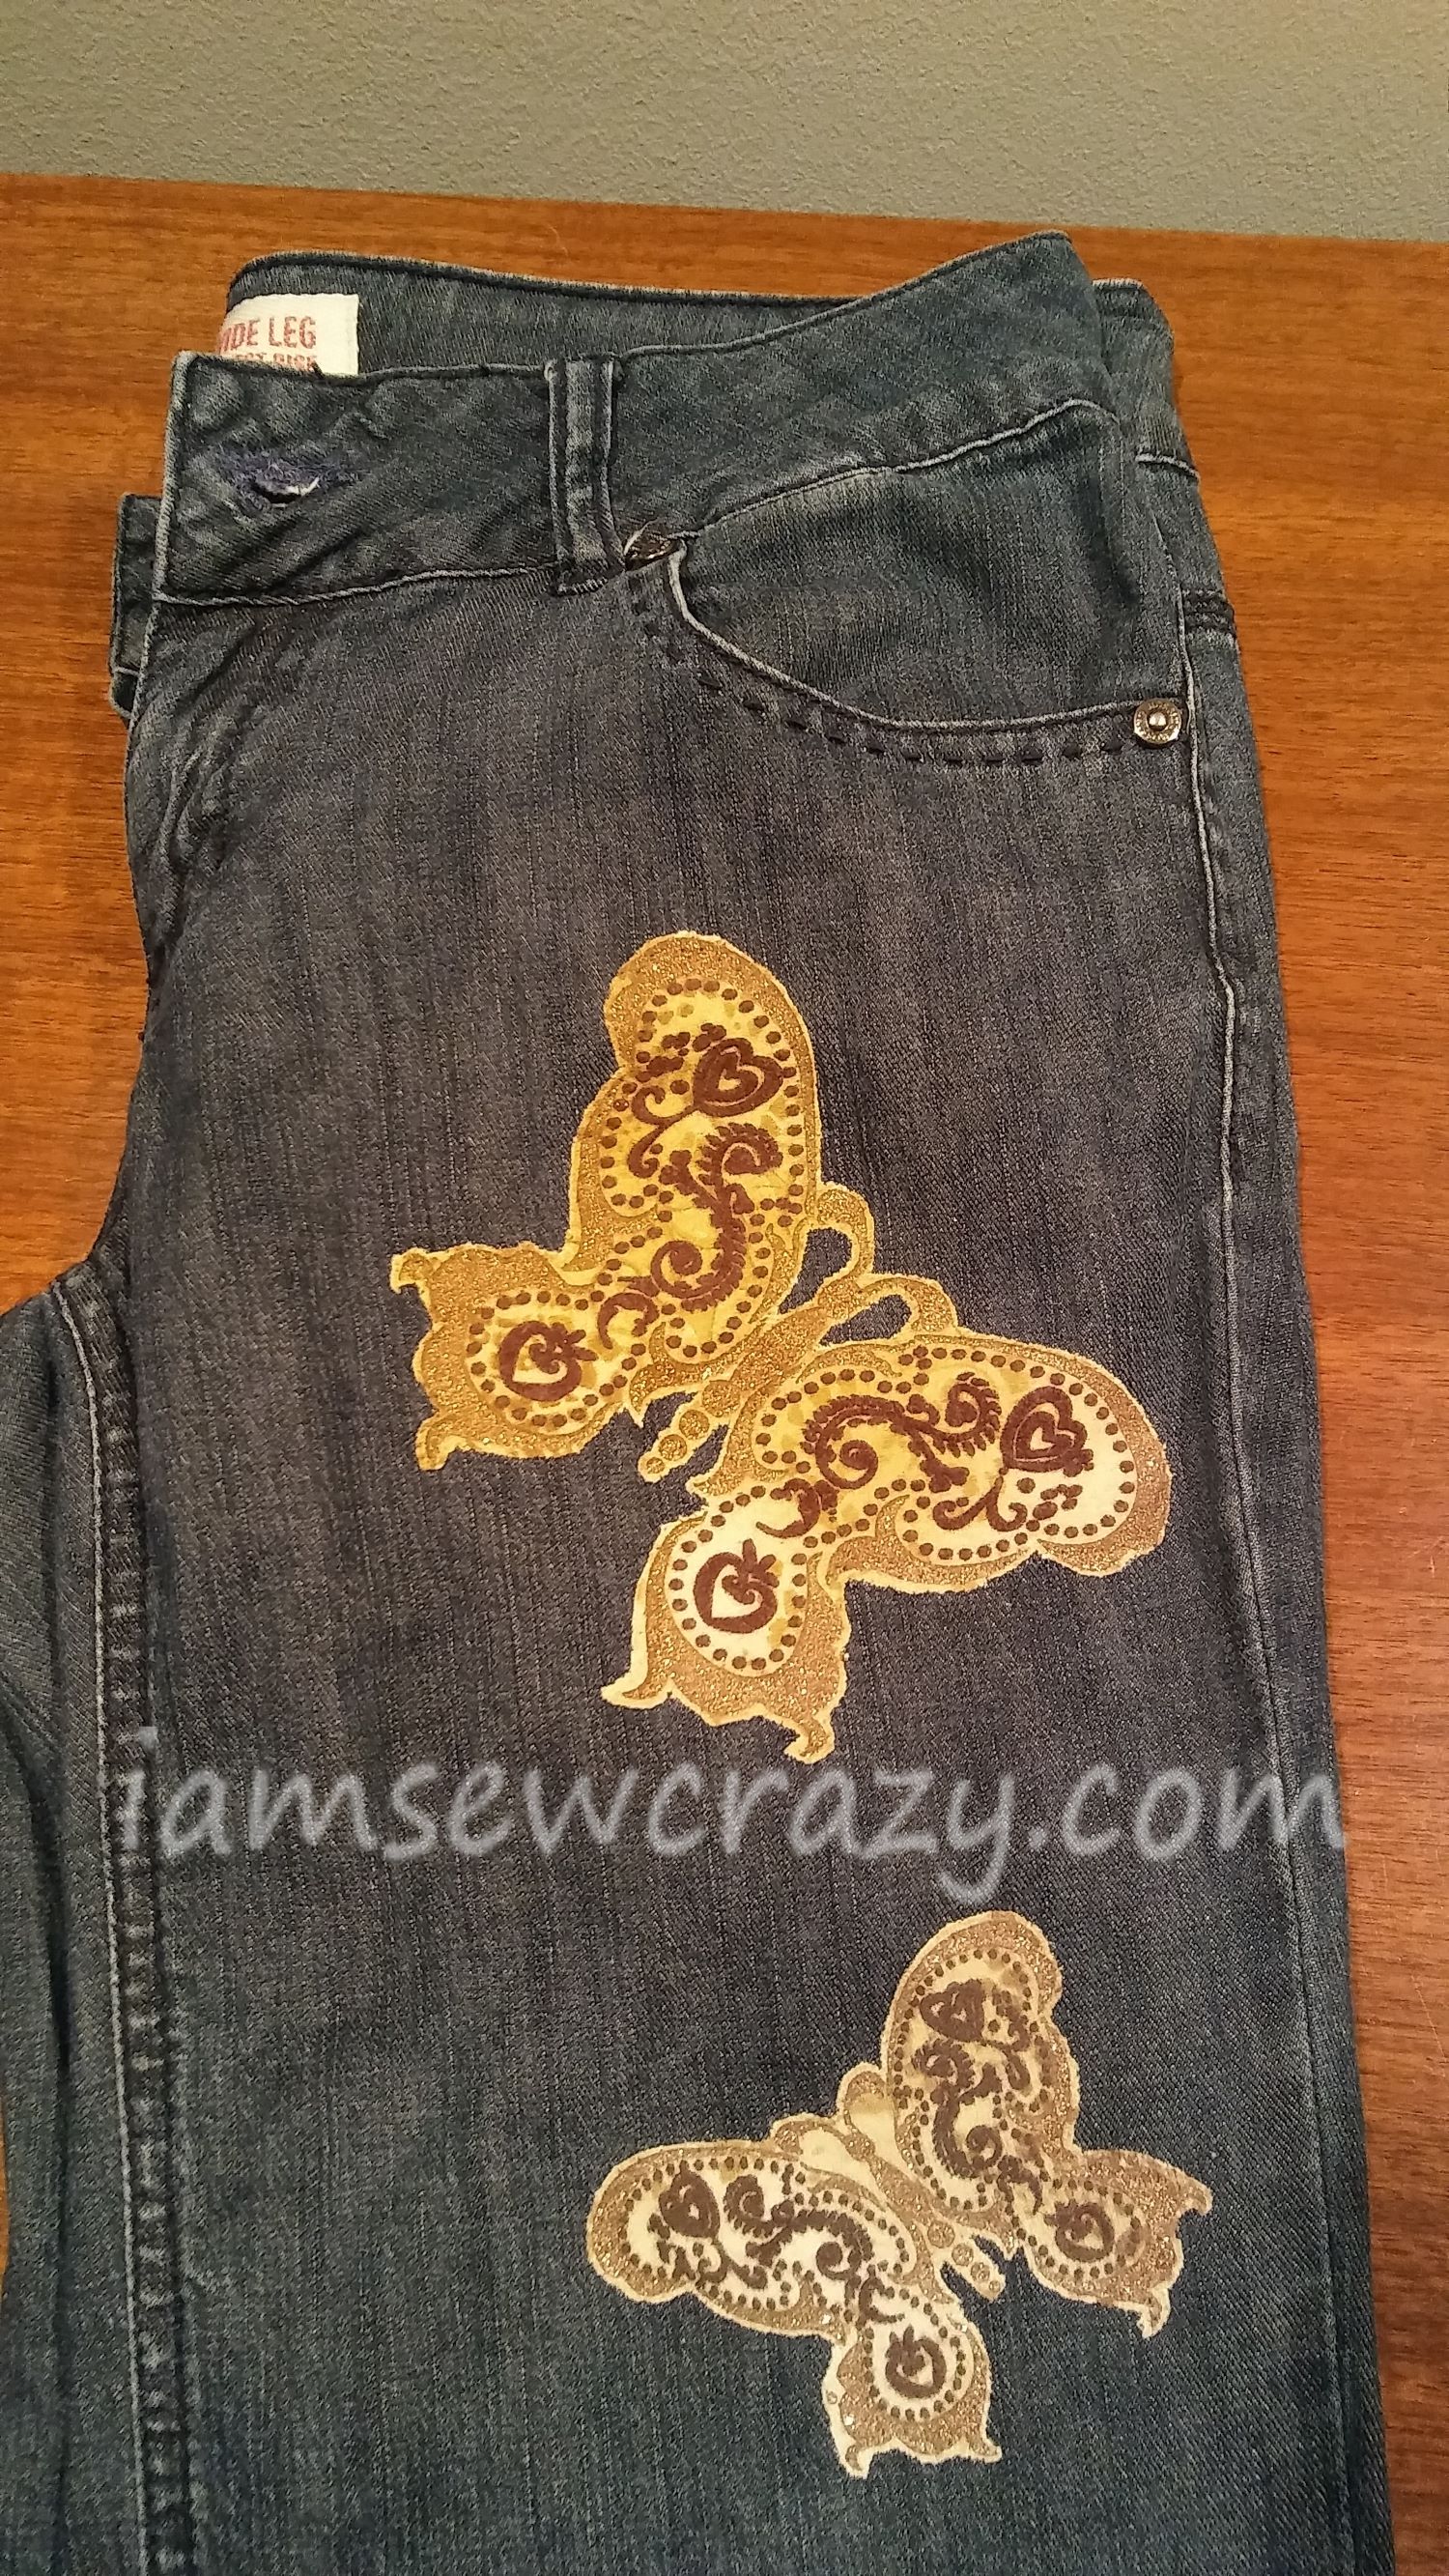
You can stop here, if you just want a functional patch, or you can add a cute design element on top so that you have some flair instead of a tear. Some zip instead of a rip. Some splash instead of a slash. (Okay, I’ll stop.)

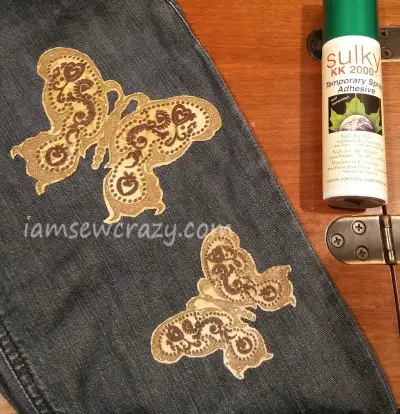
The patches that you choose really should stretch if your garment stretches, just like the material you used to close up the hole. I cut these butterfly patches out of a child’s thrift store t-shirt. Then I used temporary spray adhesive (a glue stick would also work) to hold them in place. Temporary spray adhesive turns the patch into a tacky surface, like the sticky part of a post-it note, and then the adhesive disappears on its own in a few days. You can sew through it without worrying about it getting gunky on your needle.
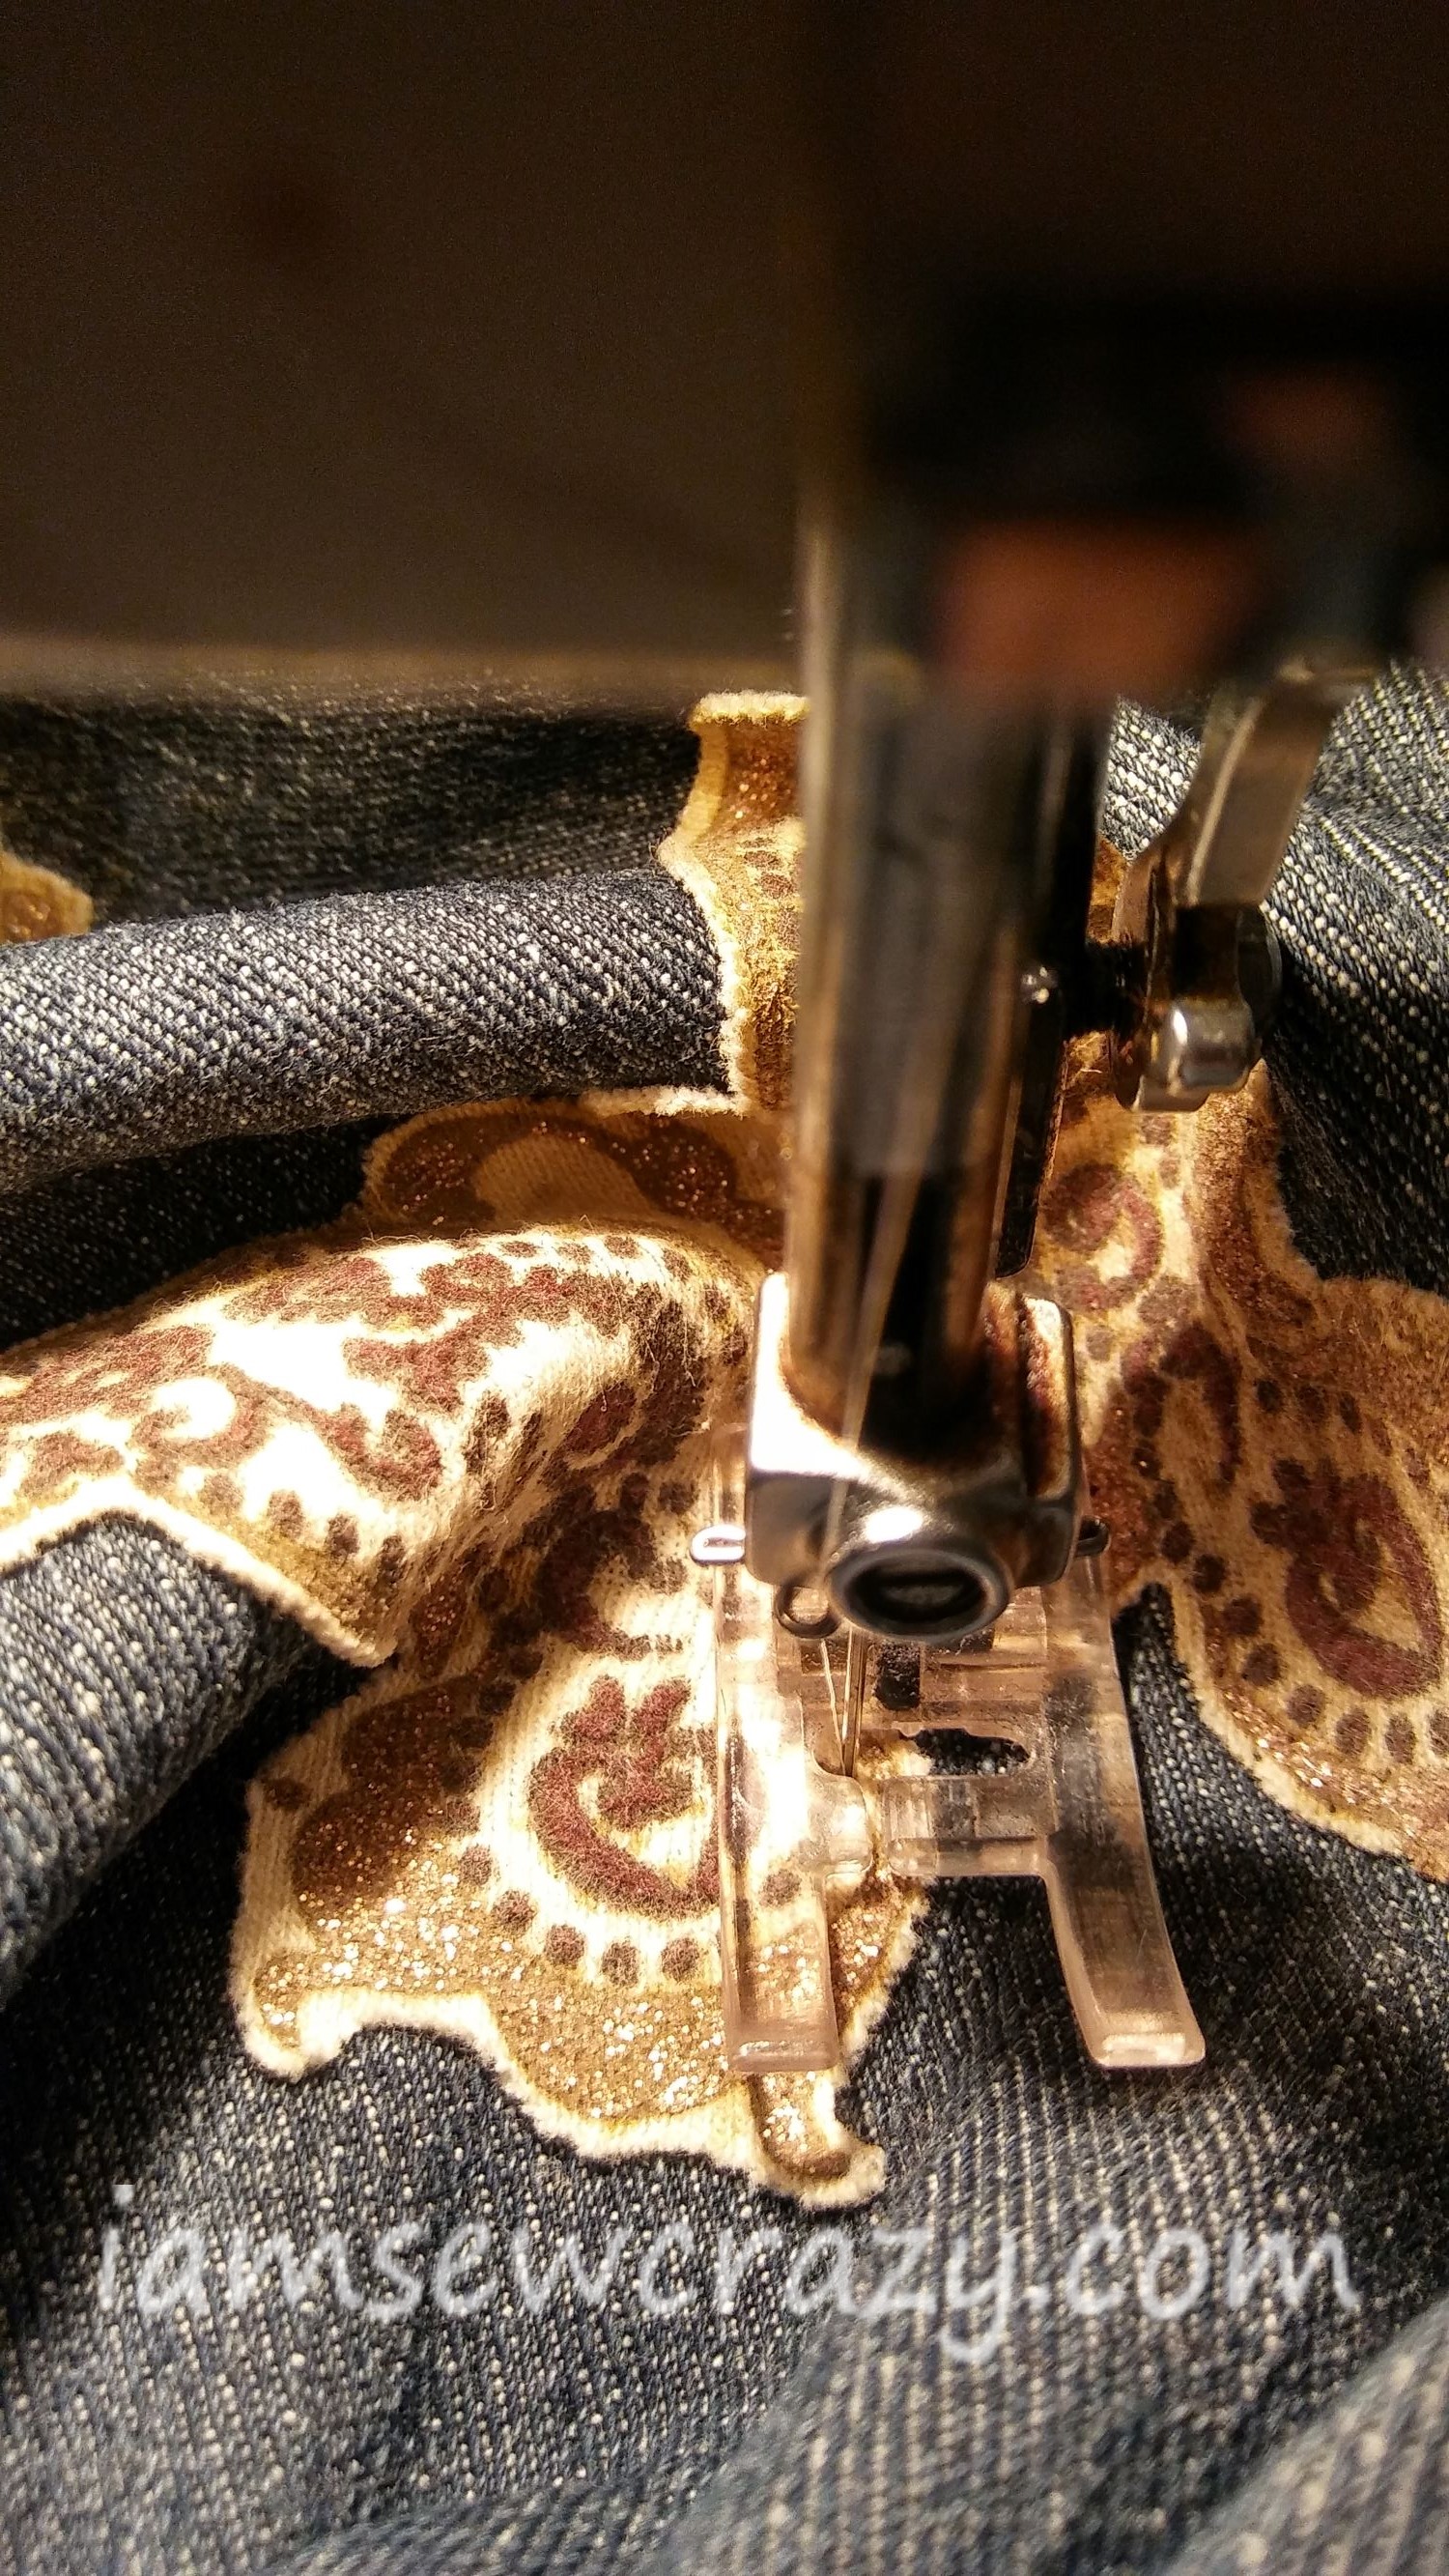
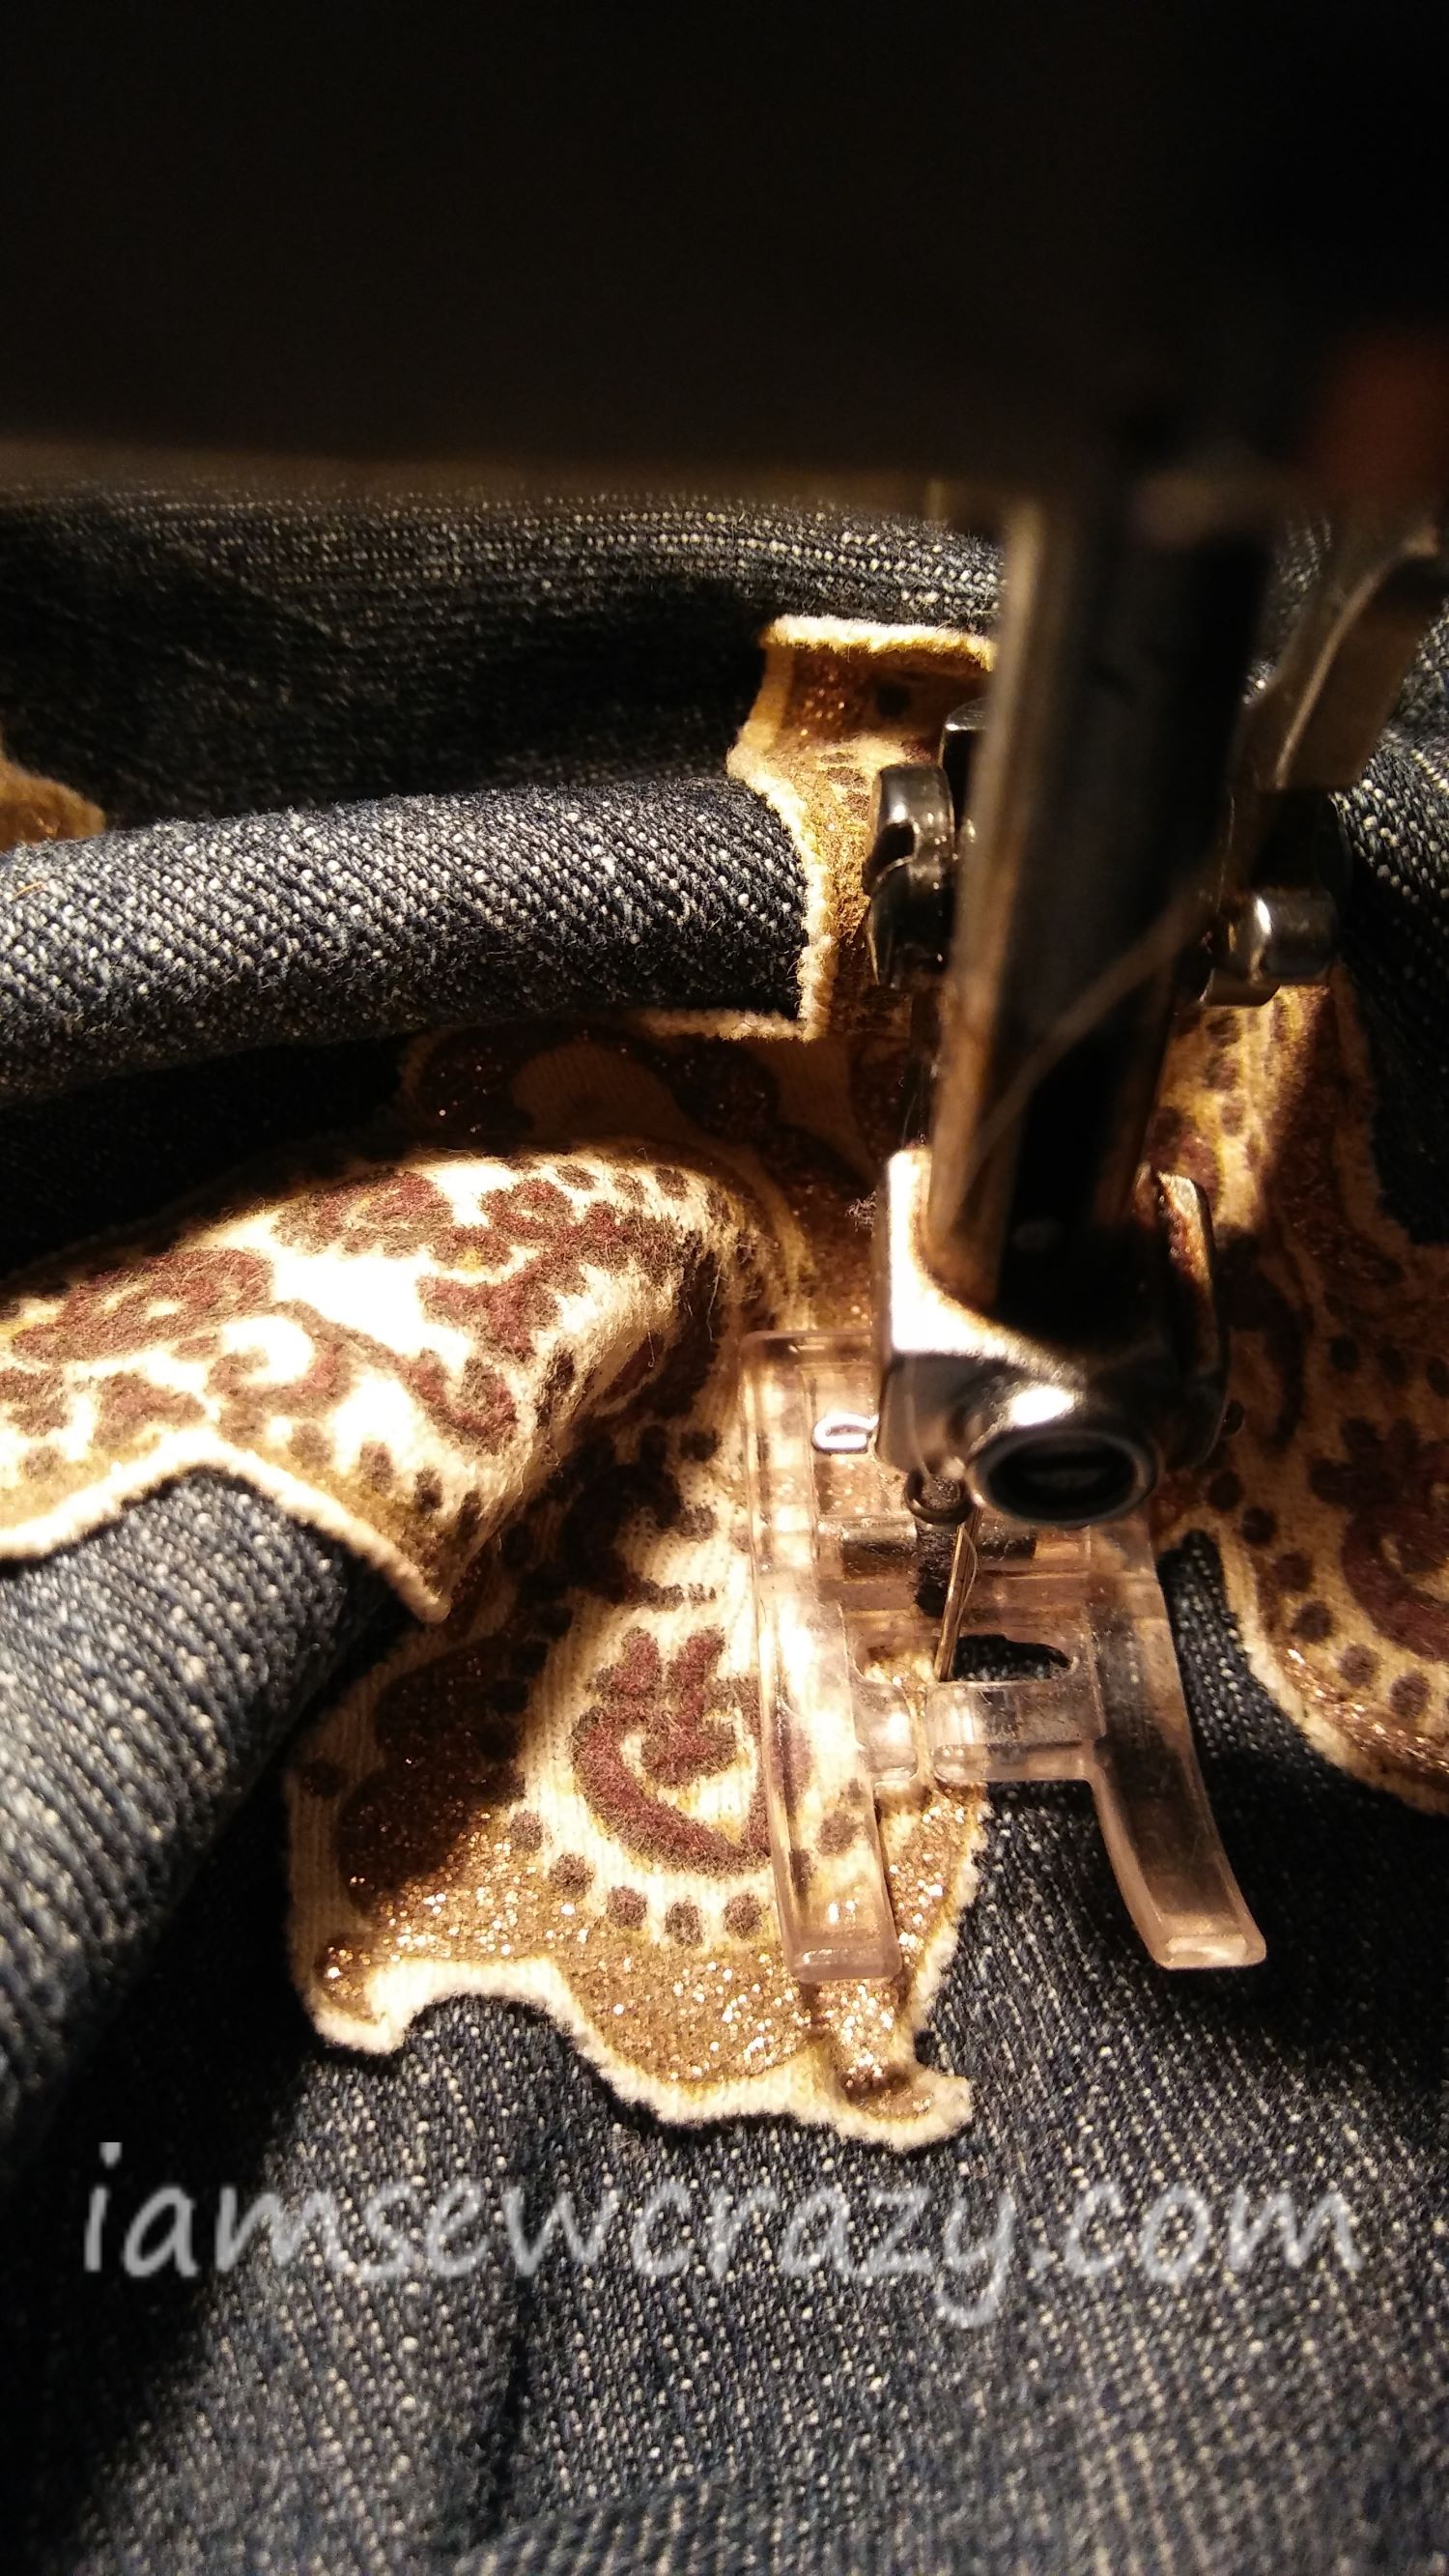
The adhesive made sure that nothing shifted while I stitched around the edges of the patches with clear, “invisible” monofilament nylon thread (I really like that brand). I used a zigzag stitch, making sure that the needle went into the patch when it zigged, and into the jeans when it zagged. That way, the edge of the patch was held firmly in place by the thread.


I think they look so good now, I just might go rip some more jeans! 😉 Give it a try, or pin this idea for later!

